-
1
Start by assembling the legs. You will need two "left" legs, and two "right" ones, which are mirror images of the "left" legs. Instructions below are for just one "left" leg.
-
2
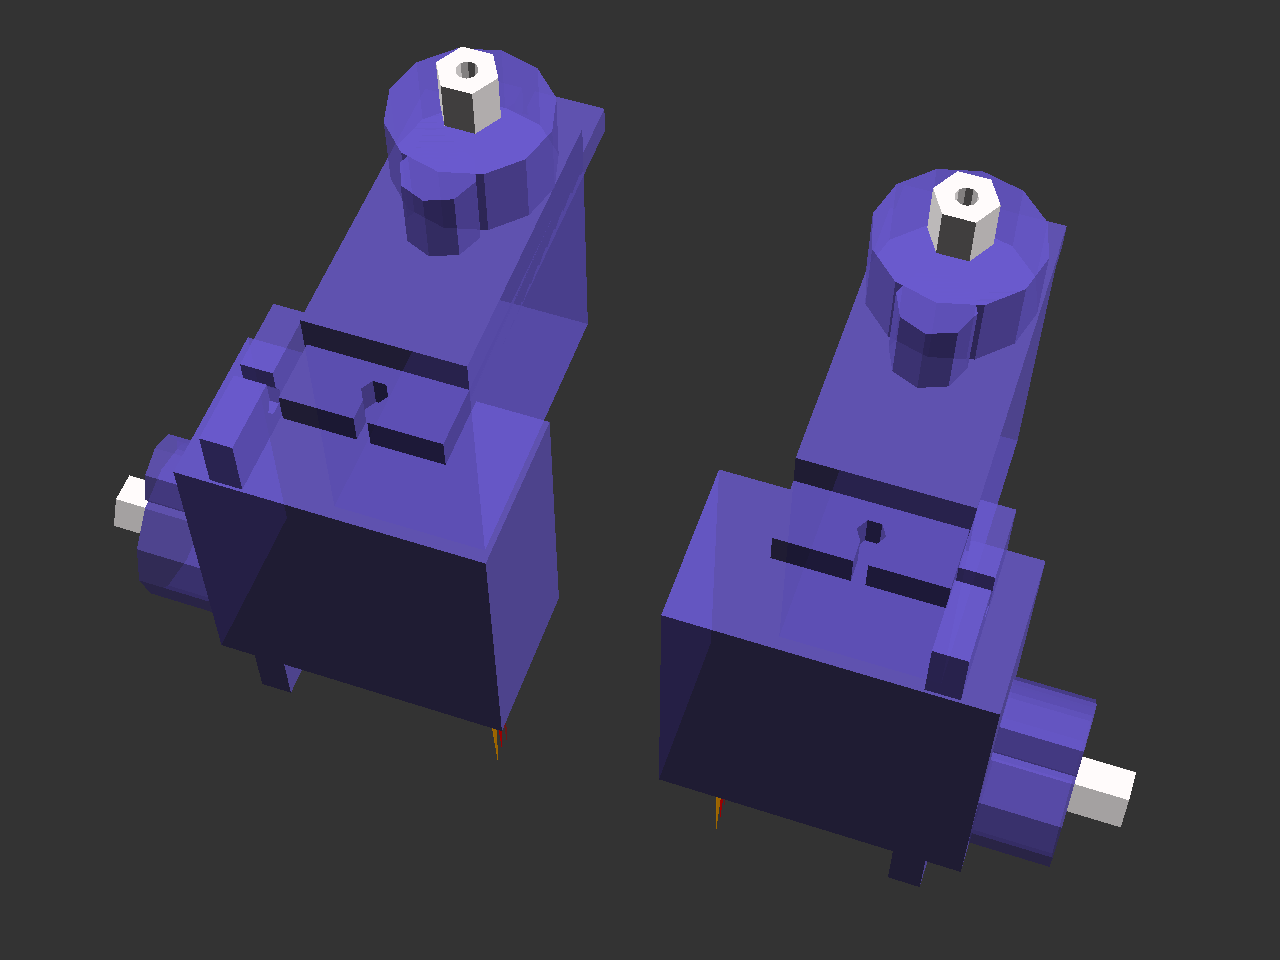
Glue together the two servos making up the coxa. Make sure to apply glue on all surfaces that touch, including the "ears".
-
3
Cut off the shorter side of the "cross" horn, as shown below:
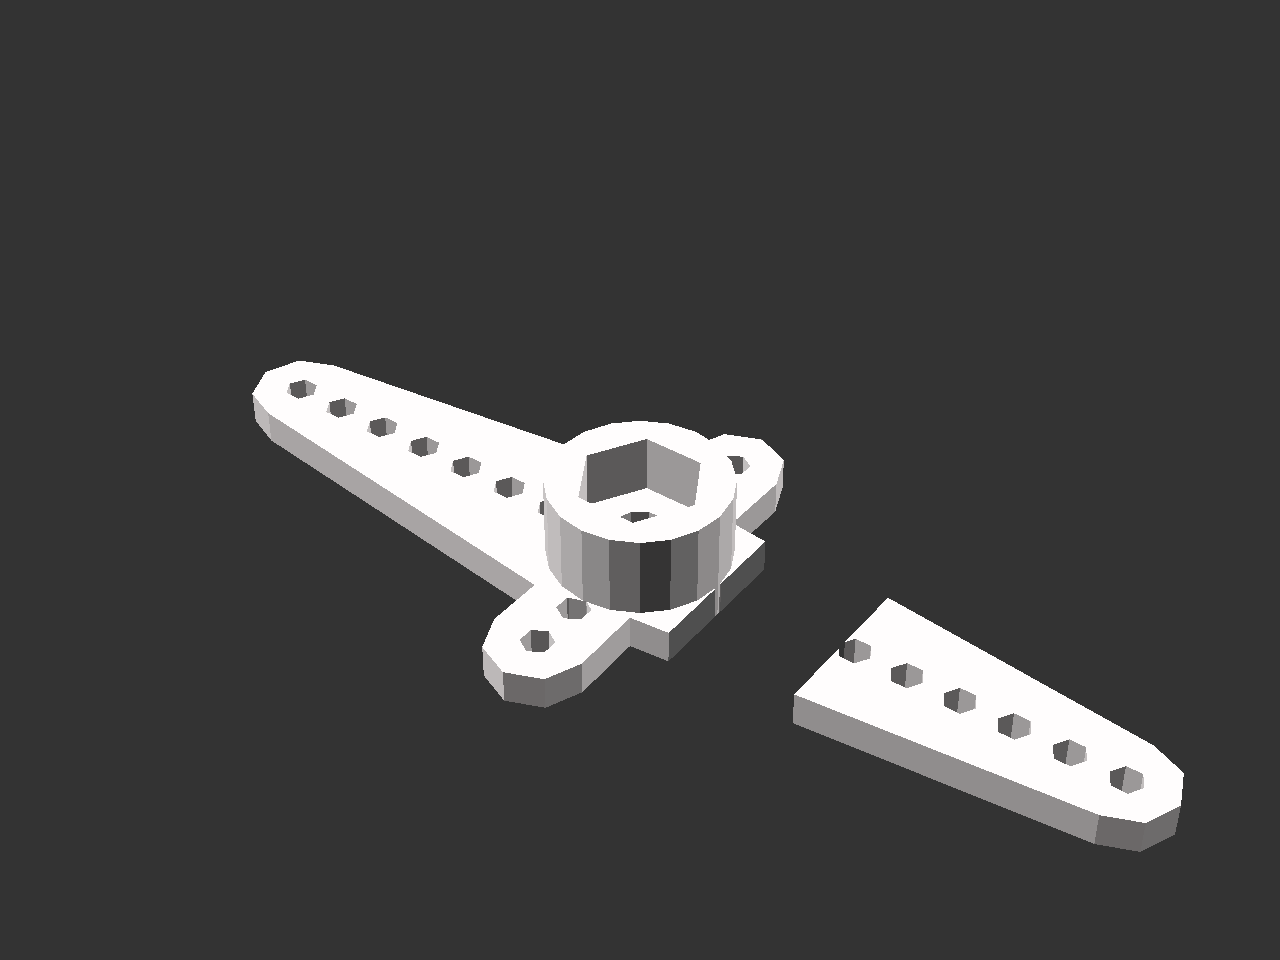
And then attach it with one of the servo mounting screws to the tibia servo:

-
4
Screw together the horns that form the tibia. You may need to cut the tips of the horns, if they are too long.
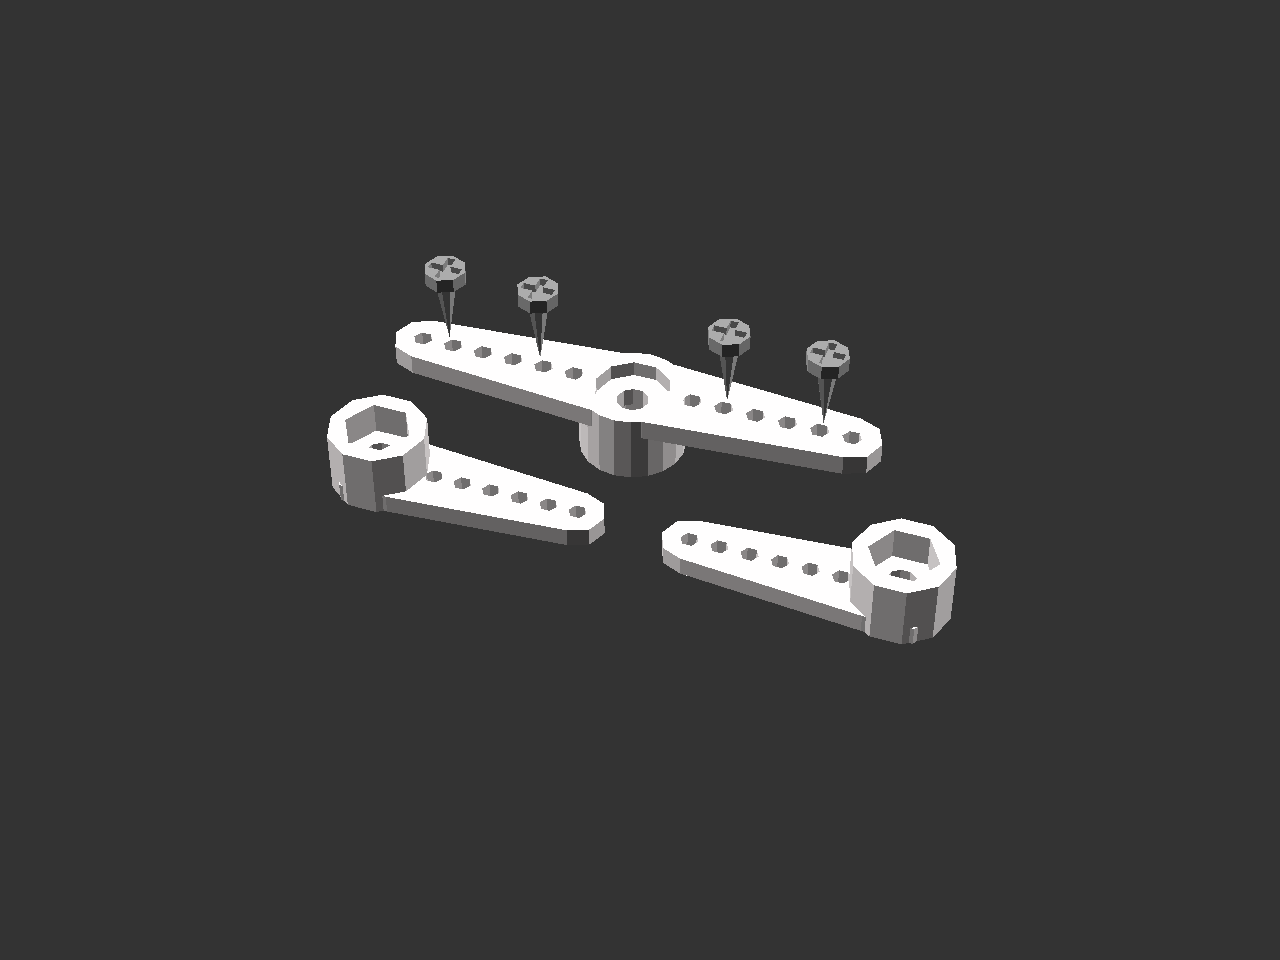
Alternatively, if you don't have the right size of screws, you can glue the horns together, or use thin wire instead of screws.
-
5
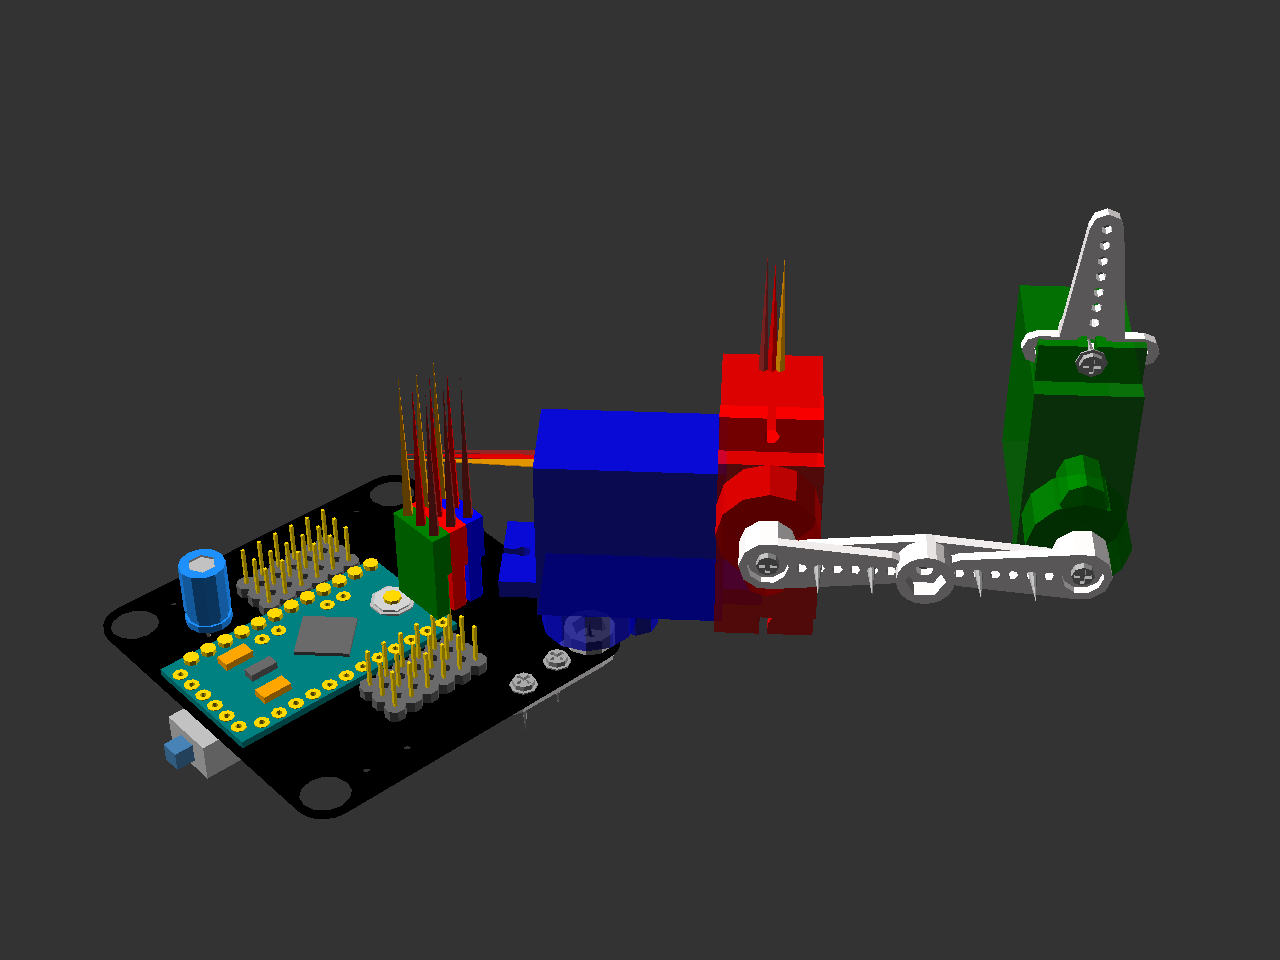
Connect all the servo plugs to the body. Make sure that the yellow wire is towards the center of the board, and the brown wire towards the edge.
-
6
Connect the battery (pay attention to the + and -), and switch the robot on for a moment, so that all the servos go into their center positions. Switch it off.
-
7
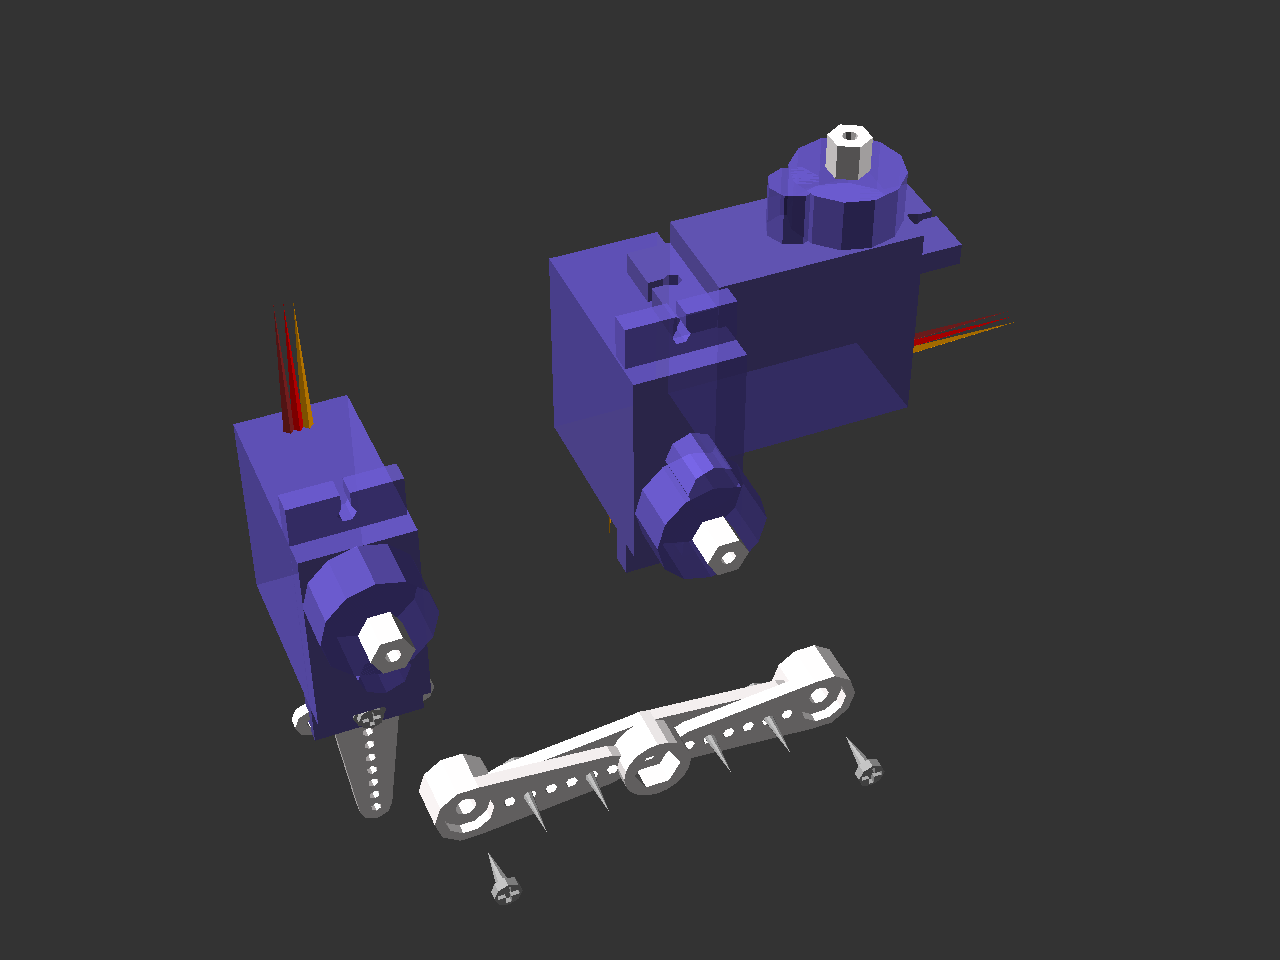
Connect the tibia to the femur and coxa. Be careful to not rotate the servos -- if you do, switch the robot on for a moment so that they center again. Make sure the tibia is horizontal and the femur is vertical. Make sure to use the horn screws that came with the servos.
-
8
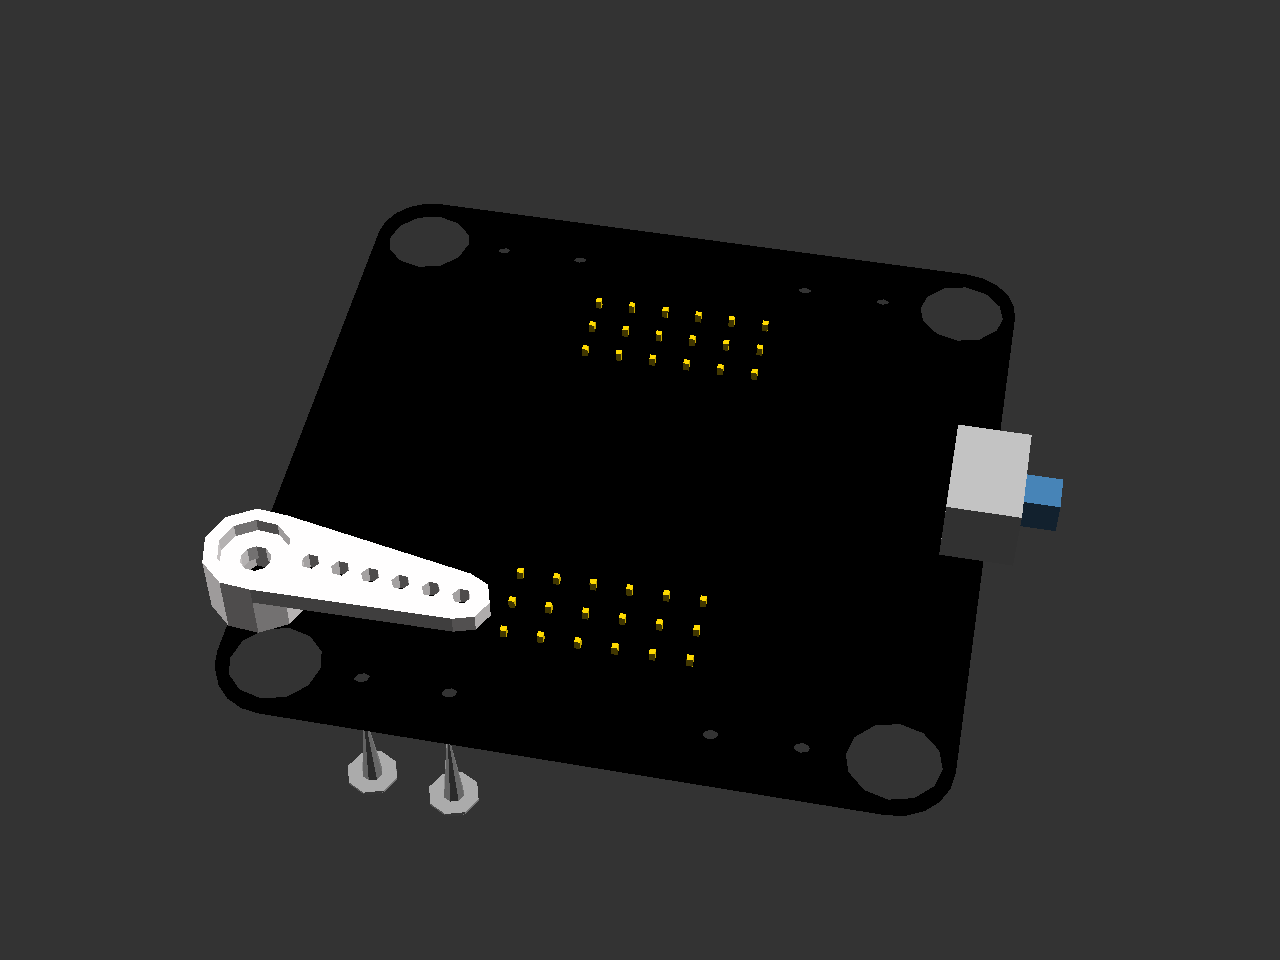
Screw a servo horn to the robot's body. Since the size of the outside of the servo horn has large range, the holes in the board may be too small for it -- if that's the case, file the plastic horn to make it fit.
-
9
Attach the leg to the body. Again, make sure you don't move the servo from its center position, and that the leg sticks out at 45° angle.
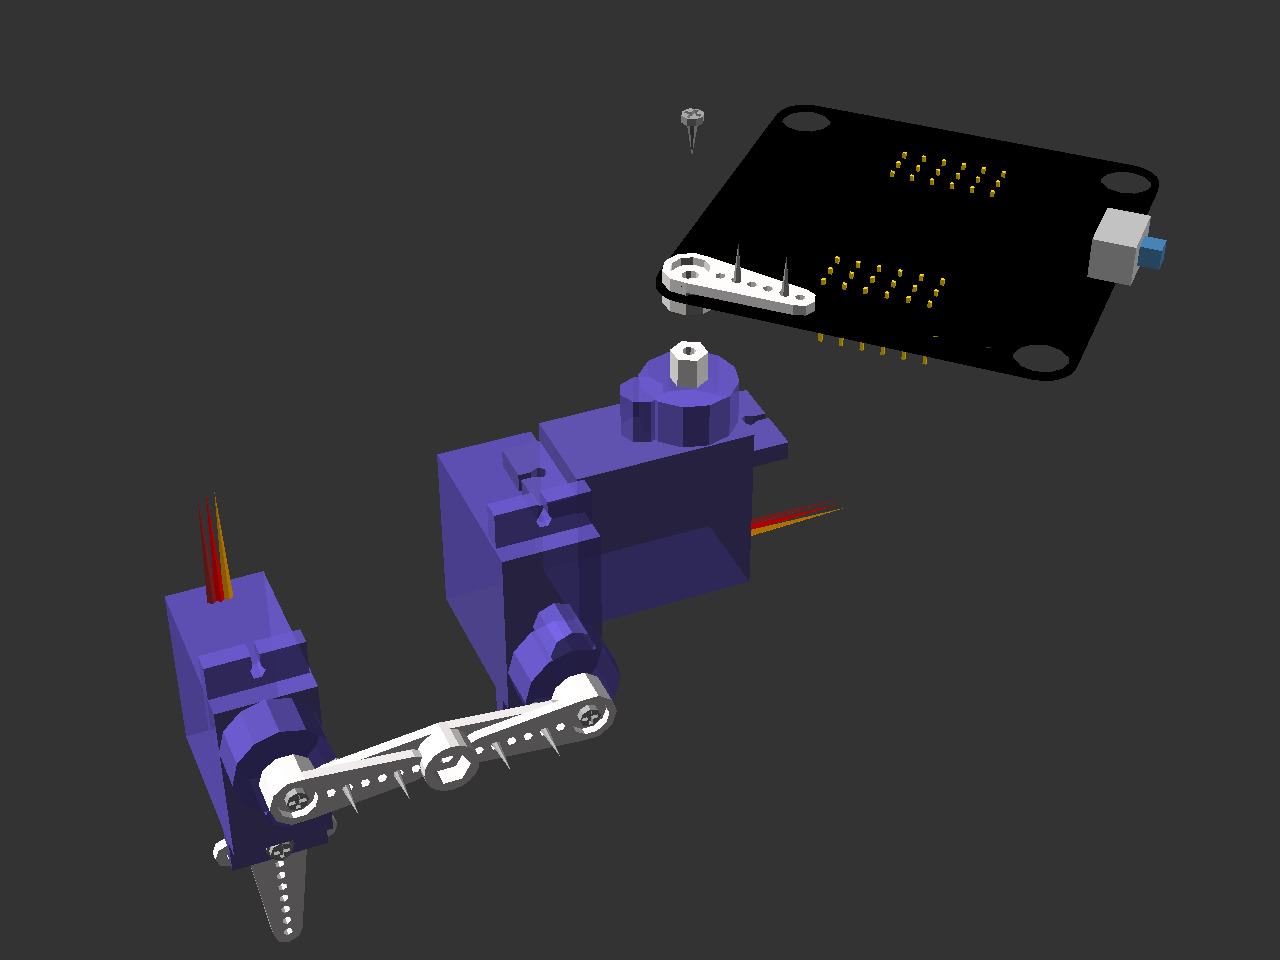
Make sure the femur is facing towards the side of the robot, not forward or backward.
-
10
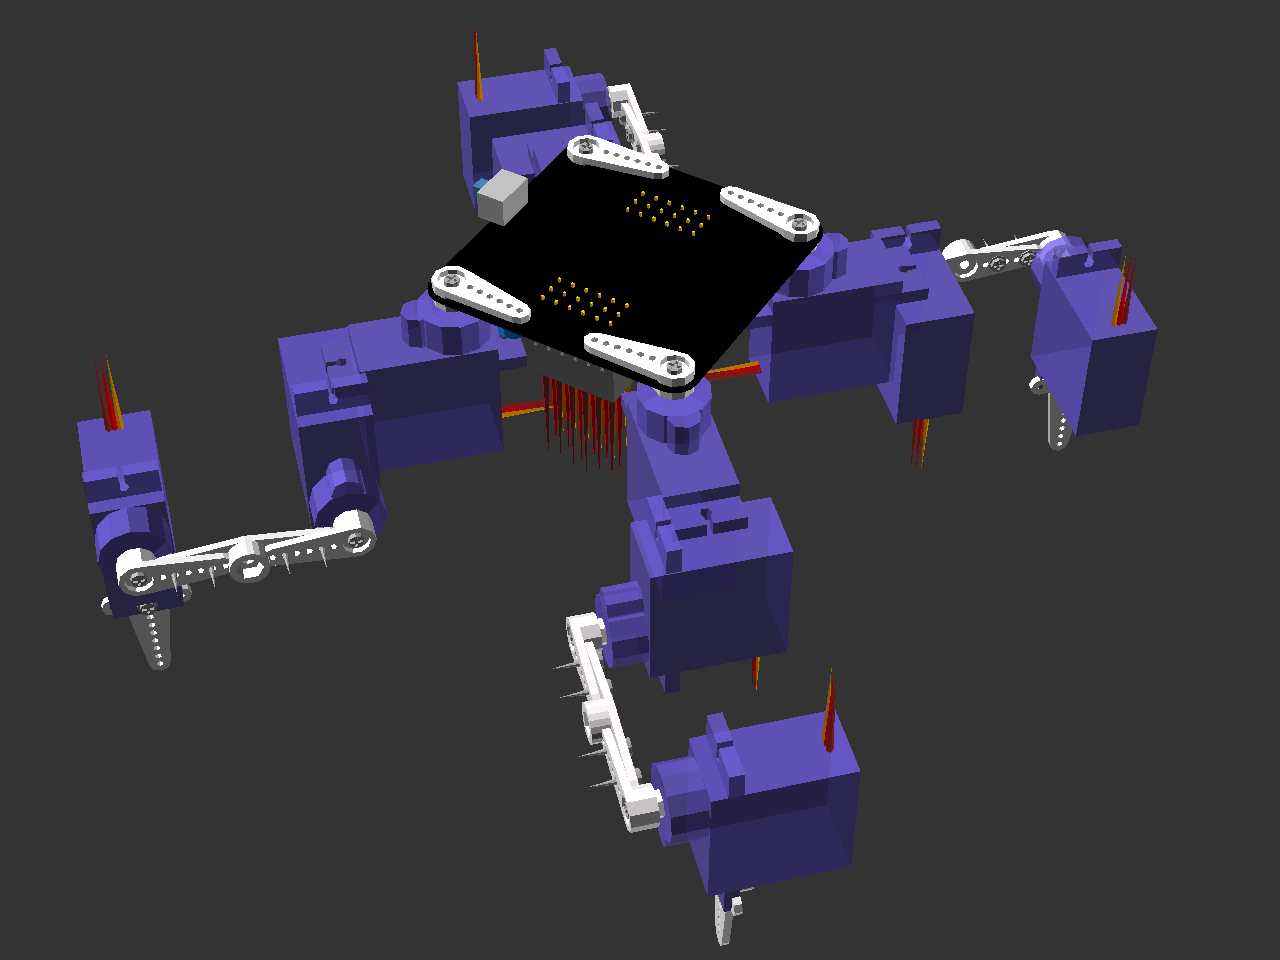
Repeat for all the legs. Switch the robot on again and make sure all the legs are in their default positions, with femurs vertical, tibias horizontal, and coxas sticking out at 45°.
 Radomir Dopieralski
Discussions
Become a member
In order to follow projects & hackers or give likes
Already a member?you need to create an account.