
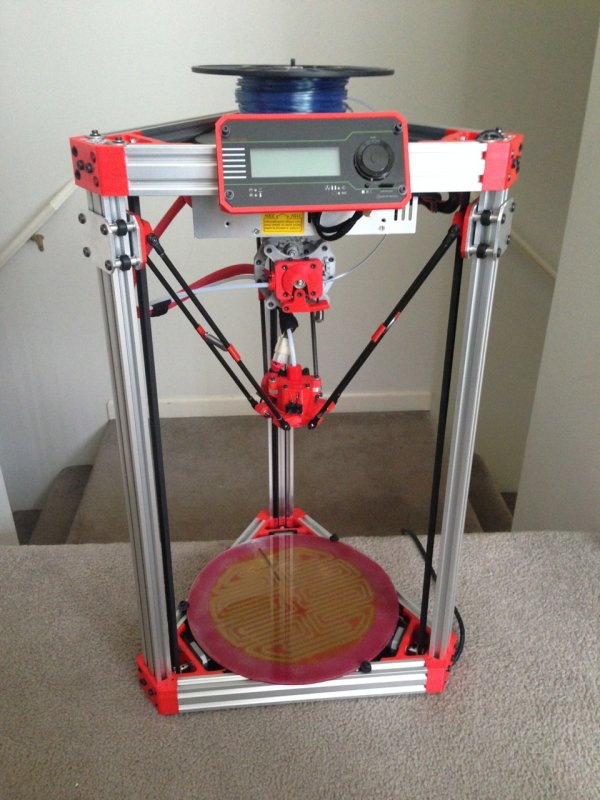
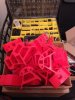
Here is a super rigid design for a Delta Printer frame using V-Slot 20X40.
I've been working on variations of this design on and off for ~1 year, but I'm finally posting this, because I think its actually 'done'. I like the name, (and its nearly V6 of the design anyway ) so I'm going to call this Delta-Six. I was originally looking for an alternative to an expensive linear rail based Delta, and after many other (successful, but floppy) attempts, I think 20X40 Vslot provides just that, AND its solid as as a rock.
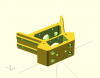
I'll post more files as I'm satisfied with them, but 6 of these "vertices" + 3 1500mm 20X40 V-slot extrusions and some M5 hardware will get you a very reasonable start on creating a delta printer.
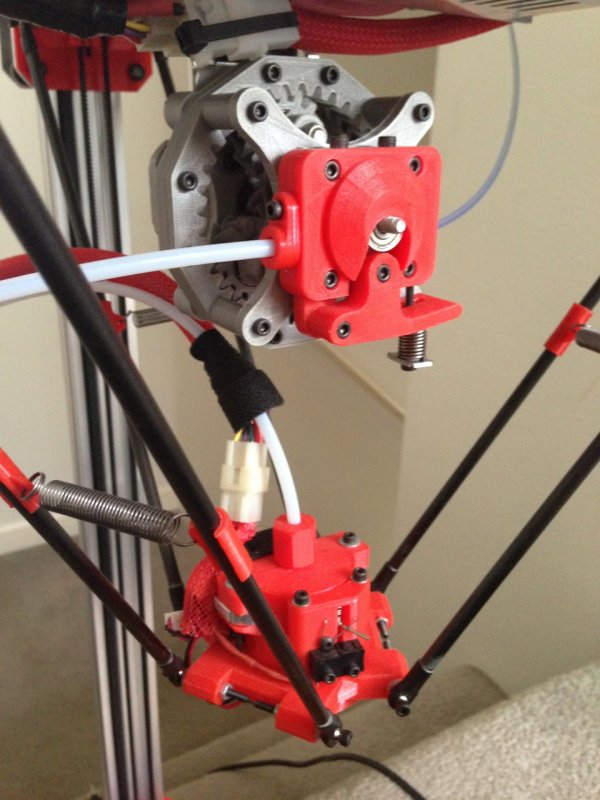
*Edit* - I added files for carriages, idler end plates, and an effector. The carriages are based around using 3" X 1/8" aluminum flat stock (available at most local hardware stores). Use the included template file to punch pilot holes for some 9/32" holes. (9/32" matches the size of the Openbuilds eccentric spacers) I didn't end up actually using the eccentric spacers, but the extra slop will also give you the necessary room to snug up the mini-v wheels.
Sadly, this design requires that you already have access to a 3D printer. I've uploaded the source OpenSCAD files if anyone wants to improve or alter the design. Please let me know if you do, so I get to see what you make.
The design currently supports the following:
-Sage
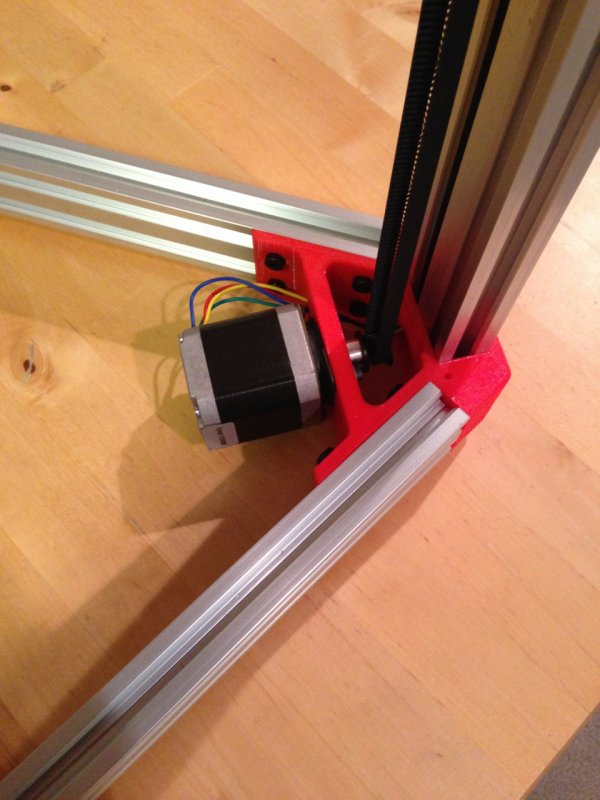
- Nema17 motors bolted directly to the frame.
- Endstops using standard micro switches
- Running power/signal wires up/down the frame in the V-Slot channels
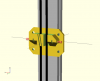
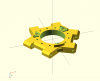
- Idler bearings for belt or string drive.
- Built in belt/string tension mechanism using m3 hardware
Build It:
[/ATTACH]
- Decide how big you want your Delta Printer to be
- Based on that calculate the length of your shot triangle sides.
- This is likely ~300mm-400mm
- Use a chop saw to cut 2 short sides (again ~300) from each 1500mm 20X40 extrusion. For a total of 6 short, and 3 long segments.
- The exact measurement here isn't critical, but you do want all the sections to be EXACTLY the same length when your done.
- Verify that the 3 remaining long sides are also identical in length. If not you have done something wrong, and you will be ordering more V-Slot stock from Mark...
- Use the M5 hardware and T-nuts to bolt everything together.
- Once you start putting things together it will be evident that there is a specific order things should be done, or you will have a hard time getting that last vertex in the triangle...
- Hint - put all the hardware in place first, then simultaneously slide 3 short sections into 3 verts and form one of the upper/lower triangles. Don't torque down the long M5 bolts!
- Now connect both small triangles with the longer V-Slot sections and torque down all the bolts.
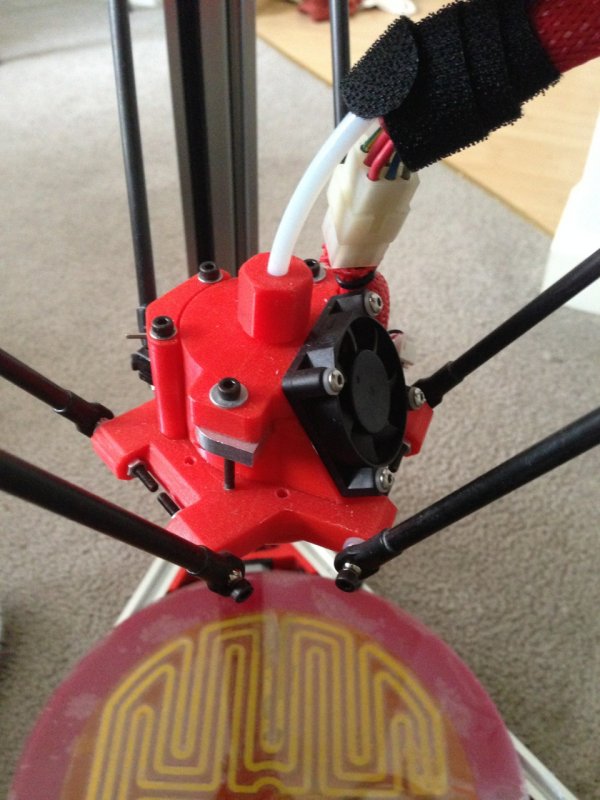
- The frame is now done. Pick your favorite Delta electronics setup, and end effector/hot end.
- I'll post the carriage design I'm currently using shortly, but its nothing special.
- Essentially mini v-wheels sandwiched between two aluminum plates, with a printed belt connector and arm connection points.


Delta-Six
Build in 'Delta Bots' published by Sage, Jun 21, 2014 at 3:40 PM.
Super rigid Delta printer, using 20X40 V-Slot
-
-
Build Author Sage, Find all builds by Sage
-
- Loading...
-
Build Details
- Build License:
-
- CC - Attribution Share Alike - CC BY SA
Reason for this Build
I wanted a bomb proof Delta printer frameInspired by
Kossel, Delta Printers in general -
Parts list
Qty Part Name Part Link Comments 6 Vertex http://www.openbuilds.com/attachments/vertex_20x40-stl.1258/ Link Print 6 of these with decent resolution on any 3D printer 60 M5 X 10mm Cap Head Screw http://openbuildspartstore.com/low-profile-screws-m5/ Link Alternative = www.amazon.com/dp/B00DD4V9SM/ref=biss_dp_sa1 3 V-Slot 20X40 @ 1000mm http://openbuildspartstore.com/v-slot-20-x-40mm/ Link Cut these down, so you have 6 short ~300mm and 3 long ~700 60 M5 T-nuts http://openbuildspartstore.com/tee-nuts-25-pack/ Link 12 M5 X 30 or 40mm Cap Head Screw http://openbuildspartstore.com/low-profile-screws-m5/ Link Alternative = www.amazon.com/dp/B00DD4V9SM/ref=biss_dp_sa1 1 M5 X 0.8mm Tap http://www.amazon.com/Vermont-American-21123-5MM--80-Carbon/... Link Use this to tap both holes in the ends of your short V-Slot sections -
Attached Files:
-

© XenZine Articles from Pick a Tutor