
Hello fellow builders
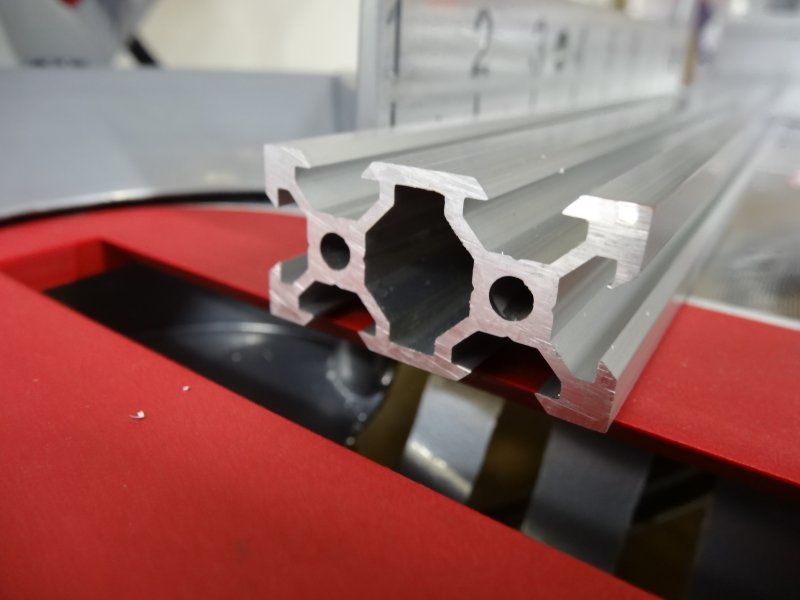
Here is a simple saw stop to help when you have multiple cuts of the same size to make in V-Slot for example. Of course, it can be used for many material types as well - not just extrusion.
I threw this project together in about 20-30 min from the time I took the saw out of the box, so its not going to win any design awardsJust needed it to do the job, and it does. Its quick and easy to use!
So, the concept is to move the first material that is need to cut into position. This is the material with the mark for the cut. Roll the saw stop up to it and lock it in place. Make your cut and repeat, simple as that.
There are a lot of areas for improvement on this project and maybe a complete redesign, so please feel free to run with it and make it your own
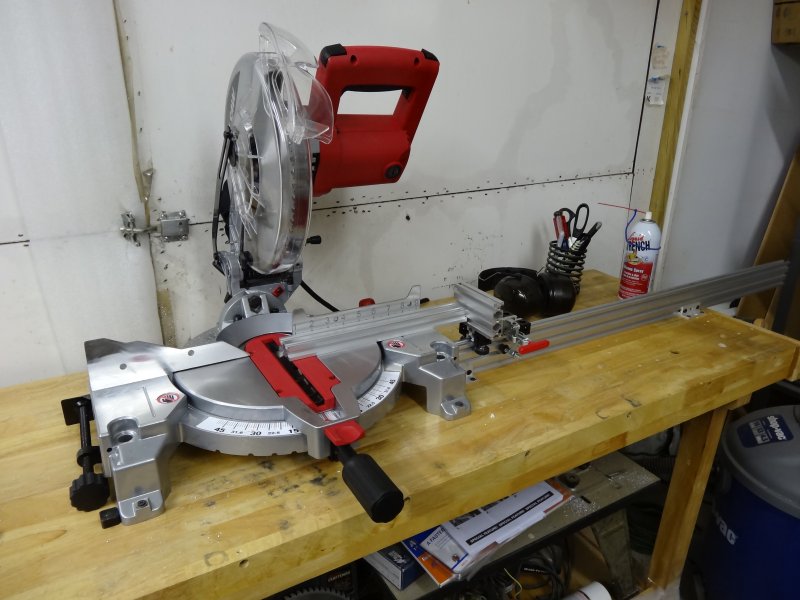
Picked up this 10" miter saw from LOWES for about 120 bucks
http://www.lowes.com/ProductDisplay?productId=3305832
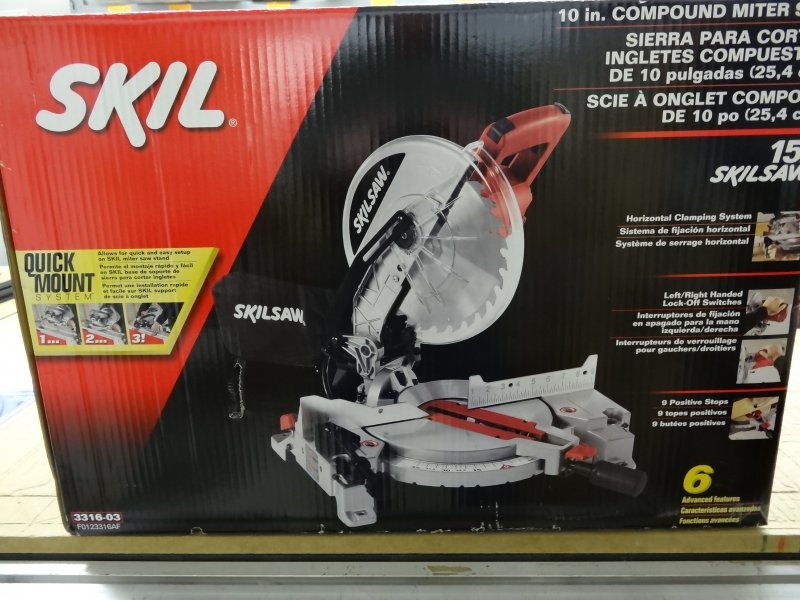
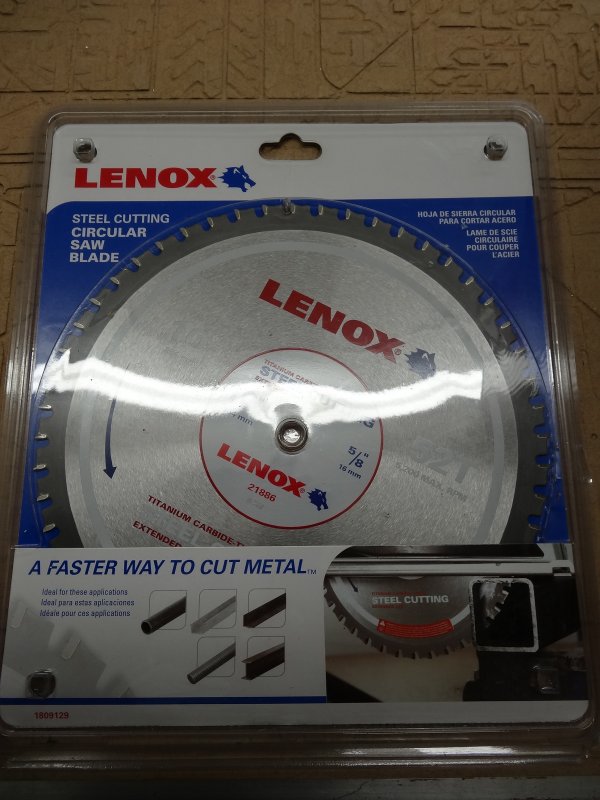
Grabbed a 10" metal cutting blade while I was there as well. I think there are better blades on line but I wanted to get up and running so I went for it.
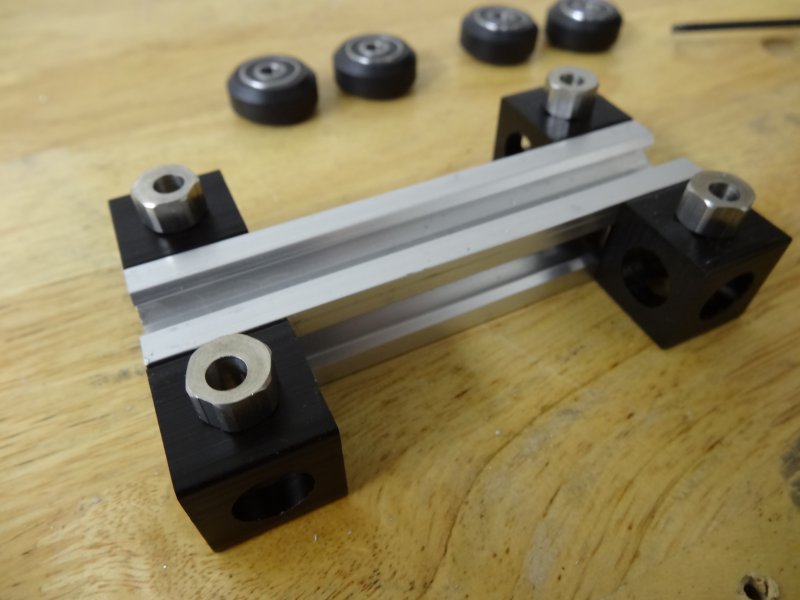
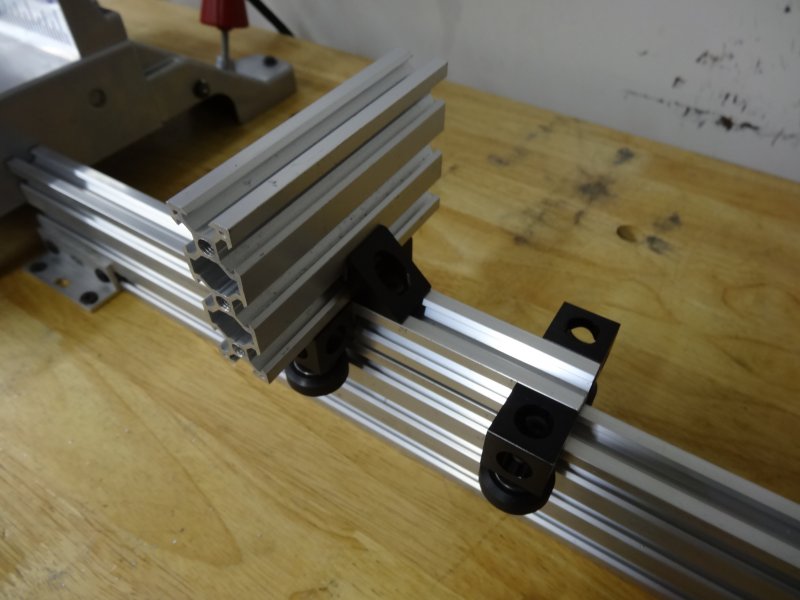
Building up the slide cart. I used 3 way corners for this as they are really easy and quick to work with
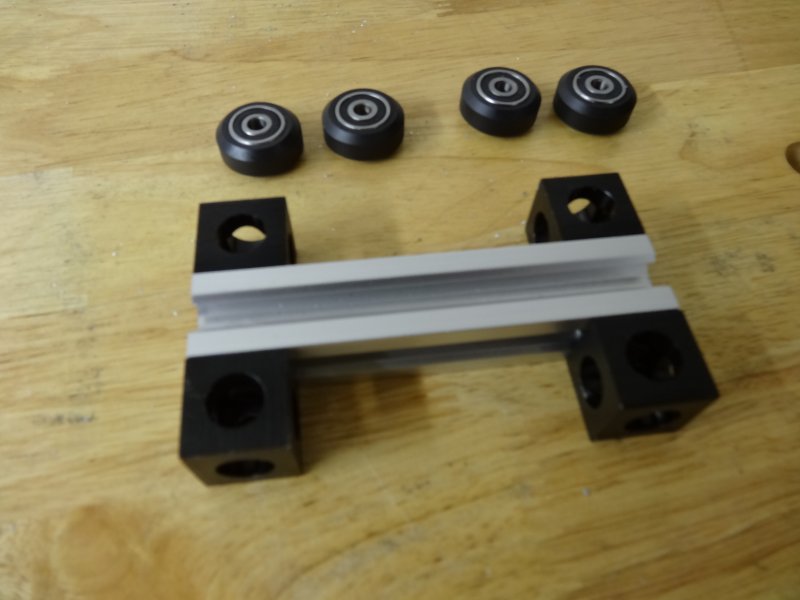
Test fitting the eccentrics. Sometimes they can be a little tight and need a little persuading but these went in just fine.
Note: You will want to turn two of the eccentrics on one side of the V-Slot cart toward each other and tighten them in place. This will set the eccentrics at about the halfway point in the rotation. Later in the build you will put the V-Slot cart in place and turn the opposite eccentrics to lock the cart on the rail.
Took the saw out of the box and changed out the blade to the new metal cutter.
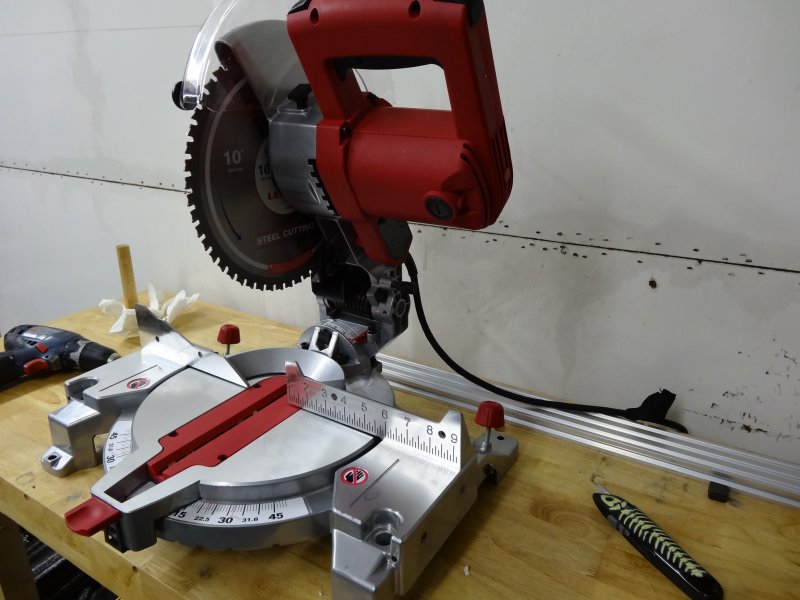
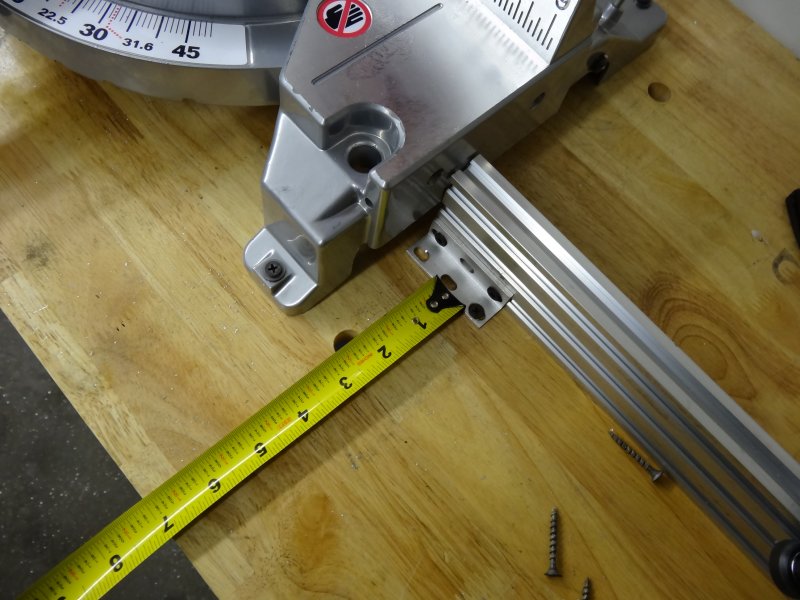
Measured from the front of the table back to set the saw when I wanted it.
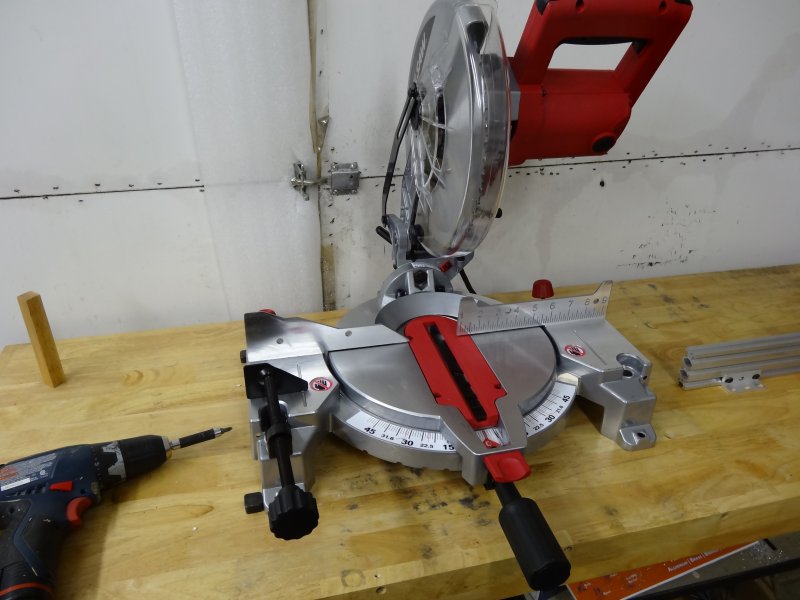
Using wood screws and washers I mounted the saw to the table
Saw is mounted to the table.

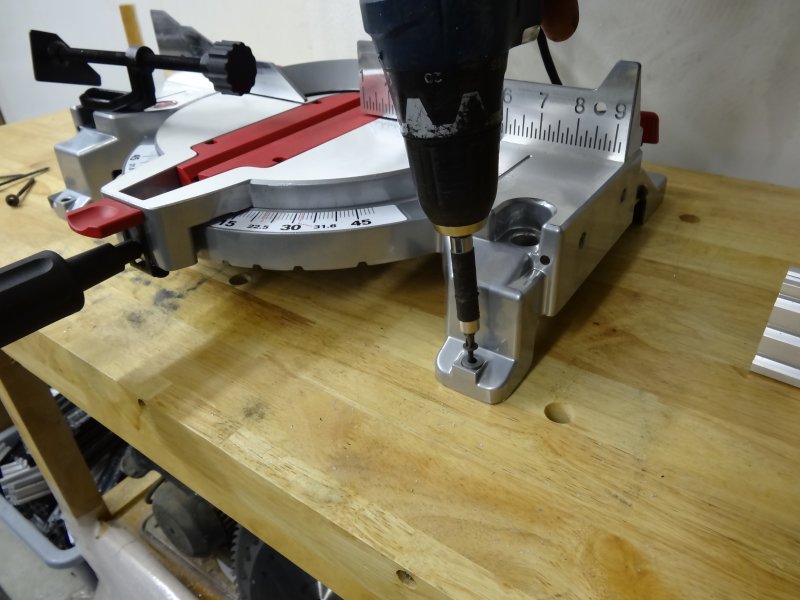
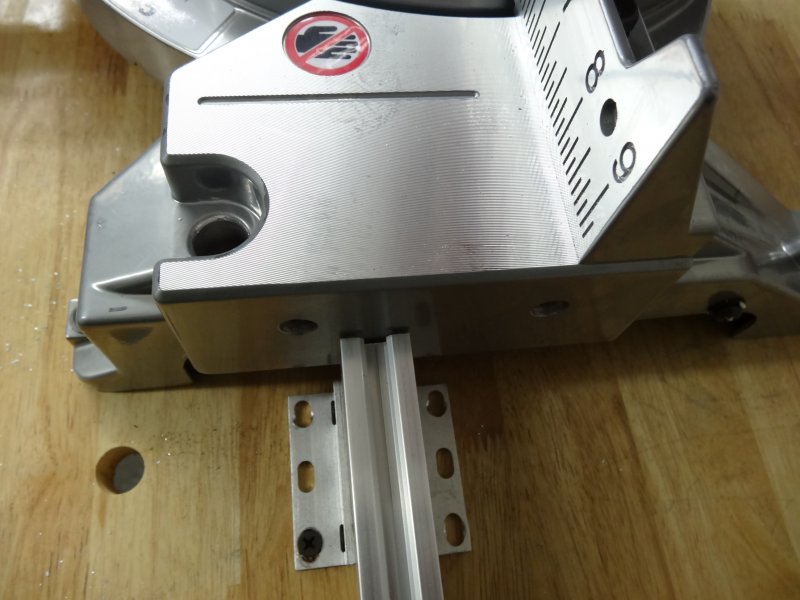
Added triple L brackets to 20x60 V-Slot.
Measured from the front of the table to approx the center of the saw table and screwed the L brackets to the table. Found that I only needed to used the two outside holes on the L brackets.
Top view before screwing the rest of the bracket to the table.
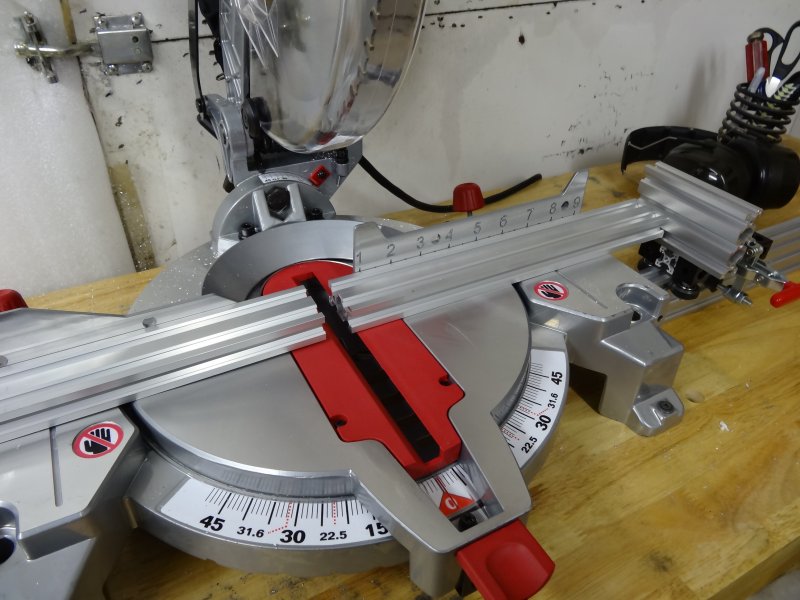
Measured from the front of the table same distance as the front L bracket and added the back L brackets. Keeping the V-Slot guide parallel with the saw.

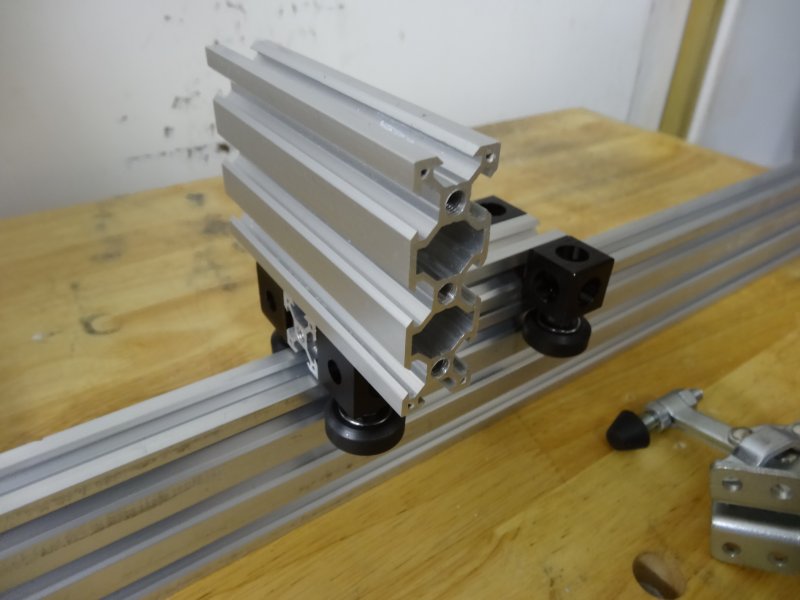
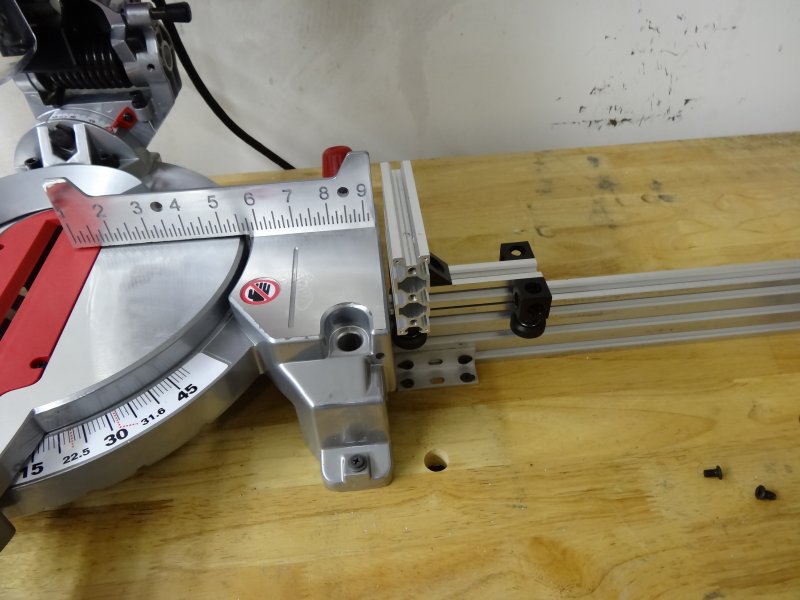
Added the V-Slot cart from the back and tightened down the two eccentrics, locking the VSlot cart onto the rail.
Also added the 'stop' piece of V-Slot using a single corner block.
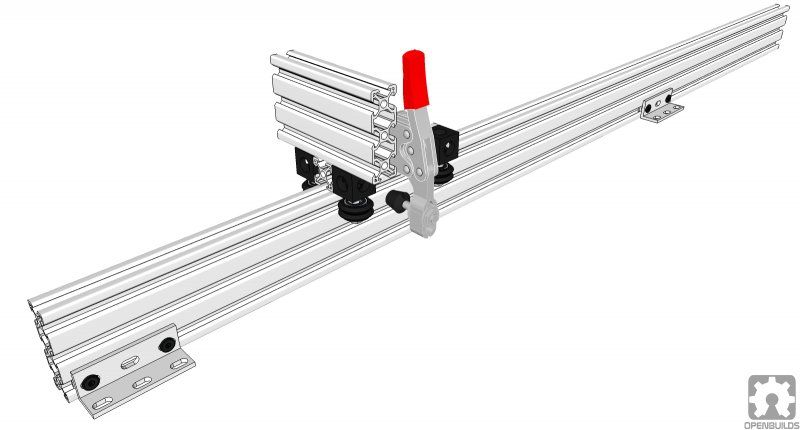
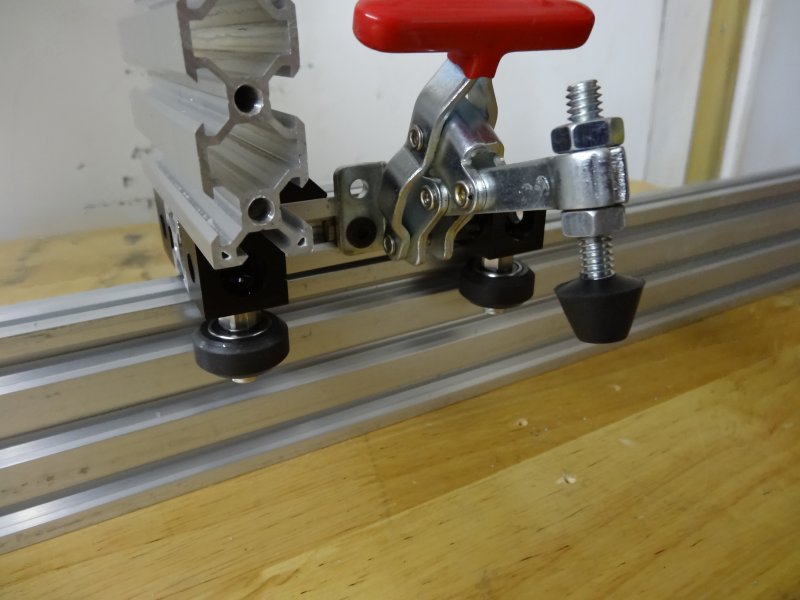
Front view of the saw stop
Testing the VSlot and tweaking the eccentrics to ensure it rides smooth.
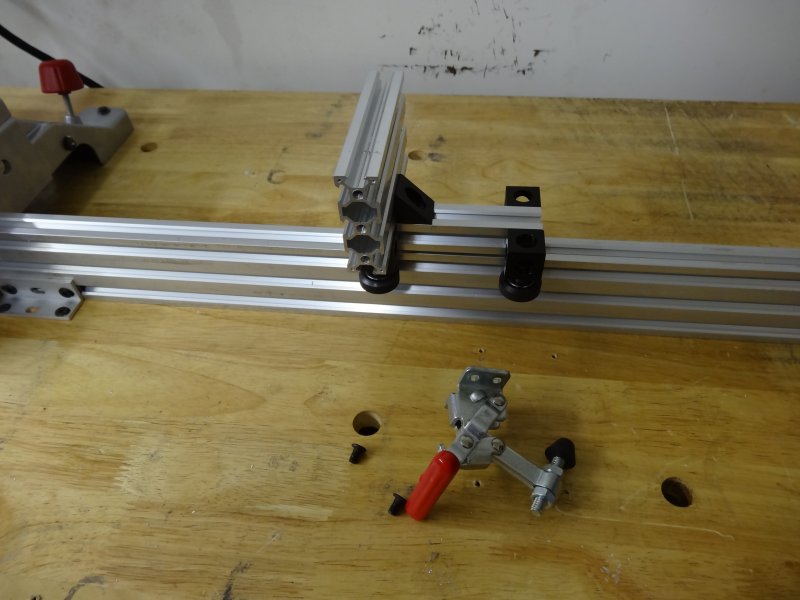
Getting ready to mount the clamp.
Push-in spring nuts for the clamp mount.
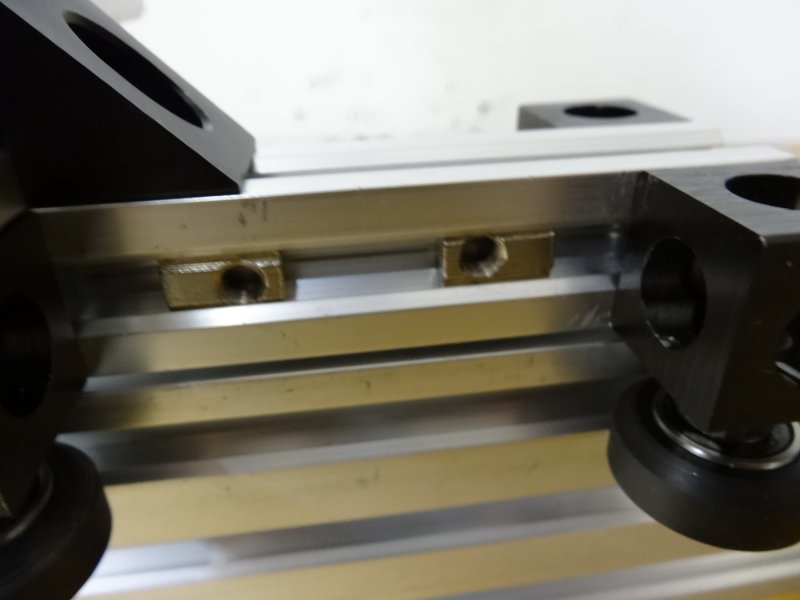
Lining up the clamp with the bottom holes.
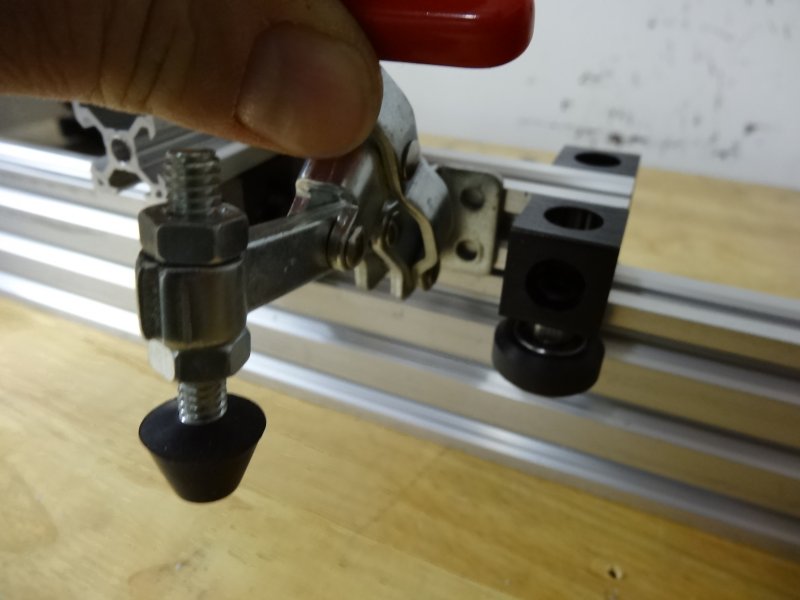
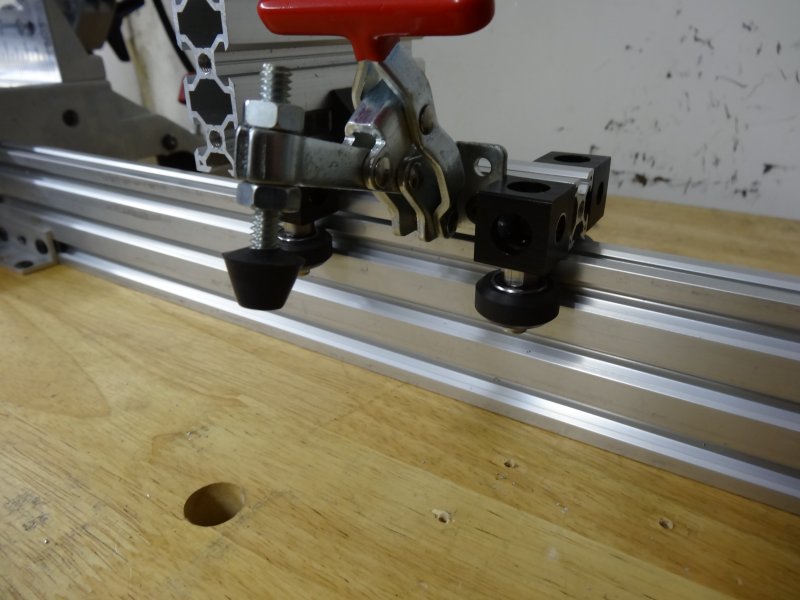
After the clamp is screwed in place make sure to adjust the rubber stopper screw (using the two nuts) for a tight clamping force, but not so tight it pulls the rail to one side.
Just enough to lock it from moving and gives you a good stop to run material up to. Once you get it set you can tighten the two nuts to make sure it does not come lose down the road.
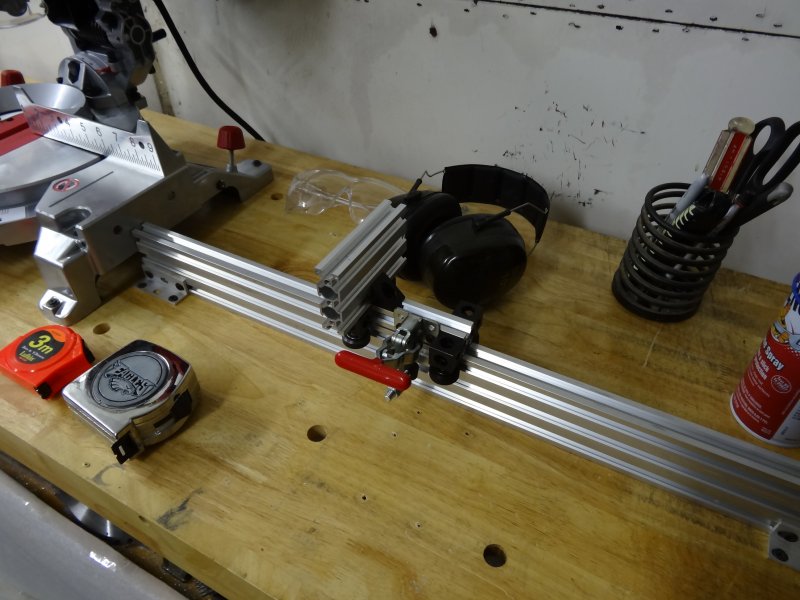
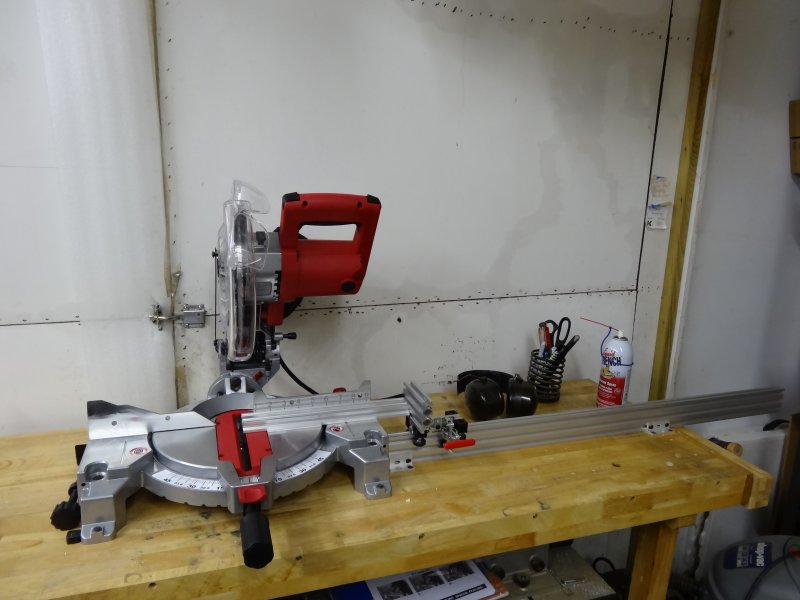
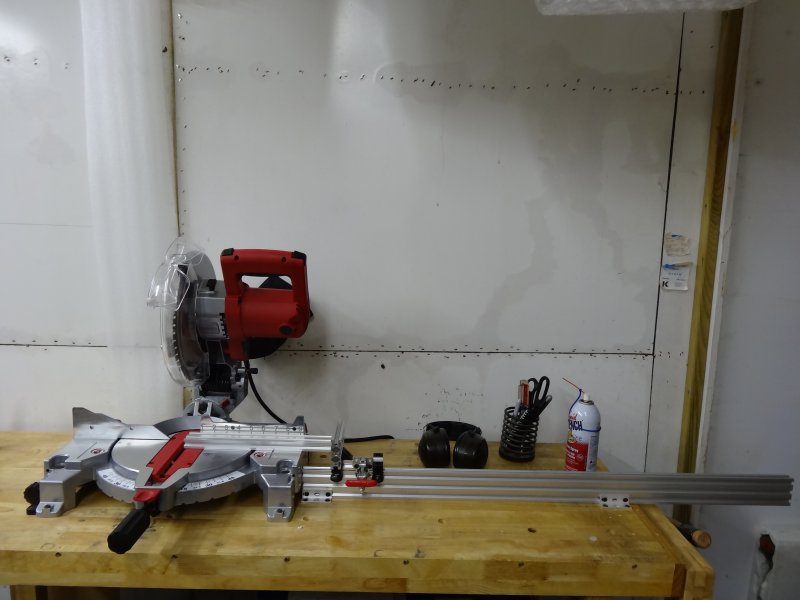
Another view, everything is in place and ready to go.
Getting everything set up for the first cut.
First cut works perfect!
Another view (will hook up the shop vac in the future)
Quick video moving the cart and show how it locks into place
Well, that's it for this simple build.
Like I said there are many ways to improve on this, so please do and share it.
Hope this helps out with cutting for your upcoming projects!

V-Slot Miter Saw Stop
Build in 'Other Builds' published by kram242, Feb 21, 2014.
A quick and simple saw stop build.
-
-
Build Author kram242, Find all builds by kram242
-
- Loading...
-
Build Details
- Build License:
-
- CC - Attribution Share Alike - CC BY SA
Reason for this Build
We needed a way to quickly change cuts while being able to cut multiple cuts accuratelyInspired by
Saw stops -
Attached Files:
© XenZine Articles from Pick a Tutor