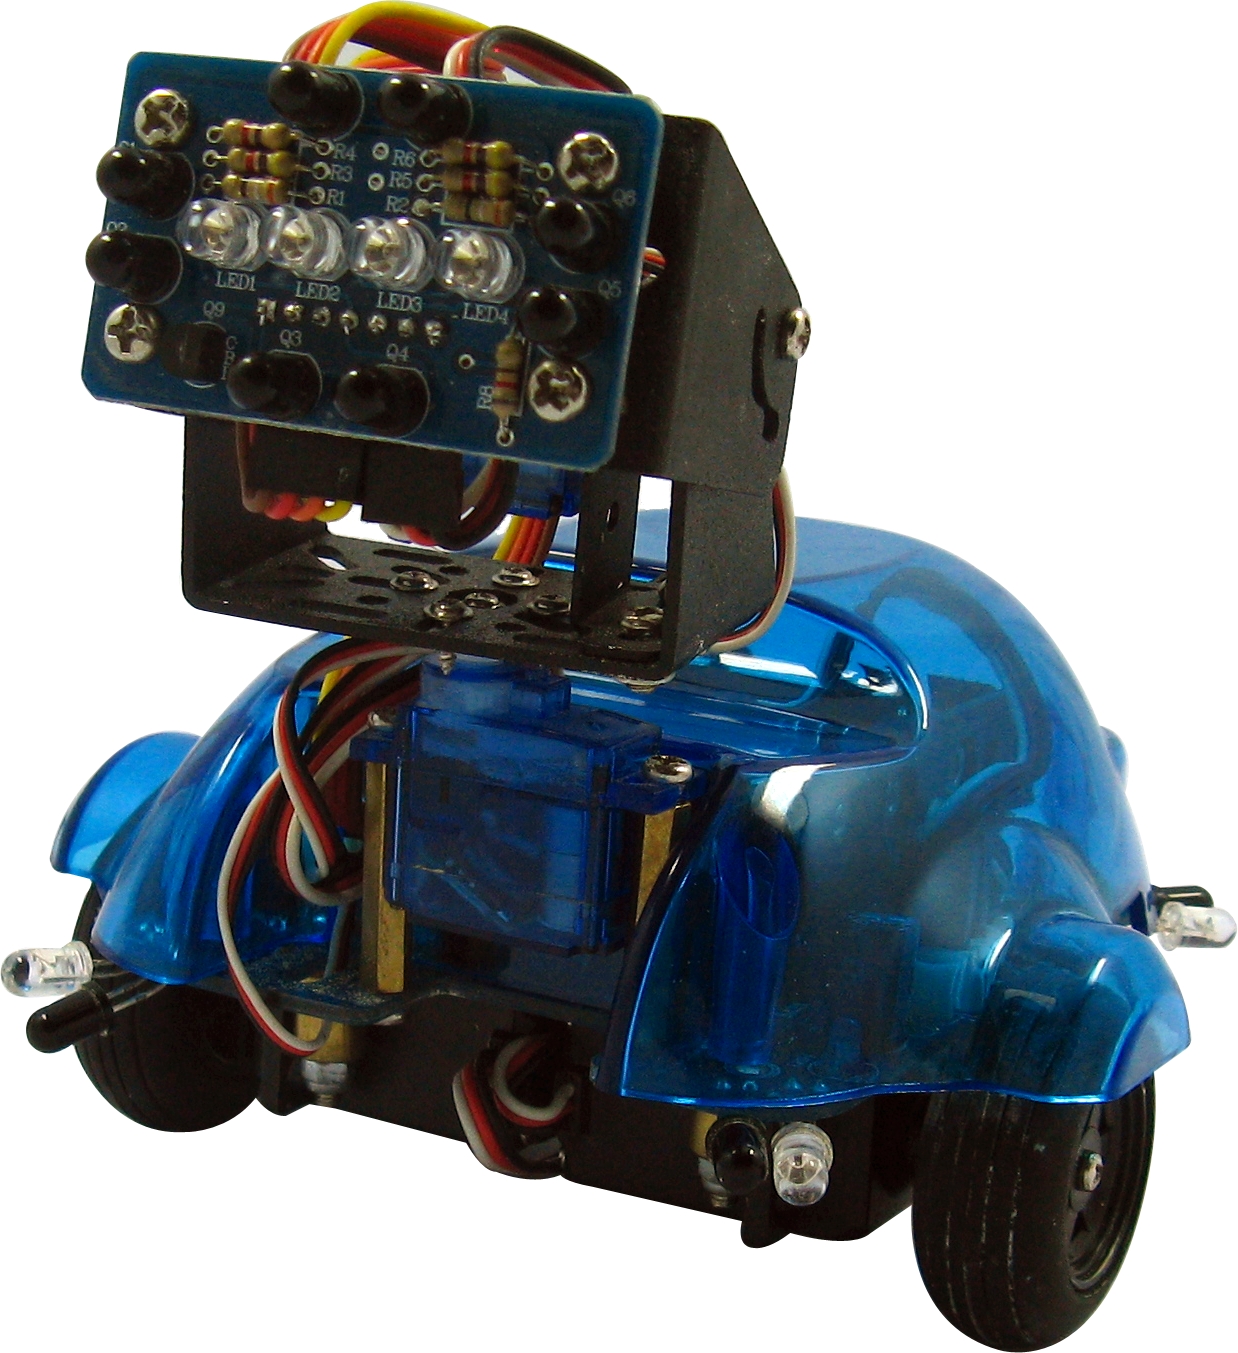
 If you’re new to the world of robotics, or if you want a nice platform to learn robot programming, then the Adventure Bot by Dagu is a great choice. This guide takes you through the process of getting started with the Adventure Bot, and running your first program.
Before You Start
The Adventure Bot comes fully assembled, so you don’t need to do any soldering, but you do need to provide 4 AA rechargeable batteries (NiMh or NiCd) and a Phillips head screwdriver in order to take the case off the Adventure Bot.
Note: It’s important that you only use rechargeable batteries in the Adventure Bot as the batteries will be trickle charged if you plug a DC power supply into the barrel jack on the left hand side of the robot.
Unpacking the Adventure Bot
Open up the box, and in addition to a cute little robot, you also get a USB cable to program the robot, and a software CD.
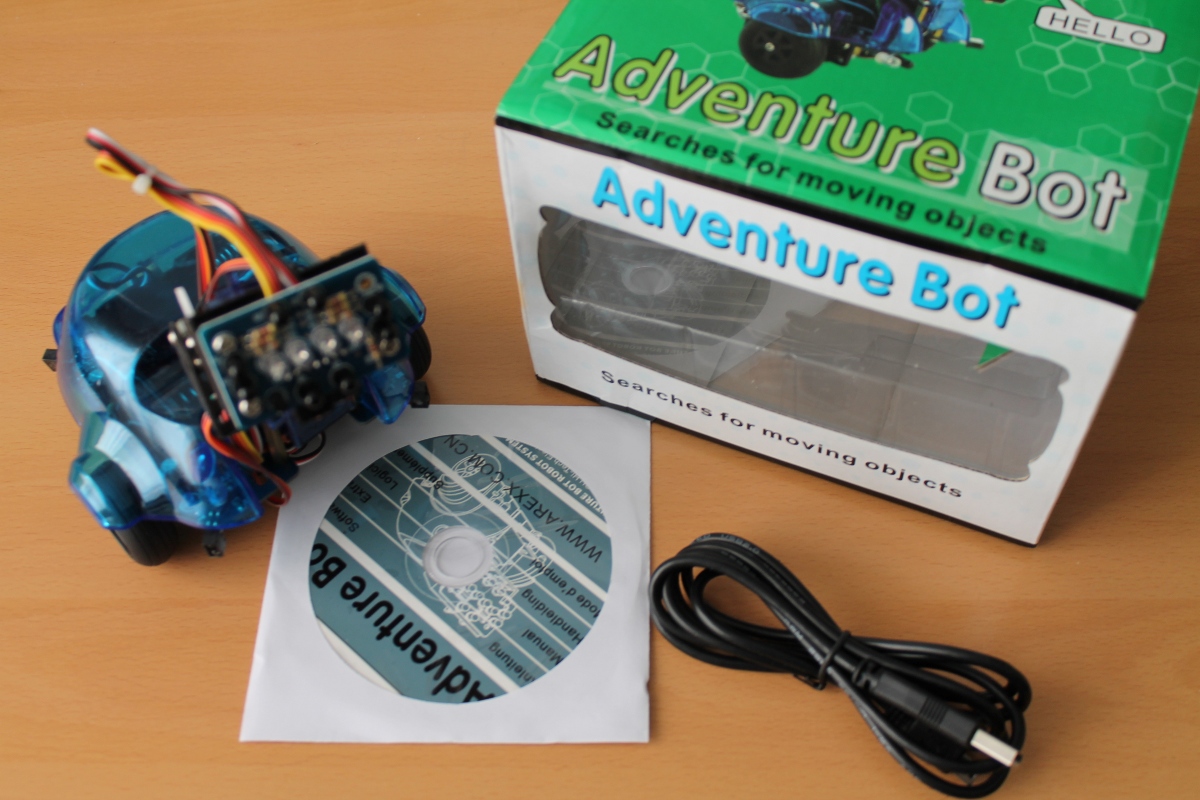
Inside the Adventure Bot box
Installing the Batteries
There are 4 screws underneath the Adventure Bot which need to be undone in order to release the battery cover. Also, we find it much easier to remove the battery cover if we also unscrew the 2 screws which hold the panning servo for the Adventure Bot’s neck in place.
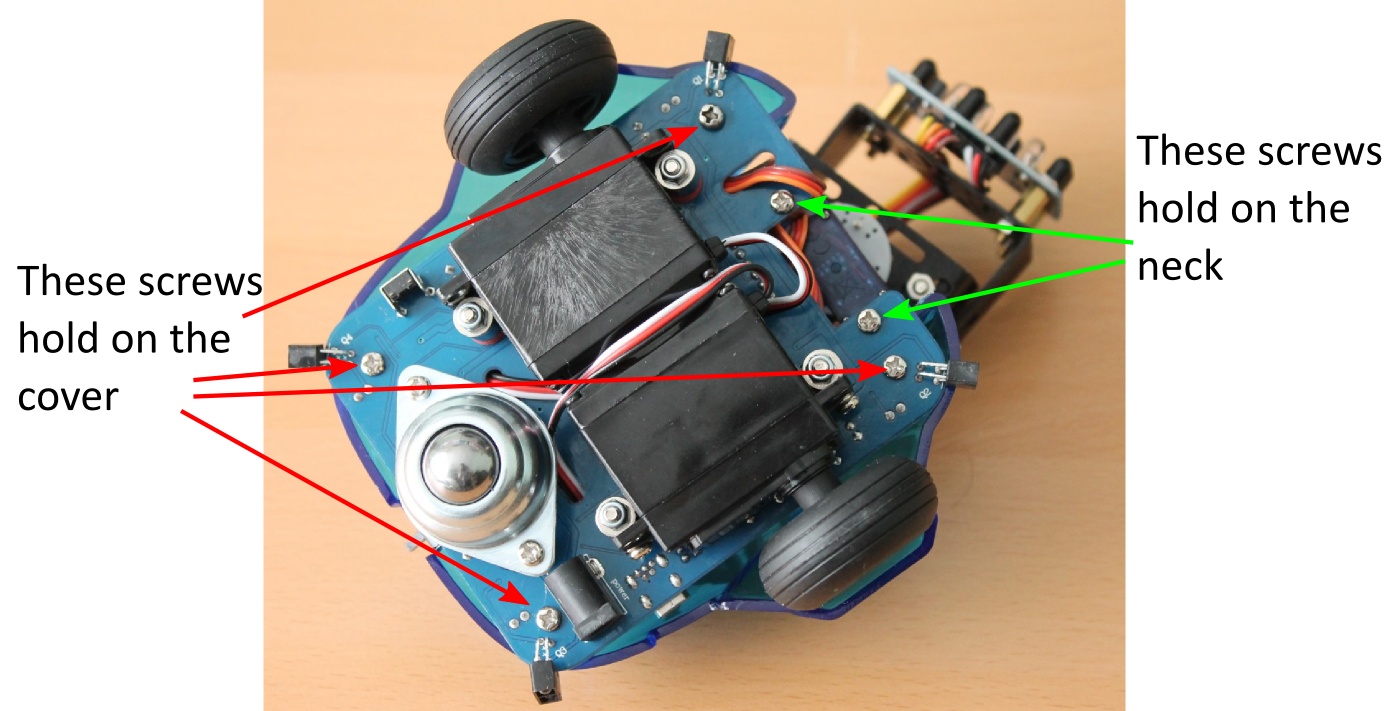
Screw positions
Once the Adventure Bot is opened up, install the batteries, and then replace the cover, the neck, and the screws.
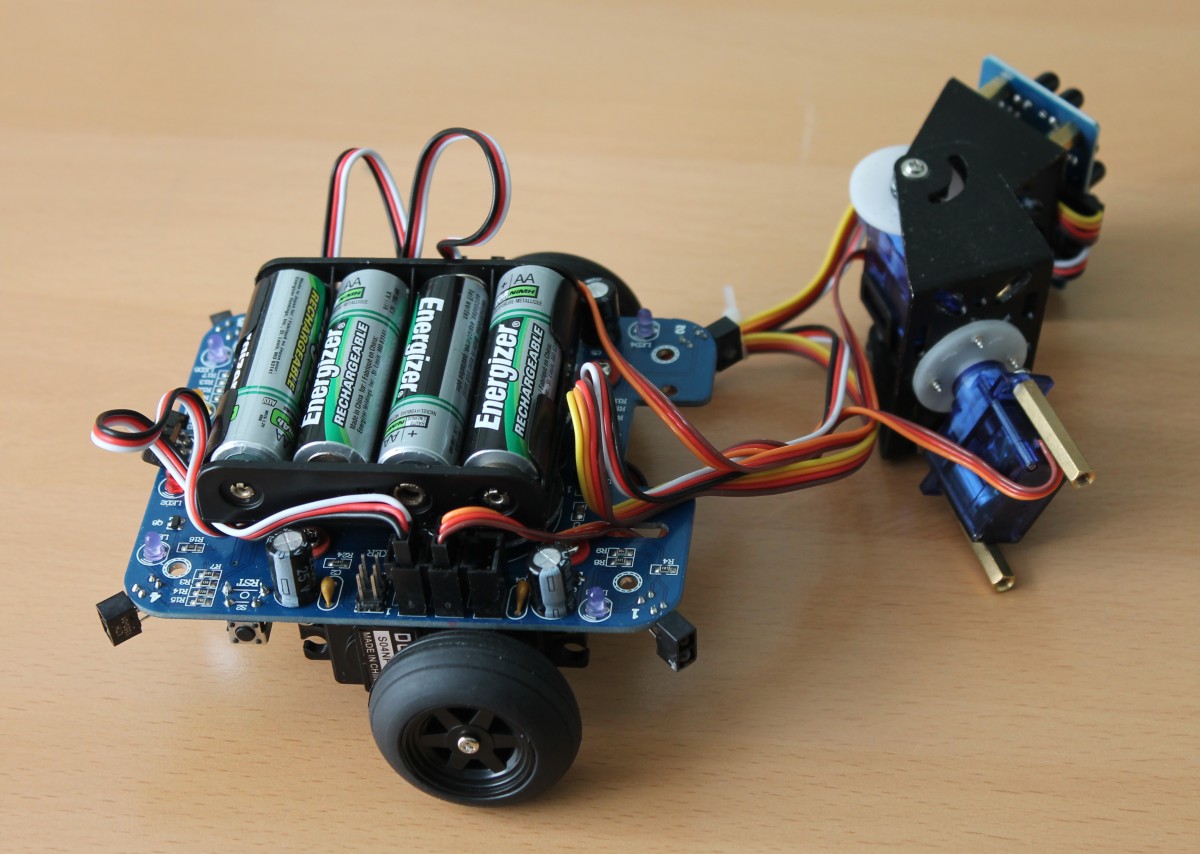
Installing the batteries
Programming the Adventure Bot
The Adventure Bot should come preprogrammed, however, we’ve encountered a couple which weren’t. Never fear! This is very easy to fix, and one of the reasons that the Adventure Bot is so cool is that it’s programmable, so we might as well make a start now. ![]()
Download and install the latest version of the Arduino IDE from the Arduino website. Also download a copy of the demo code for the Adventure Bot from Dagu’s support website.
We tend to put the Adventure Bot up high onto an upturned mug, or onto a roll of masking tape whilst we program it, as otherwise it can have a nasty habit of running off whilst you’re trying to download code. ![]()
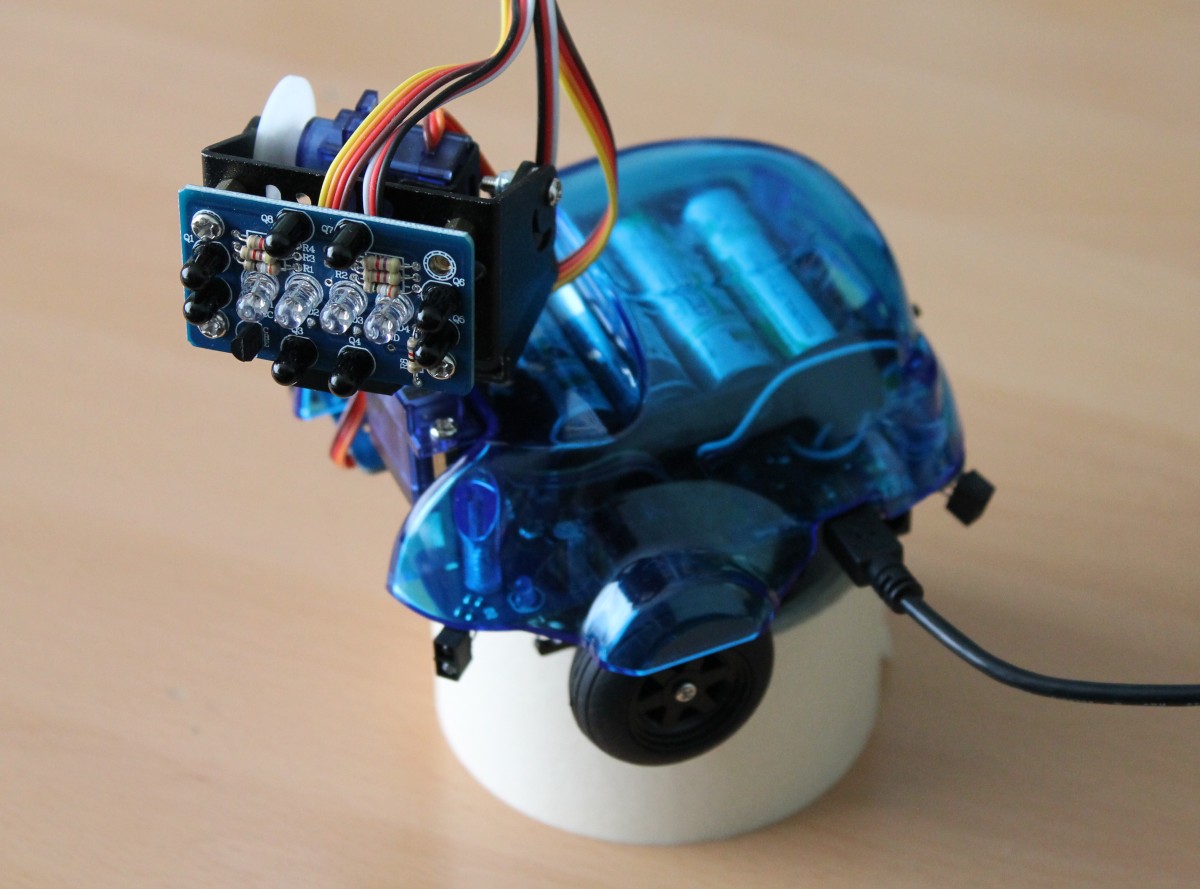
Sitting pretty ready to be programmed
Once your robot is safely immobilised, connect it to the PC with the included USB cable and flip the switch at the back of the Adventure Bot to the ‘on’ position, after a couple of seconds it should be recognised by your PC and turn up as a serial port.
Now, open up the demo code in the Arduino IDE, and set the board type to ‘Arduino Diecimila or Duemilanove w/ ATmega168′. You can now press Upload to compile the code and send it to the Adventure Bot.
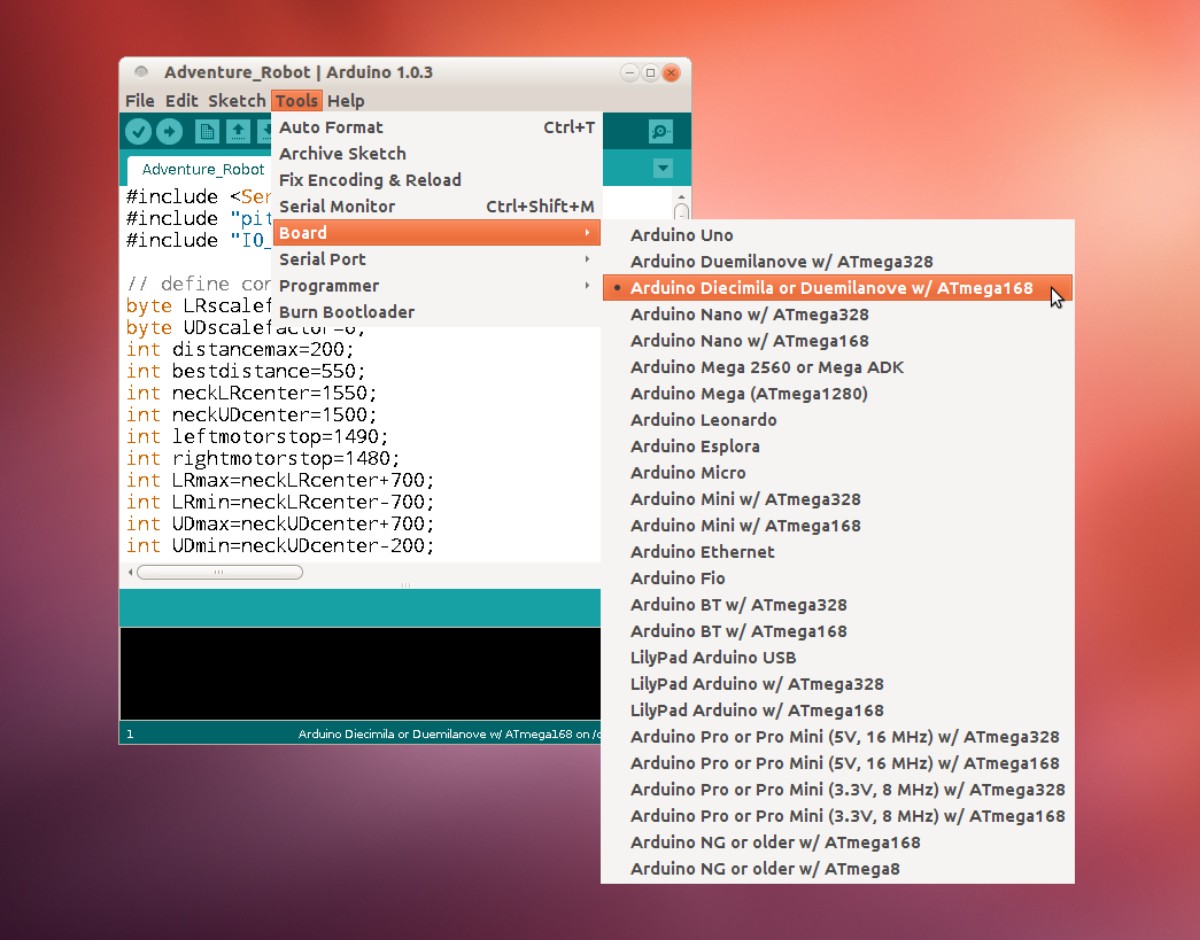
Setting the correct board type
Robot Behaviour
When you turn the robot on after programming it, it should play a little tune before the corner lights start to flash one after the other. When you place your hand it front of its ‘face’ you should find that it attempts to follow your hand around.
Taking Things Further
There’s lots to play with on this robot. The corner sensors let you know if an obstacle is nearby, you can use the pan and tilt head to look for nearby obstacles without moving the robot, and the robot’s speaker lets it play sounds and tunes to ‘communicate’ with its user.
The official manual has a fairly detailed explanation of the default program, and in the future we’re aiming to produce more tutorials that explore further what you can do with this cool little robot.
Have fun… ![]()