Happy New Year everyone! Things have been a bit quiet on this blog due to the Christmas rush, and the fact that we’ve been spending time on product development (more on that in a future post). But here at last is the 3rd and final post in our series on the Raspberry Pi robot we used for a workshop at the now not so recent Digimakers event at @Bristol.
In part 1 we described the hardware of the robot, in part 2 we talked about the software that ran on the robot. In this post we’ll talk about about the the Scratch simulator which the workshop participants used to create their robot control programs, and our experience of running the workshop.
Workshop Outline
The workshop was aimed at children aged 7 and up, and sought to teach them to write a simple robot control program. The background story for the workshop was that they were remotely controlling a rover on the Martian surface, and had to write a control program to help it find an ‘alien artifact’ which was hidden behind some obstacles. The worksheet for the workshop can be found here, and gives more details about the task along with the commands that can be used to drive the robot.
Running the Workshop
Once the students had been introduced to the workshop, we handed out SD cards which had been pre-loaded with Raspbian for them to use in their Raspberry Pis. The students opened up Scratch and loaded the file scratch/simulator.sb. This file uses remote sensor connections to communicate with a Python script running in the background, and this Python script simulates the movement of the robot, and the data its sensors get back from the world.
Commands are sent to the robot using a slightly clunky process whereby you first broadcast a message telling the robot to prepare for a command, then you send the command, and finally you wait until a sensor value tells you that the command has completed. The image below shows how you tell the robot to move forward 50cm for example
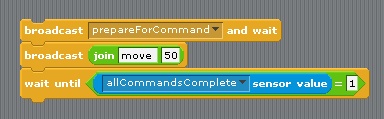
How to tell the robot to move forward 50cm
The workshop worksheet gives the full list of available commands and sensor values, and this is a Scratch program that gets the robot to drive in a square.

Program to make the robot drive in a square
Setting up the Simulator SD Card for the Students
The SD cards were set up with the following steps
- Install Raspbian
- Run raspi-config to enable the graphical login
- Grab the workshop code (you might want to delete the solution files from the scratch folder)
git clone https://github.com/DawnRobotics/digimakers_scratch_workshop.git
- Get the simulator script to run at start up by first opening the crontab file
sudo crontab -e
- Then add the following line to the bottom of the file, and save and exit by pressing Ctrl-O, Ctrl-X
@reboot python /home/pi/digimakers_scratch_workshop/scripts/scratch_simulator_background_script.py &

The robot simulator running in Scratch – Photo reused with permission from Raspberry Pi Spy
Controlling the Robot
Once the students had created a program that ran well in the simulator, they saved their Scratch file, turned off their Pi and took their SD card to a laptop that had a USB Bluetooth dongle and was running scripts/scratch_rover_5_background_script.py in the background. This script takes the place of the simulator script and uses Bluetooth to pass the commands from the robot control program to the robot.
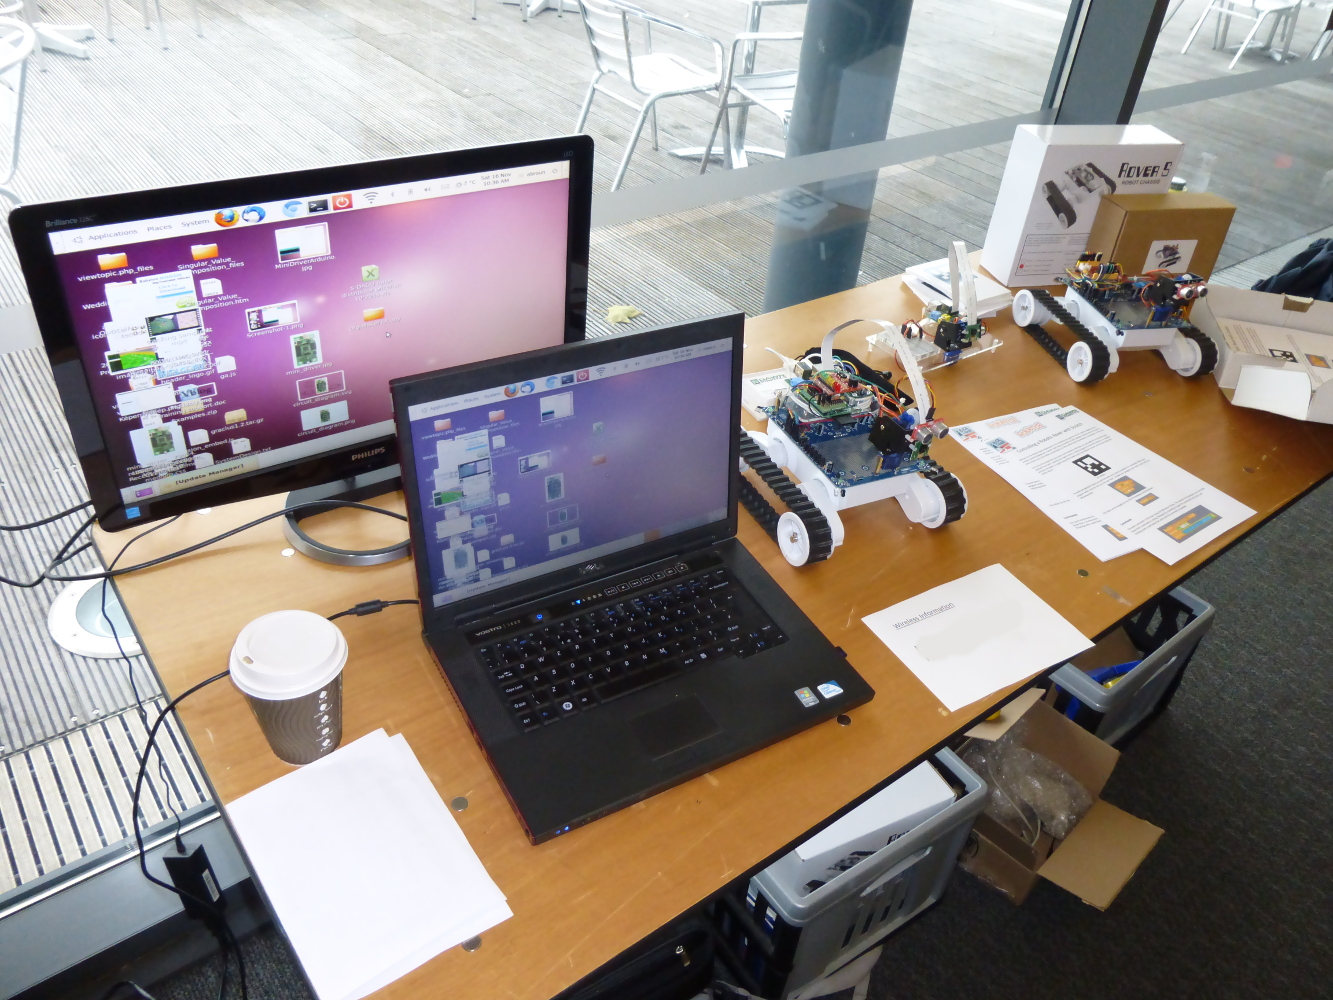
The laptop used to control the robot – Photo reused with permission from Raspberry Pi Spy
It was at this point that most of the students got a fairly rude awakening to the world of robotics, in that the commands they sent were never executed precisely. ![]() Due to wheel slip on the carpet, 90 degree turns were never quite 90 degrees, and 50cm in the simulator didn’t translate to exactly 50cm in the real world. This prompted a lot of back and forth as the students refined their control programs (they were able to do this on the laptop) to get them working.
Due to wheel slip on the carpet, 90 degree turns were never quite 90 degrees, and 50cm in the simulator didn’t translate to exactly 50cm in the real world. This prompted a lot of back and forth as the students refined their control programs (they were able to do this on the laptop) to get them working.
The workshop was really well received, and we were really impressed by how well even the youngest participants did in the two hours available. There were two broad ways to complete the task, either the students could navigate around the obstacles using dead reckoning to look for the artifact, or else they could use the robot’s ultrasonic sensor to navigate a potentially quicker path through a gap between the obstacles. All of the students who took part in the workshop were able to implement the first solution, and a few were making good progress on the second solution by the end.
We’re hoping to run the workshop again at some point in the future, which will hopefully give us a chance to refine it a bit. People are are also welcome to use the source code and support material as the basis for running their own version of the workshop. If you’re thinking of doing that, then get in touch via this thread or via our forum, as we’re always happy to offer advice. ![]()