Please also see the wiki.
- What’s the biggest you can draw with a polargraph machine?
- Could I use timing belt and matched sprockets to get better accuracy? They don’t stretch as much…
- Can I draw right up to the edge of the surface? Use the full size?
- Can I draw on a vertical wall, or do I need an easel or a board or something?
- Oh man, it goes wrong a lot?! And destroys all my wallpaper you say?!
- Well I don’t know anything about electronics – should I buy one?
- Well I don’t know anything about compiling software, or arduino (whatever that is!) – will it be too complicated for me?
- It’s not plug’n’play!? I don’t have time for fiddling!
- I want to draw super accurate plans for making planes / architectural models / papercraft. Make it so.
- It seems like an awful expensive way to make a pretty low quality printer. You’re a fraud.
What’s the biggest you can draw with a polargraph machine?
Good question, without a simple answer… Bit embarrassing really. Since May 2013 and firmware v1.66, the internal maths is floating-point, which means the old limitation of a maximum diagonal length being 1.3m no longer applies. The thing is, I’m not quite sure what happens after that size. 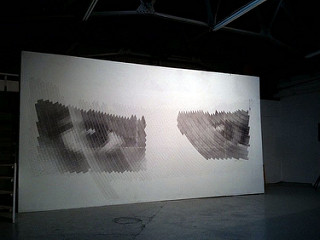 Certainly I have seen projects with diagonal measurements of 9m, which is pretty enormous, but there must be a point somewhere greater than that where accuracy might begin to be significantly affected by the floating point rounding of numbers.
In practice, there are other issues that creep in at machines 4m or more: homing, access, the length of time it takes to draw anything at that scale, so there hasn’t been much occasion to try it.
It’s certain that there’s nothing you can commonly buy in the form of rigid sheets (plywood, paper) that is too big to make a machine, or to be drawn on. In the kits I sell, I supply 4m of cord, which is enough for a 2m diagonal machine – that’s bigger than A0 paper.
Could I use timing belt and matched sprockets to get better accuracy? They don’t stretch as much…
Yes, that’s probably true. Lots of other drawbots use timing belt and sprockets, but it isn’t for accuracy – it’s because they’re easier to buy off-the-shelf, and because they look pretty cool. I went with beaded cord because timing belt and machined pulleys are so expensive and not as flexible – there needs to be more weight to pull the “v” tight and get a good fit into the drive pulleys. The precision is unnecessary too – this is a system hopelessly entwined with friction and gravity – stretch is probably the least of your worries. I should restate it: This is not a precision plotter.
Can I draw right up to the edge of the surface? Use the full size?
Not reliably. There is a lot of distortion starts creeping in at the sides, and the bottom, and the motors struggle to haul the pen right up close to the top, so I would always expect to leave a margin of 15% or so on each side.
Can I draw on a vertical wall, or do I need an easel or a board or something?
Absolutely vertical drawing has it’s own challenges, it’s harder to get weight behind the pen, and everything is just a bit more skittery because of that.
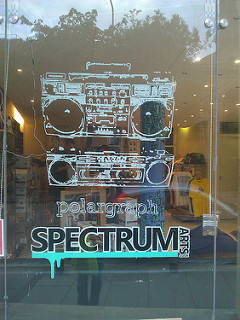
But it’s definitely possible. Drawing with a fat drippy chalk pen on a plate glass window went surprisingly well. I had to have a special gondola made to hold the fat pen, but it the machine part of the build was stock.
For better control, and line quality, I use a very slightly sloped surface, a board leaned against the wall. The angle isn’t critical – the angle I use is literally just enough to make the board stable and stop it from falling forward. Too steep and the friction from the pen tip starts causing a drag, but it’s easy to adjust.
Certainly some brave souls have used a very tilted surface because it puts more weight directly behind the pen – tools that need pressure (like ballpoint pens) might benefit from this technique. I have not experimented much with tilt because .. well it worked straight away on the first go.
Drawing vertical against the wall also risks your beautiful paintwork too, of course. Scribbler beware!
Oh man, it goes wrong a lot?! And destroys all my wallpaper you say?!
The calibration and running is a little particular. Certain things need to be done in a certain order (for fairly sound reasons), or you will get weird, and wasteful results. Big, clean sheets of pristine hot-rolled paper do not grow on trees, and a big stripe right through the middle is not just annoying. So practice, have a little trial on scrap paper first. This isn’t a printer that you can just plug in, turn on and start churning pictures out with.
Of course it sometimes _does_ go wrong when you turn the wrong power supply off, or the motor falls off the wall, or the wire or the cord gets stuck on something (or someone), and that leads to the whole thing coming crashing down. These things happen and you might have a mad felt-tip pen flailing about randomly for a few seconds. Be warned.
Well I don’t know anything about electronics – should I buy one?
There is a difference between wiring and electronics, and polargraph is firmly in the “wiring” camp. If you can rewire a plug then you will have no problem. What you need, is to be able to learn, and be willing to be careful, while at the same time trying a few different things. This isn’t plug’n’play, so you need to have a curiosity about it. You won’t electrocute yourself, but you might fry some of your expensive hardware if you pull out the motor lead without cutting the power first.
Well I don’t know anything about compiling software, or arduino (whatever that is!) – will it be too complicated for me?
Again, you will need to be willing to look into this if you get stuck, and perhaps refer to one of the many many arduino guides on the web. The hardware part of the polargraph is based on a little microcontroller board called an Arduino. These are really popular, and they have a little packet of software on them. That is called the firmware. The firmware for polargraph is fairly regularly updated, so you should be able to update the firmware on your polargraph yourself. There’s a few different ways of doing it, but simply uploading a precompiled hex file is the easiest.
It’s not plug’n’play!? I don’t have time for fiddling!
That’s fair enough. It isn’t plug and play, it’s a kit for enthusiasts who are willing to put in an evening or two to getting things running nicely. If you are short of time then pay the money to have your drawings professionally produced. If you are short of time and money, then.. unlucky.
I want to draw super accurate plans for making planes / architectural models / papercraft. Make it so.
Polargraph relies on a tension between gravity and friction to work at all. Both of those things are hard to account for, so all areas of a polargraph machine will be subject to some small form of distortion. There is a big “sweet spot” in the middle, where it’s pretty regular, but the top and the sides will be worse. Bill Rasmussen has made this brilliant analysis of the problem and has some cool diagrams that show it nicely.
It seems like an awful expensive way to make a pretty low quality printer. You’re a fraud.
Meh, I kinda know what you mean. You can buy an inkjet for a tenth of the cost of putting together a nice polargraph rig, and you’ll get print quality more than ten times better, ten times faster, with ten times less work. But this is old-school stuff, and there’s a robust honesty, a simplicity, a ‘before your very eyes’ pleasure in it that is simply missing from modern consumer repro devices. The format is unlimited, it can be big, bigger than your biggest printer, and then be taken down and put into a shoebox.
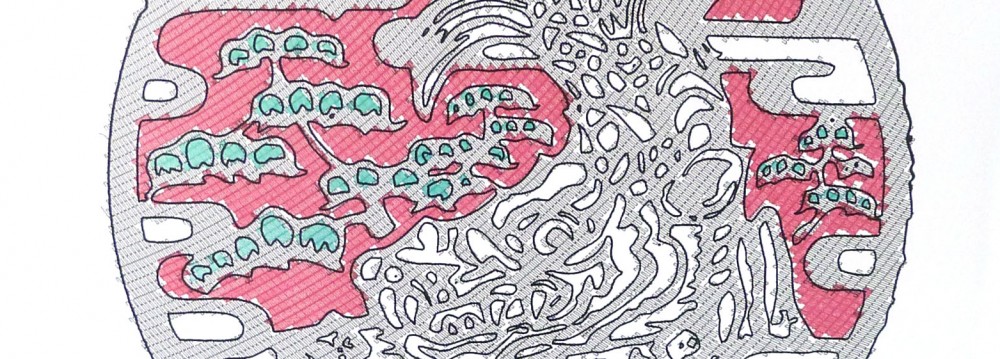
It is a conscious attempt to break out of pre-baked formats, and a rebellion against pixel perfect, portable graphics presentation. You don’t draw a picture with a polargraph machine, you use a polargraph machine to produce a drawing, based on some input “seed” artwork. The finished piece might look amazingly representative, it might entirely miss the subject of the artwork, but it will always look like a polargraph, for better or for worse.
If you want fast printing, full colour, things like that (and lets face it, most people do), then polargraph isn’t for you. There’s no judgement in that, it doesn’t make you an artless philistine, it just makes your priorities different. This isn’t a sales pitch – most people can’t be bothered with the machine: it’s a curiosity, but not something that can justify a place in their homes or workshops. For others, well, I guess you know who you are, and you know what you like about it!