It's been general practice among polargraph operators to use a program such as Rasterbater to convert bitmaps to vectorized halftone images. Once doing so, I (and I assume others) would then import the vectors into Inkscape for additional editing. I've recently discovered, however, that Inkscape is fully capable of halftone conversion on its own, and has some additional features that I'm really excited about.
I'm going to insert the caveat that I've found Inkscape's tool to be a little buggy (using the Windows version). It's possible the problems I've encountered were due to me semi-blindly poking about. But even now, with a standard workflow established, I still sometimes get wackidoodle results. When things go horribly wrong, I've found the best solution is to toss out what I've done and start over from scratch.
THE SHORT VERSION
- Import a bitmap into Inkscape
- Draw a small shape to define what your halftone "dots" will look like
- Put the dot shape over the top left corner of your bitmap and leave the dot selected
- Select Edit/Clone/Create Tiled Clones...
- Adjust, primarily, the parameters under the "Trace" tab (other tabs have useful stuff, too)
- Hit "Create"
THE LONG VERSION
1. Import a bitmap into Inkscape using File/Import...
Take note of the dimensions of your file (e.g. 600x800 pixels). Don't scale your image in Inkscape.
2. Draw a shape that will define what your halftone "dots" will look like. It needn't be a circle, it can be any vector shape. Since the "fill" setting on your shape won't affect your polargraph drawing, consider bringing the line inside your shape, too, to fill it somewhat. Scale the shape to be the size you want your largest dots to be (in other words, the grid size). If your dot is made of multiple lines (like the star below), you must combine the lines together with cntrl+k (>Path/Combine).

3. Move the dot so it's just touching the top and left edges of your bitmap.

4. With your dot selected, go to Edit/Clone/Create Tiled Clones...
5. Click the Trace tab on the far right.
Add a check to the Trace the drawing under the tiles box.
Under 1. Pick from the Drawing:, select Color.
Under 3. Apply the value to the clones':, check Size only.
6. The Shift, Scale and Rotation tabs have useful parameters, especially Randomize. Play with them sometime.
7. Near the bottom of the dialog box, select Width, height and enter the dimensions of your bitmap, and make sure px is the unit you're using.
8. Cross your fingers, pay tribute to a higher power, and click the "Create" button. It might take a while to create all the clones, especially if your dot shape is relatively small. You might even crash Inkscape if it has to make too many clones. Next time, use a larger dot.
9. Here's the part I especially like: Since the dots are all clones (rather than copies), when you edit your original shape, all the clones update. This makes adjusting your image easy, and experimenting really fun. When scaling your dot, you should hold the shift key, so the scale is done around the center of the dot (shift+cntrl for scaling both axis at the same time). Otherwise, your dot clones will shift off-center.
10. Save your file. Then delete the original dot shape. Using a different filename, save the file again. Use this second file in the polargraph controller. Save the first file for future editing.
I think that's it. Let me know if you find steps I've forgotten or if you run into other problems, and I'll update the tutorial.
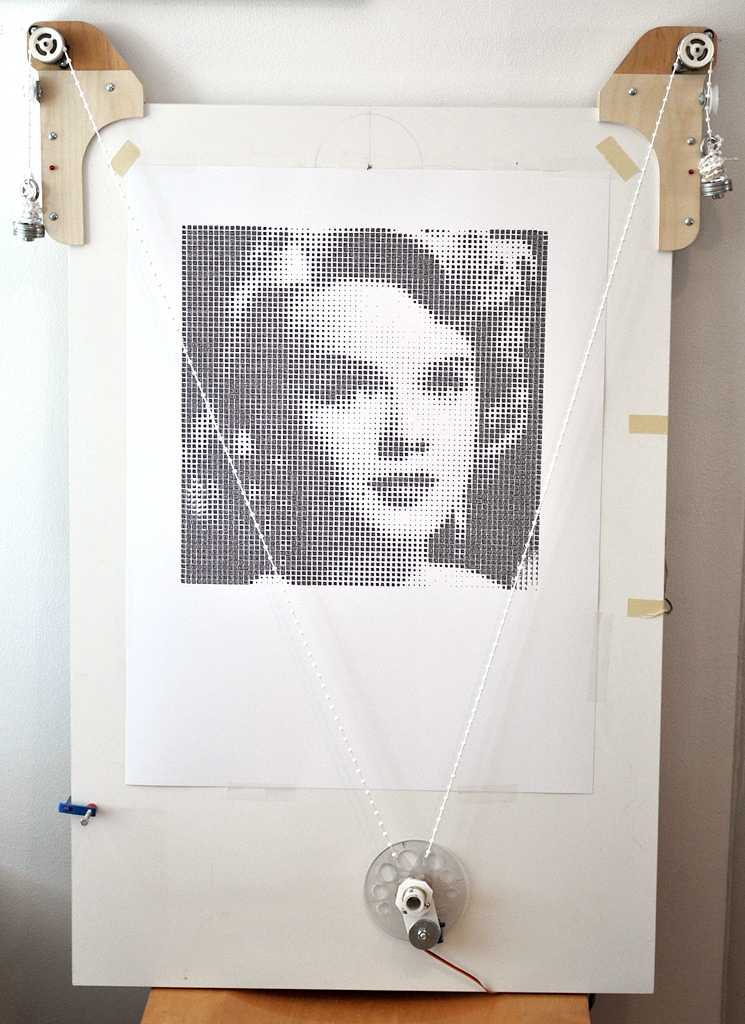
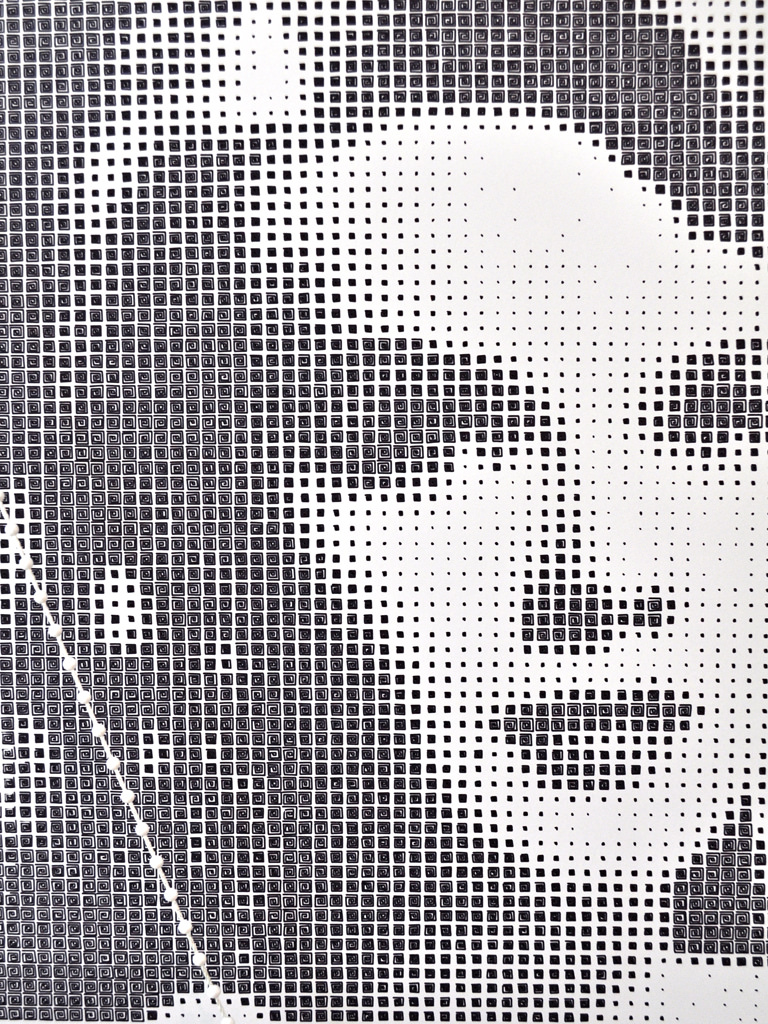
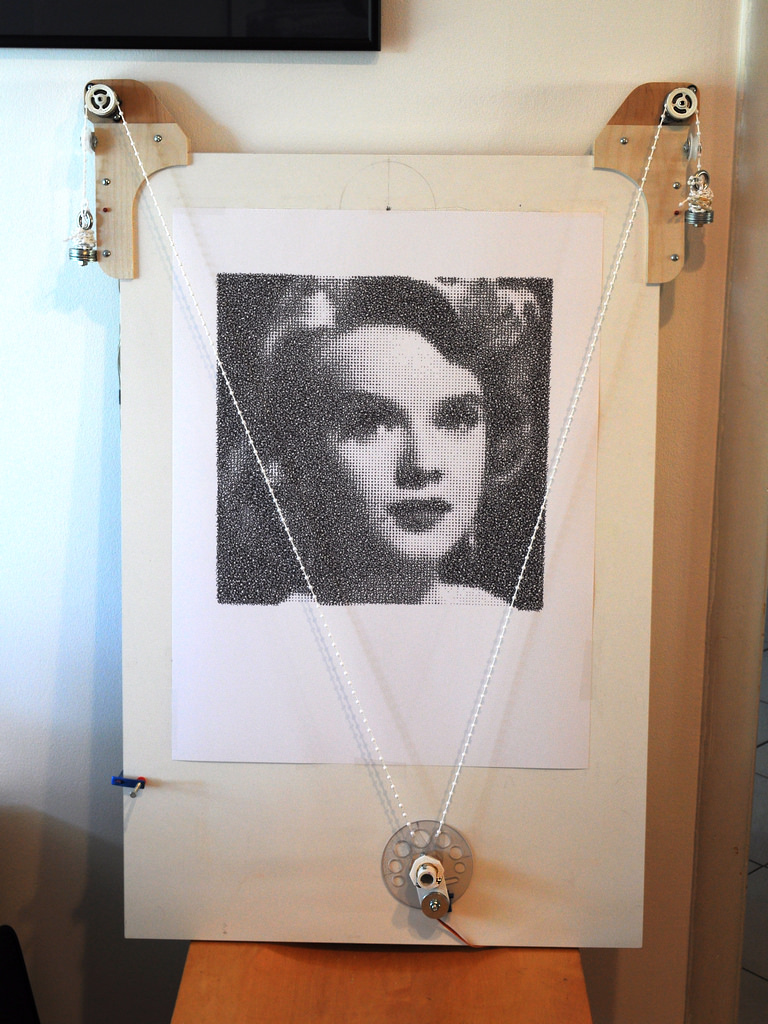
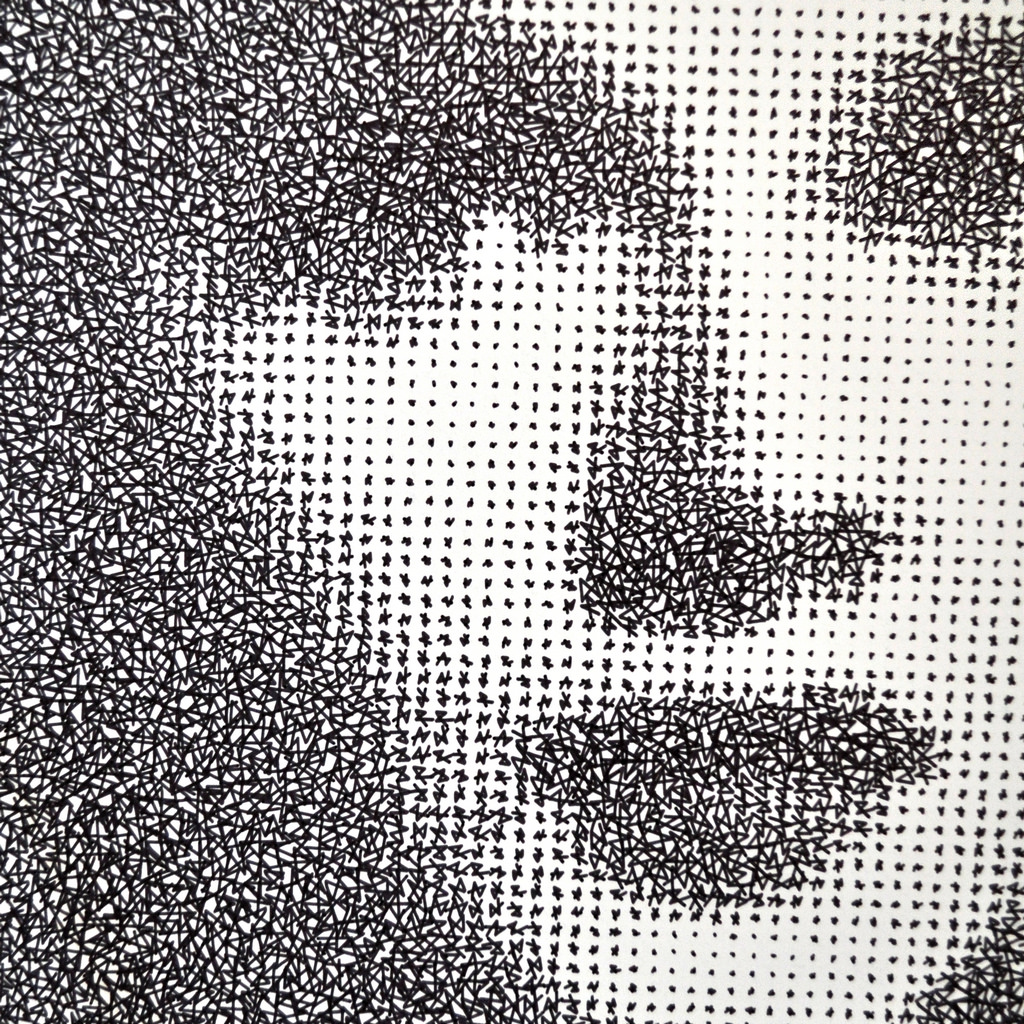
Here are the first images I've done with this technique. One uses the square spiral example seen above, and the other uses the scribble shape with random rotation added.


|
 Author
 Using Inkscape to Generate Vectorized Halftones


