🎮Hands-on Guide
📅Update: 2020/09/21
Please follow the instructions to upgrade DexArm's and touchscreen firmware first.
🧙♂ Tips: You can click the TOP RIGHT table of contents to read the corresponding section 👉
Place DexArm on a clean and flat surface, and power it on.
2.1 Download Rotrics Studio software from www.rotrics.com
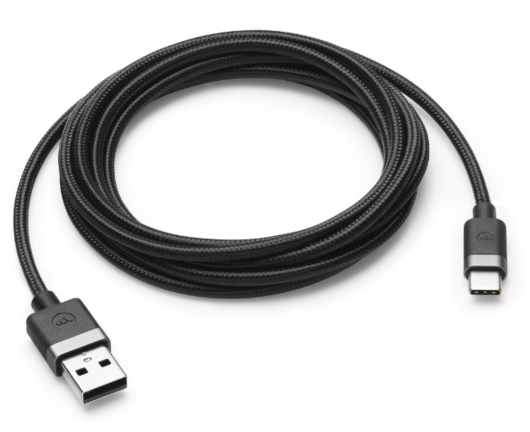
Warning: Do NOT use the dual USB-C cable to connect with your computer
7fc6.png?alt=media&token=15274c0a-ae9d-43e3-8aa4-1931881b4719)
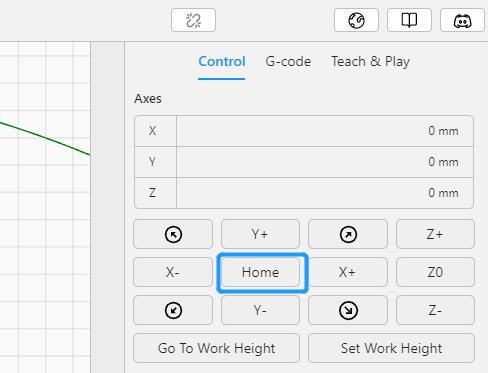
Click
HOME button to initialize DexArm
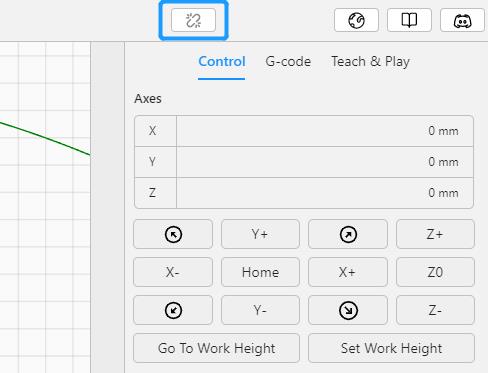
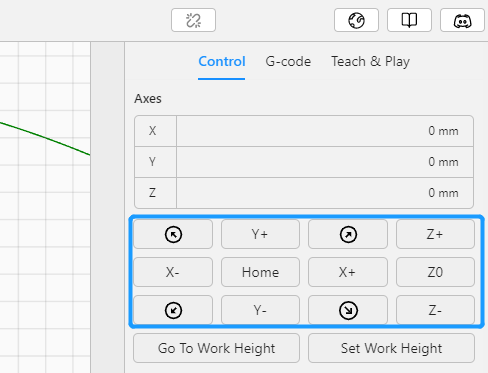
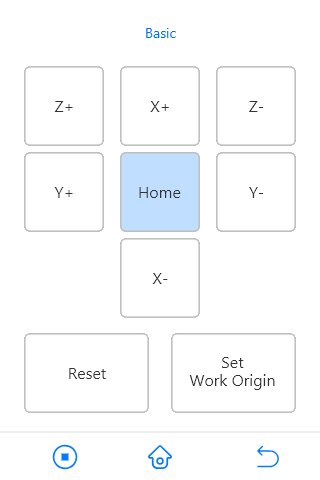
Control robot arm movement with control buttons on the right side, as shown in the following image:
Place DexArm on a clean and flat surface, and power it on.
Use Dual Type-C cable to connect touchscreen and your DexArm
Click
Basic 
HOME to complete initialization
Click X±, Y±, Z± to control the Arm movement
Last updated 6 months ago