Conveyor Belt Kit
📅Update: 2020/09/30
2) Production line simulation
3) Integrate DexArm and Conveyor Belt Kit into your project
Read the Installation Guide to check the items, assemble the sliding rail and set up for the first use.
We prepared two demo projects for you to experience the Rotrics conveyor belt kit. The demo project was programed with Python, make sure you have got the some Python programming skills before using it.
Woodblock color sorting with one DexArm.
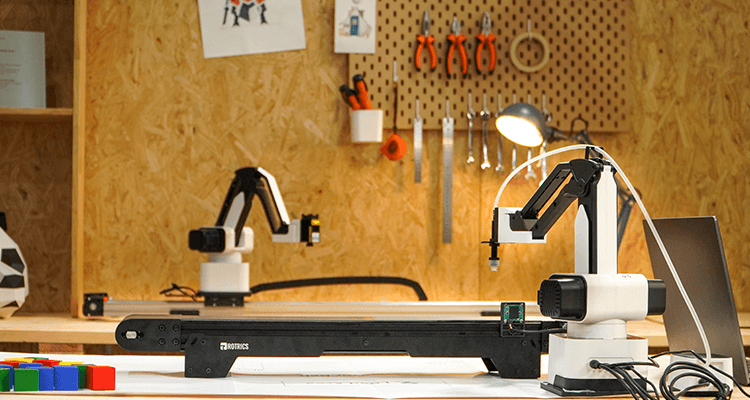
We put the woodblocks on conveyor belt and DexArm recognizes the color and sort them.
Woodblock color sorting with two DexArms.
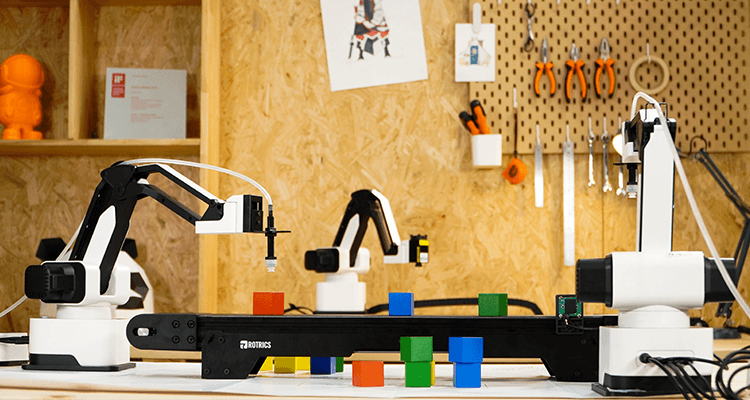
One DexArm picks up wood blocks on the conveyor belt and another DexArm recognizes the color and sort them.
Click here to download the demo code project👇
Choose the demo project and run it with VS Code or any other Python editors.
M2012 [F(rate)] [D(direction)]
M2013 - Stop conveyor belt
[F(rate)]The maximum movement rate of the move between the start and end point. This rate is separated from the of the speed of DexArm's movement.[D(direction)]The rotate direction of conveyor belt. 1 for positive, 0 for negative.
M2012 F5000 D1 ;rotate at speed 5000G4 S10 ;wait 10 secondsM2013 ;stop conveyor belt
🧠 Note: The speed of conveyor belt is separated from the speed of DexArm.
We used a 480P camera to recognize color and shape of the items on the conveyor belt. You can import the Cam_dev file to your project and use it.