
1-Intro to Parts / 2-Bottom Plate / 3-Side Plates / 4-Front Plate / 5-Right Plate / 6-Wiring / 7-Top Plate / 8-Wheels / 9-Back Plate
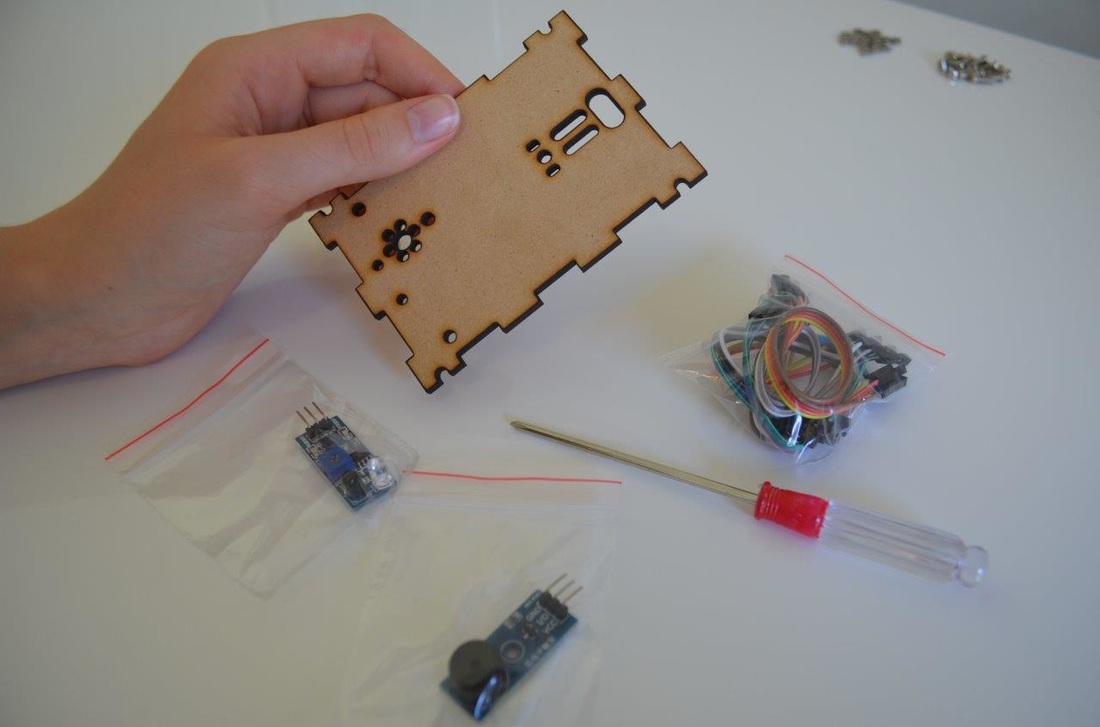
Parts you will need
|
|
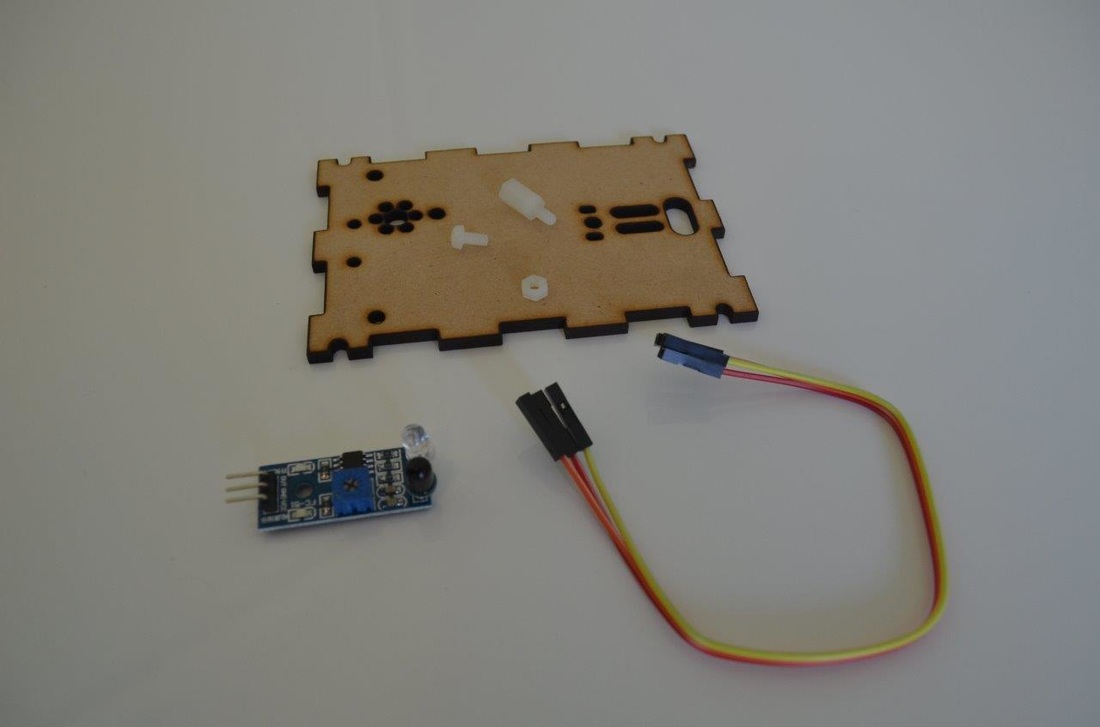
Installing the IR sensor
1. To mount the IR sensor, firstly push the screw end of the Nylon spacer through the mounting hole.
2. Ensure the screw end is protruding from the underside of the IR sensor (the side without the LED's).
3. Secure the Nylon spacer by threading on a Nylon nut. You can tighten this just with your fingers.
2. Ensure the screw end is protruding from the underside of the IR sensor (the side without the LED's).
3. Secure the Nylon spacer by threading on a Nylon nut. You can tighten this just with your fingers.


4-5. To mount the IR sensor to the Bottom Plate, place a Nylon screw through the mounting hole shown.
6. Flip the Bottom Plate over whilst keeping a finger on the end of the screw to keep it from falling out.
7. Begin threading the screw into the spacer by hand, then tighten as necessary with the screwdriver.
6. Flip the Bottom Plate over whilst keeping a finger on the end of the screw to keep it from falling out.
7. Begin threading the screw into the spacer by hand, then tighten as necessary with the screwdriver.


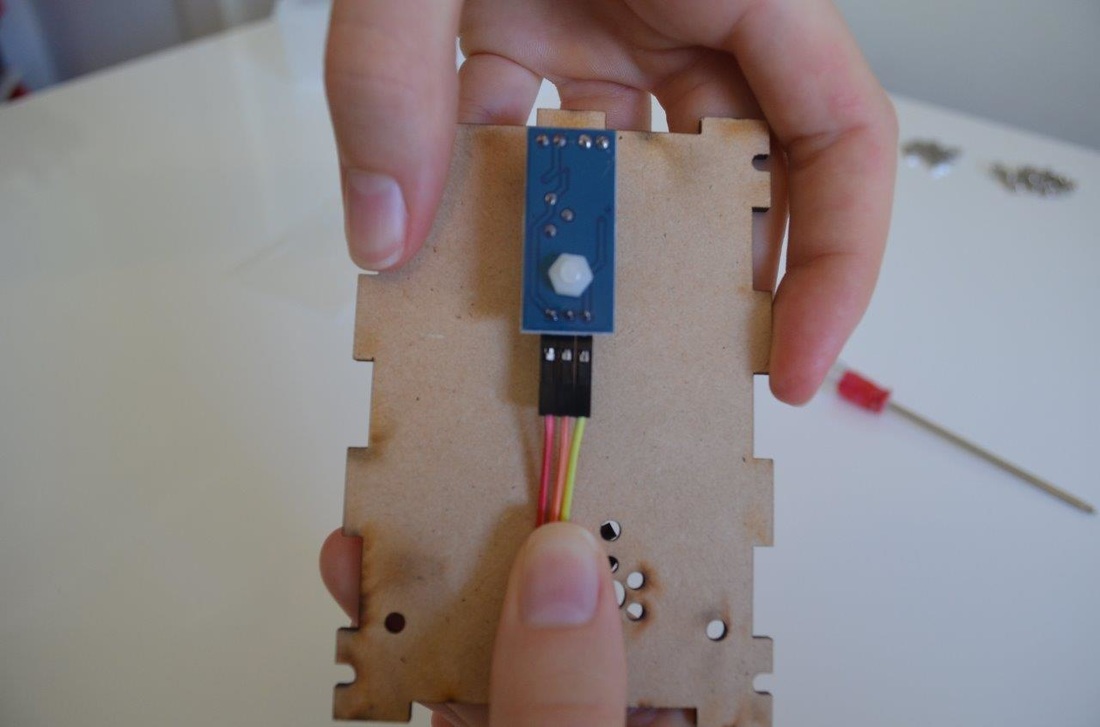
Connect the Jumper Cable to the IR sensor as shown.
Installing the Piezo Buzzer
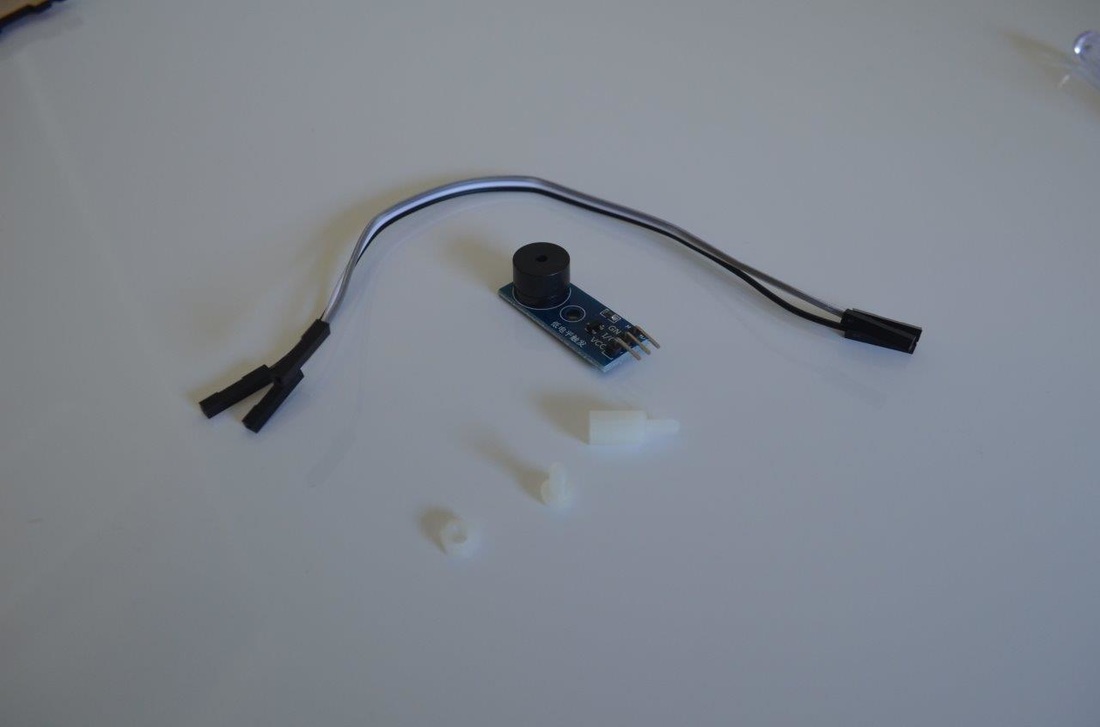
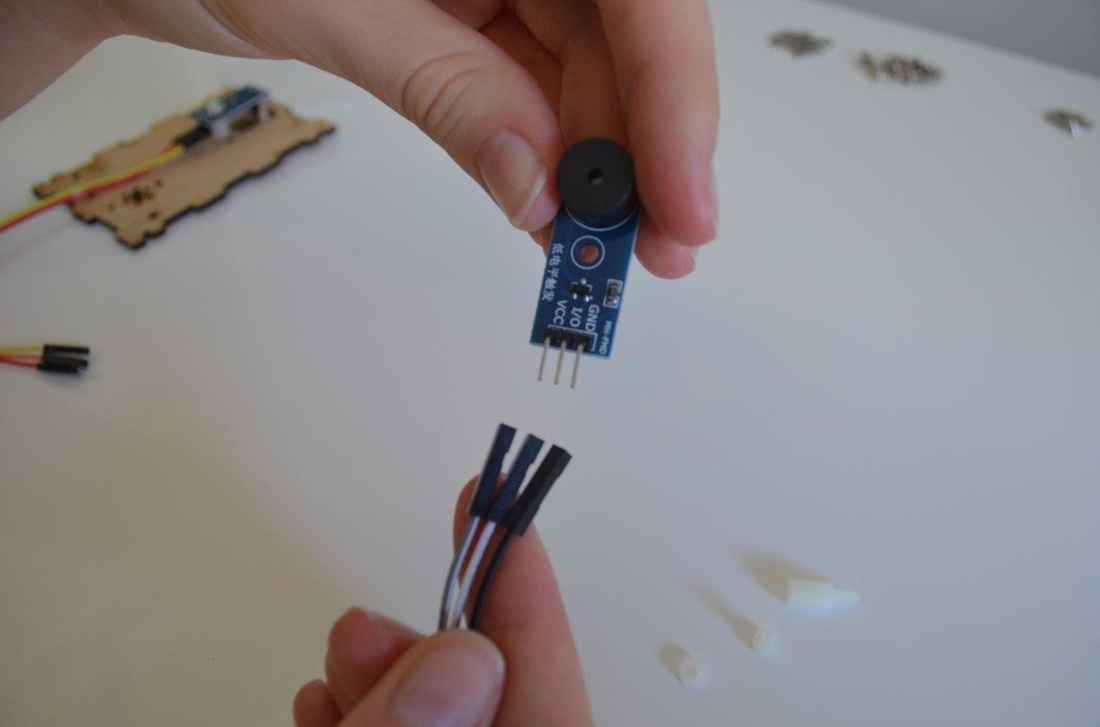
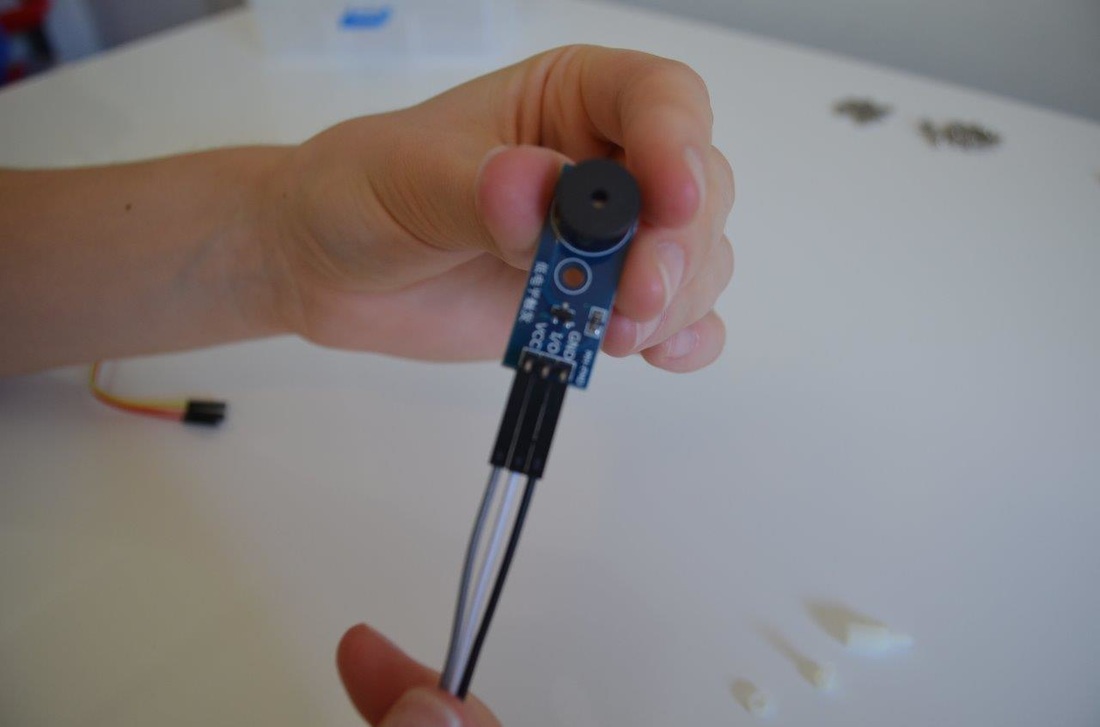
Firstly, connect the Jumper Cables to the Piezo Buzzer as shown.
Grey to VCC. White to I/O. Black to GND.
Grey to VCC. White to I/O. Black to GND.
|
|
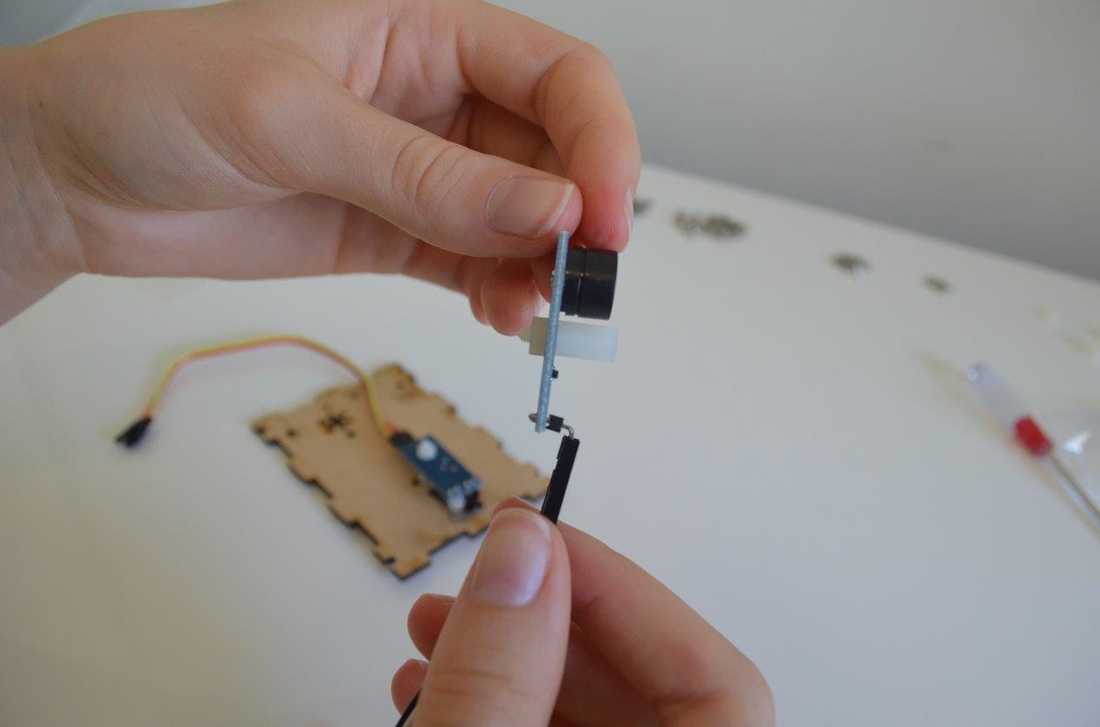
1-2. Put the screw end of a Nylon Spacer through the top side of the Piezo Buzzer (the side with the Buzzer mounted). Securely fasten with a Nylon Nut.
3. Secure the Piezo Buzzer to the Bottom Plate using a Nylon Screw. Tighten as necessary with the Screwdriver.
3. Secure the Piezo Buzzer to the Bottom Plate using a Nylon Screw. Tighten as necessary with the Screwdriver.


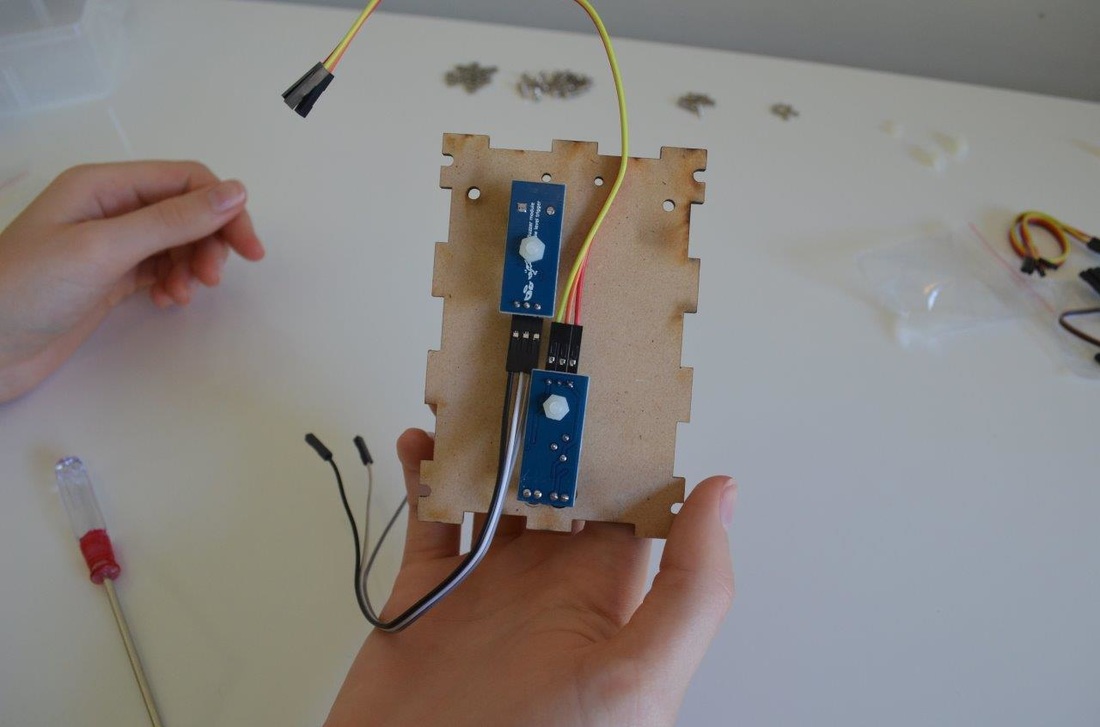
The Bottom Plate should now look like this.
Installing the Castor Wheel
Carefully empty the contents of the Castor Wheel bag, ensure the screws and nuts from the bag don't get mixed up with the others. The extra laser cut pieces in the bag are spacers to make the Castor wheel 'taller', we will need to use both of them so that PopPet isn't angled upwards.

1. Place the included screws through the Castor Wheel mounting holes and slide on both of the spacers.
2. Push the threads of the screws through the mounting holes on the Bottom Plate.
3. Begin to thread the included nuts onto the screws and finger tighten.
4. Tighten with the Screwdriver.
2. Push the threads of the screws through the mounting holes on the Bottom Plate.
3. Begin to thread the included nuts onto the screws and finger tighten.
4. Tighten with the Screwdriver.


The Bottom Plate is now complete.