1-Intro to Parts / 2-Bottom Plate / 3-Side Plates / 4-Front Plate / 5-Right Plate / 6-Wiring / 7-Top Plate / 8-Wheels / 9-Back Plate
Mounting the Brain
|
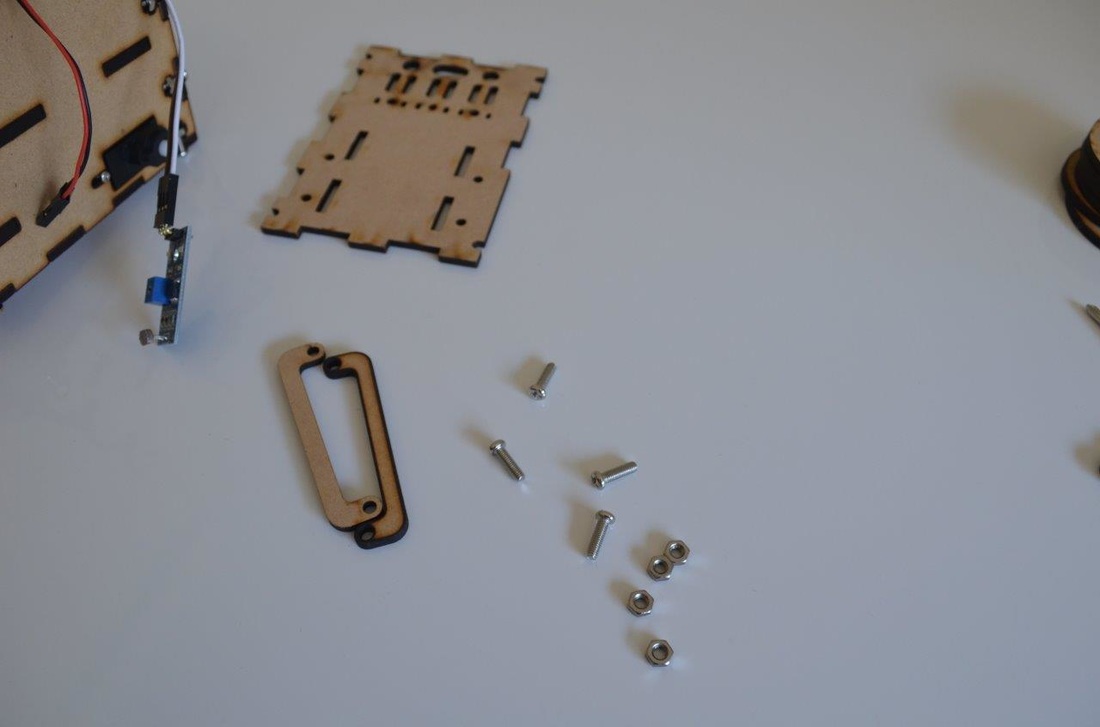
What you will need:
|
|
1. Begin by placing the large screws through the mounting holes in the Board and slide on the Board Spacer.
2. Being careful not to let the screws fall out, repeat for the other side.
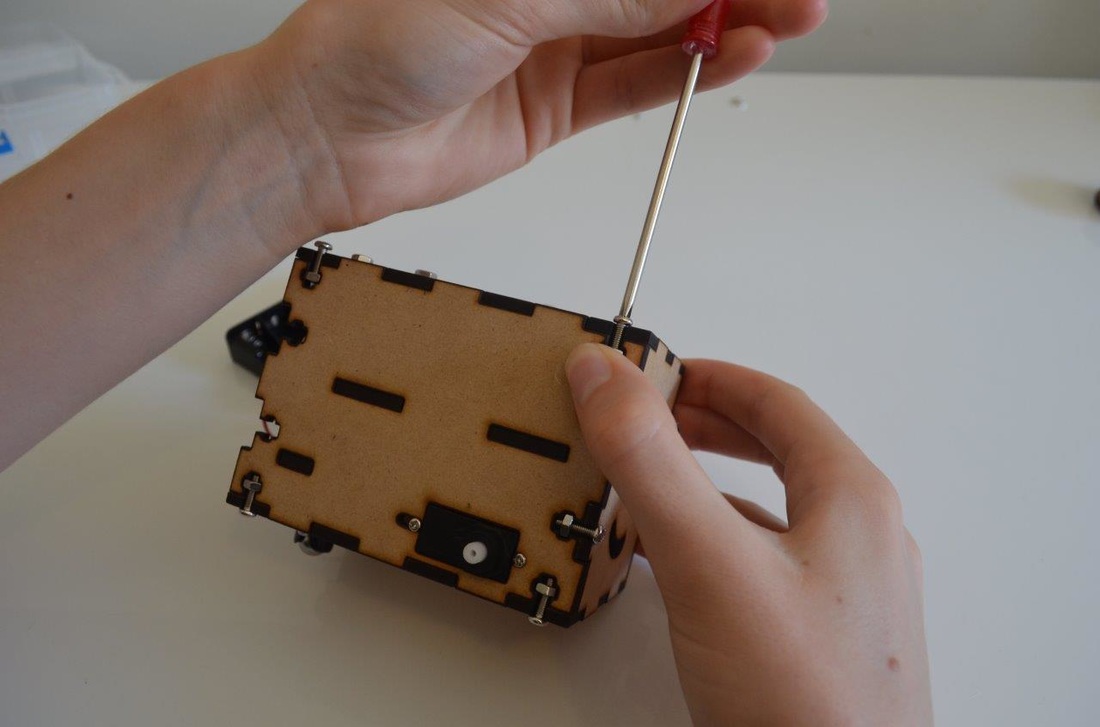
3. Carefully push the screws through the mounting holes in the Top Plate and begin threading the nuts on with your fingers.
4. Tighten with the Screwdriver.
2. Being careful not to let the screws fall out, repeat for the other side.
3. Carefully push the screws through the mounting holes in the Top Plate and begin threading the nuts on with your fingers.
4. Tighten with the Screwdriver.


Mounting the Light Sensors
1. Gather the rest of the Nylon fasteners.
2. Place the screw bit of the Nylon Spacer through the top of the Light Sensor and thread on the Nylon nut.
3. Place the Nylon Screw through the mounting hole in the Top Plate and tighten the Light Sensor onto the Top Plate using the Screwdriver.
4. Repeat for the other Light Sensor.
2. Place the screw bit of the Nylon Spacer through the top of the Light Sensor and thread on the Nylon nut.
3. Place the Nylon Screw through the mounting hole in the Top Plate and tighten the Light Sensor onto the Top Plate using the Screwdriver.
4. Repeat for the other Light Sensor.


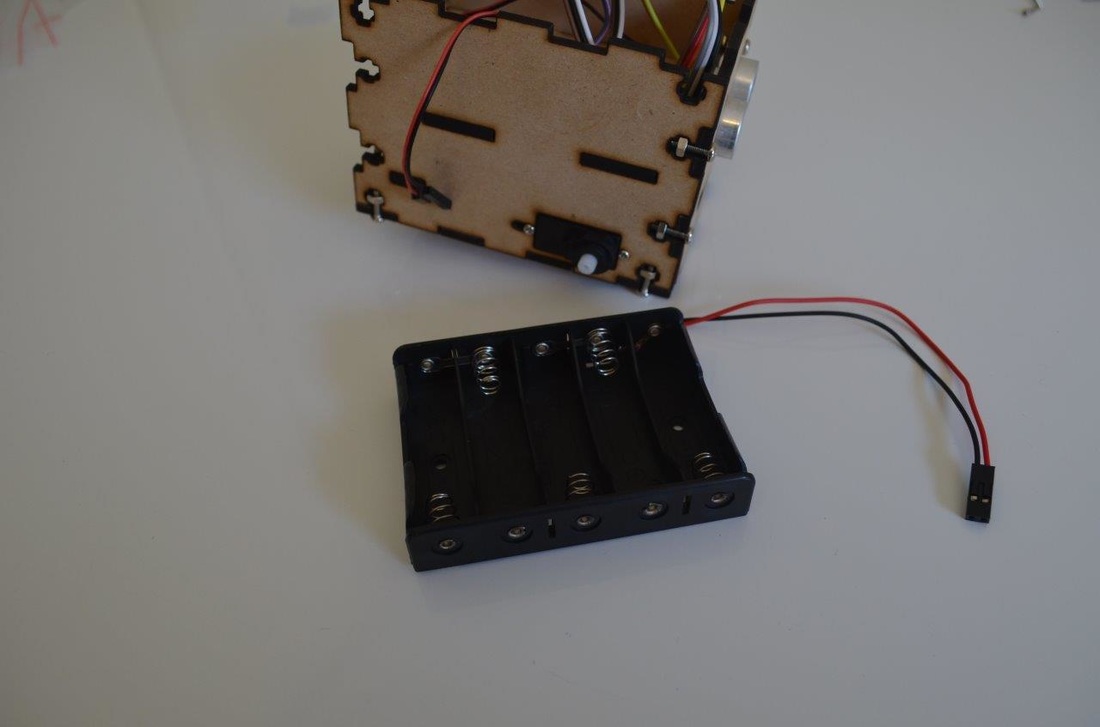
Connecting Battery Pack
Connect the Battery Pack to the Brain as highlighted. The Red wire needs to be on the pin labelled '+'.
|

|
Inserting the Switch
1. Slide the Key into the hole with the power symbol.
2. Ensure the hole in the Key lines up with the position of the Power Switch.
2. Ensure the hole in the Key lines up with the position of the Power Switch.


Attaching the Top Plate
Thread 4 large nuts onto 4 large screws. Place two of these into the Nut Traps on one side. Repeat for the other side and tighten with the Screwdriver.