Sliding Rail Kit Installation Guide
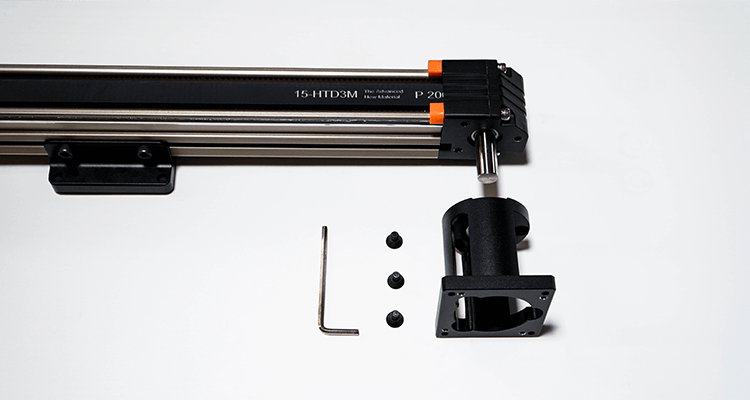
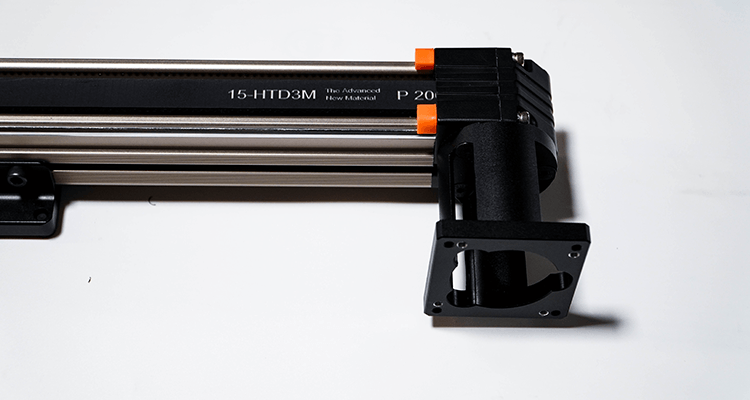
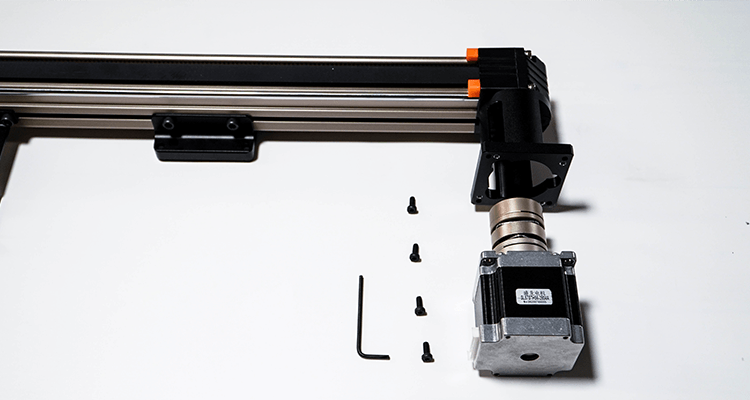
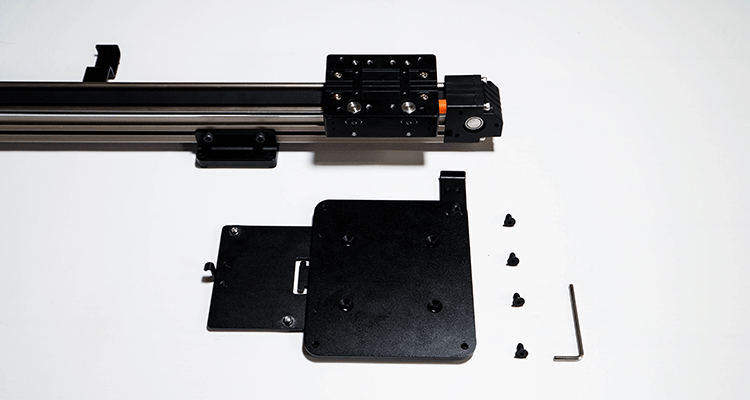
Linear Rail
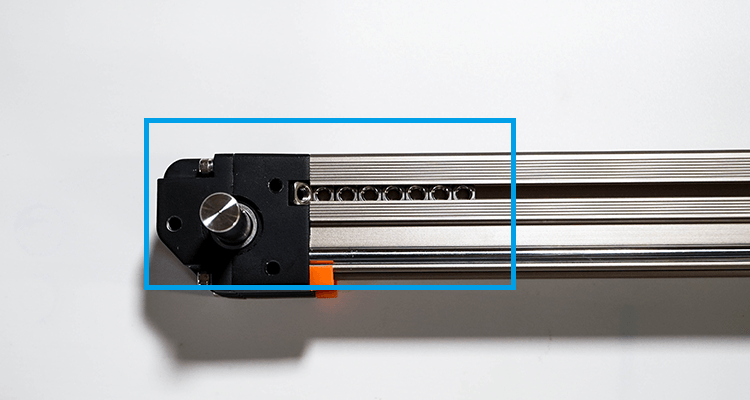
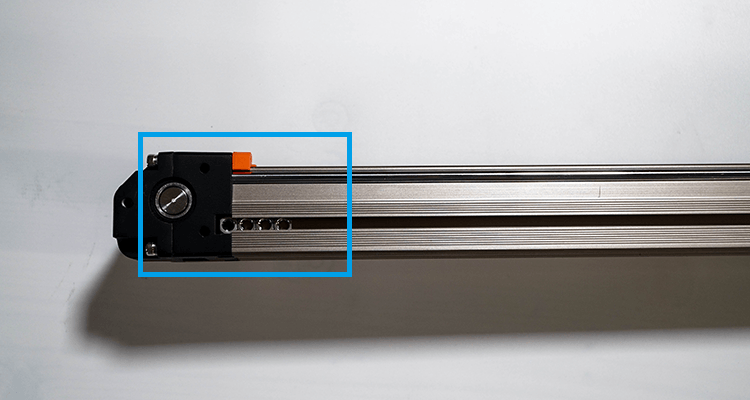
Motor Cage
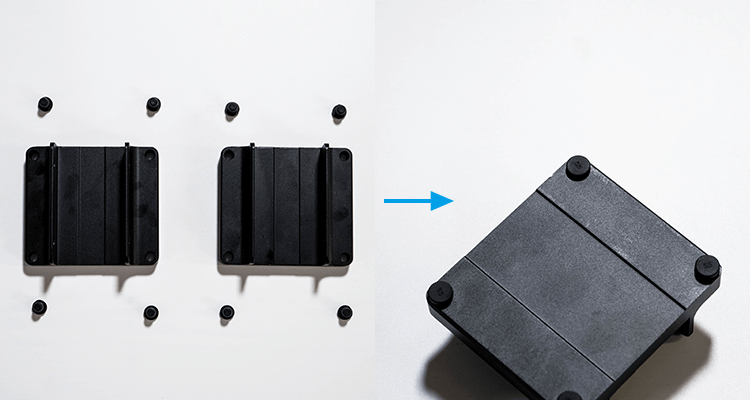
Base Block
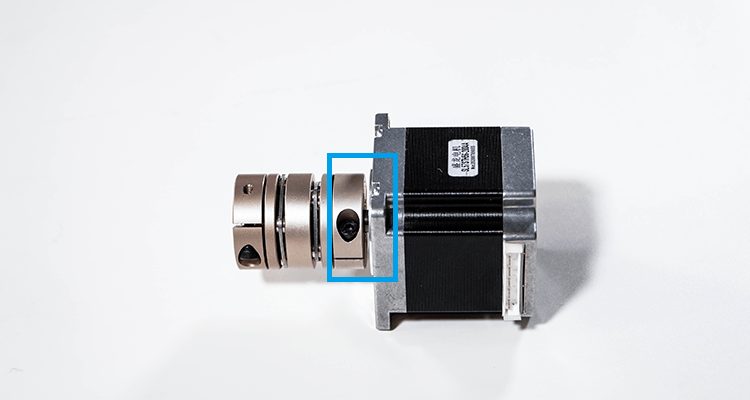
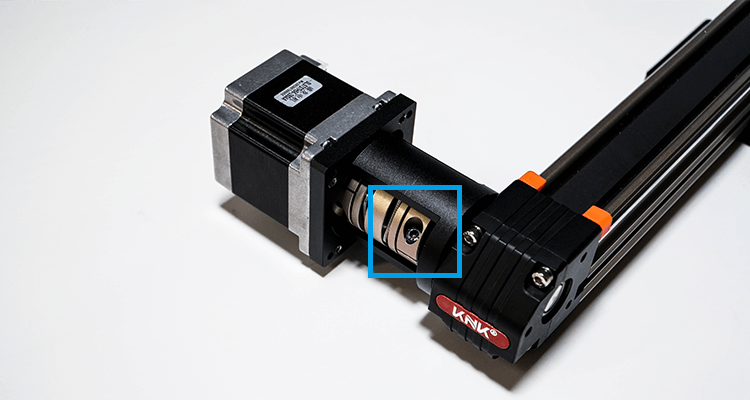
Coupling
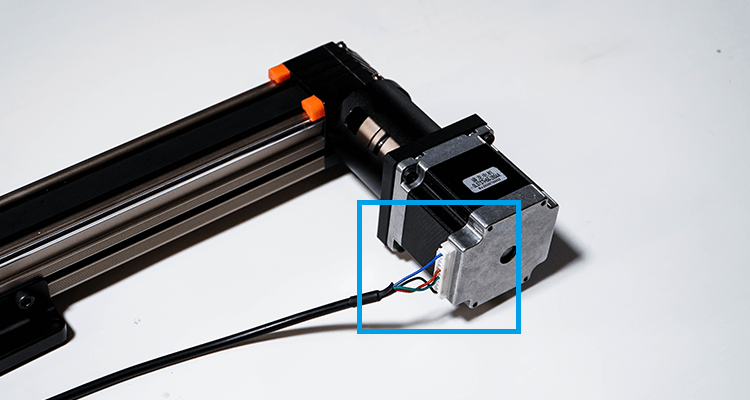
Step Motor
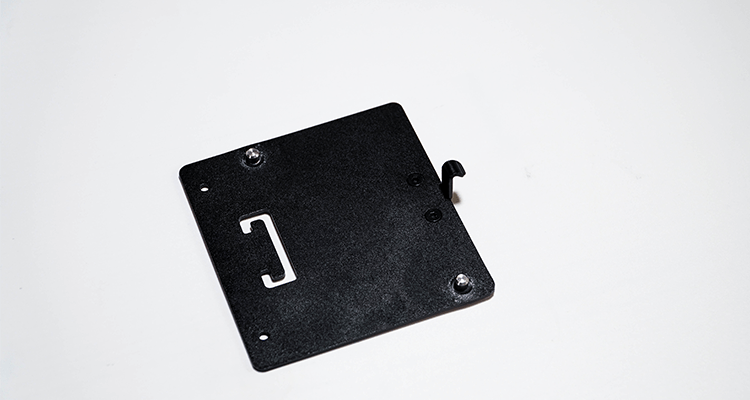
DexArm Board
Air Pump Box Board
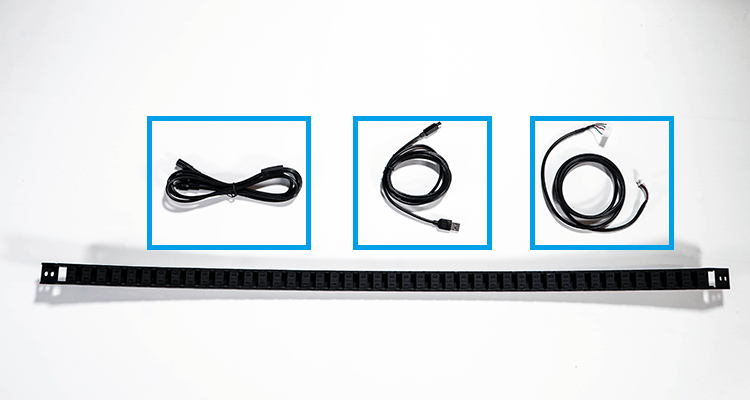
Wire Set
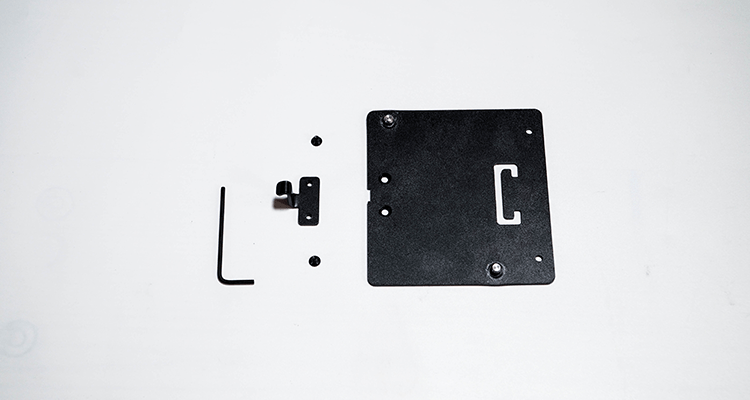
Tool Kit
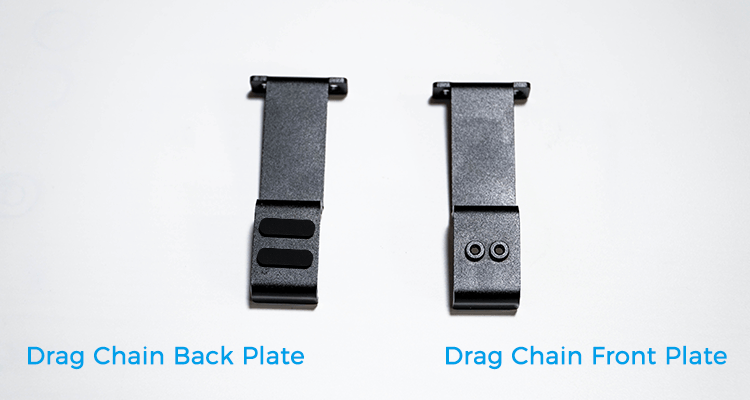
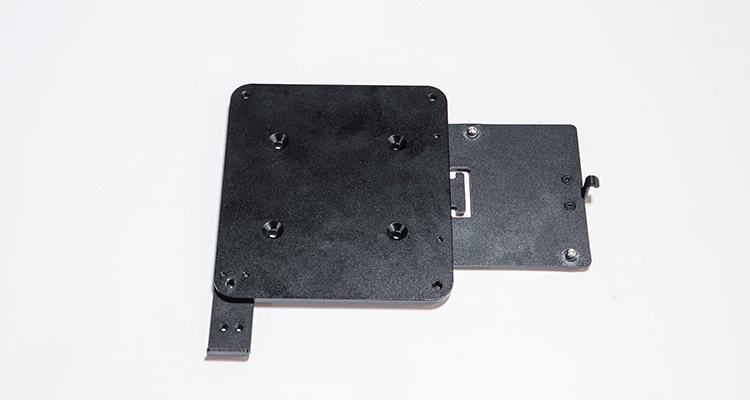
Drag Chain Front Plate
Drag Chain Mount Plate
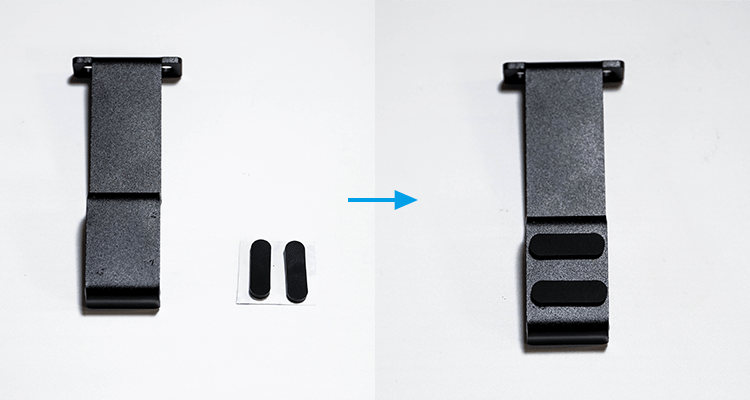
Hook
M5*10 Countersunk Head Hex Screw
M5*8 Hex Socket Screw
M5*10 Hex Socket Screw
M3*4 Countersunk Head Hex Screw
M3*6 Hex Socket Screw
M5 Square Nut
Elastic Rubber Ring
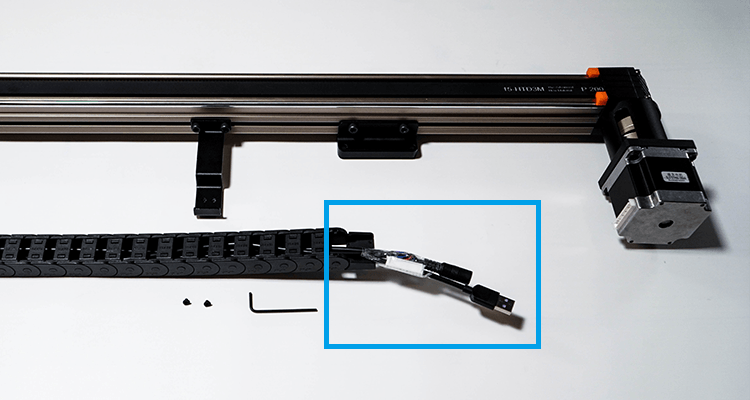
Step Motor Wire
1.5M DC Y Power Splitter
1.5M USB A-C Cable
10*2mm Rubber Stopper
Foot Mat

2.2.1 Insert the rubber stoppers into the base.
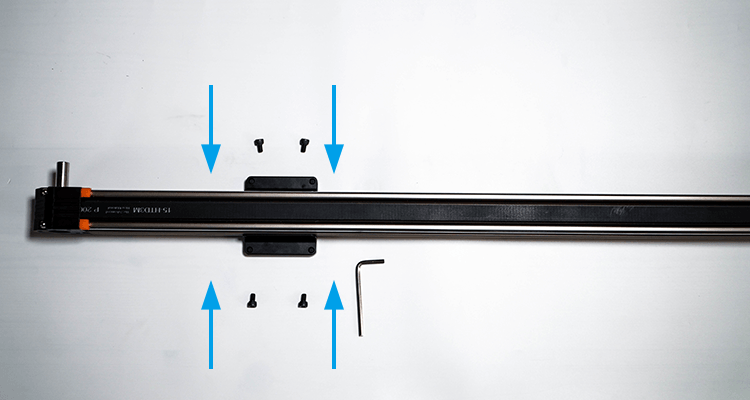
2.2.2 Put the square nuts into the lower slide of linear rail.
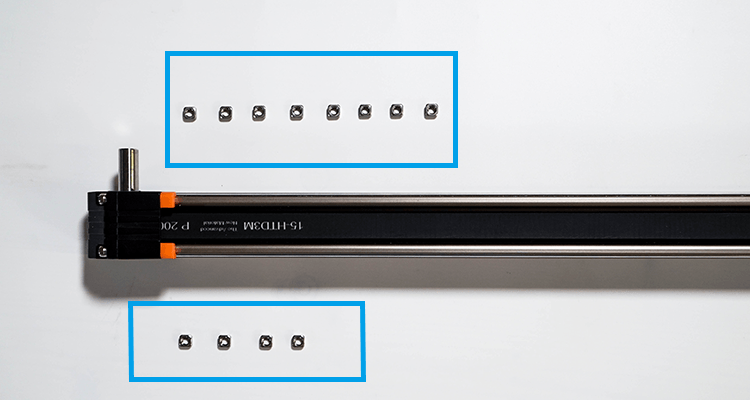
Put 8 square nuts to the side of motor axis
Put 4 square nuts to the other side.
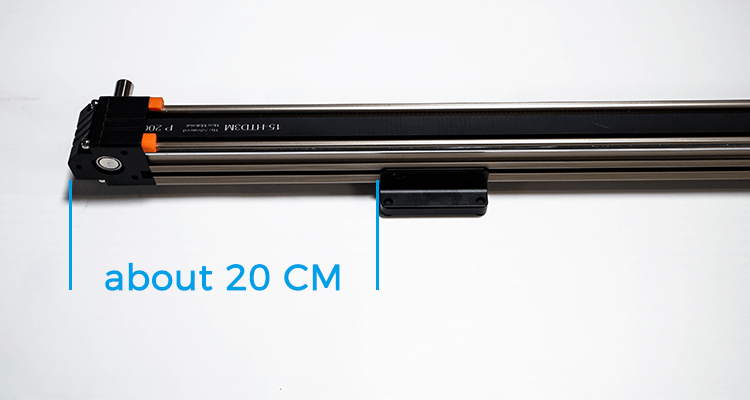
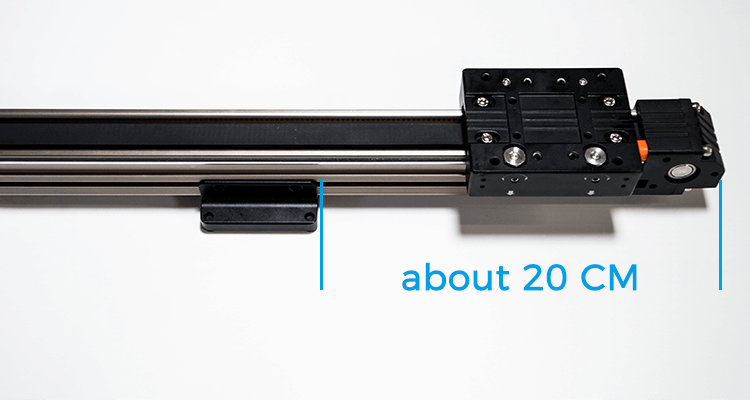
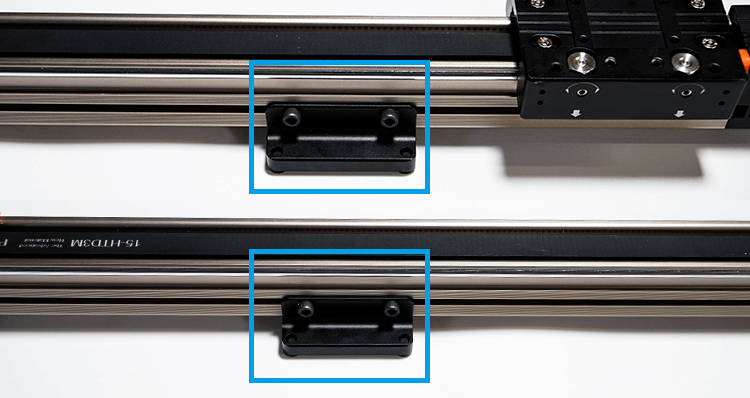
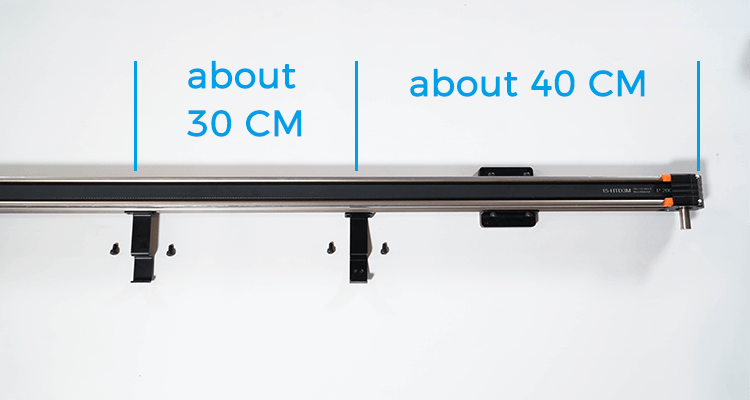
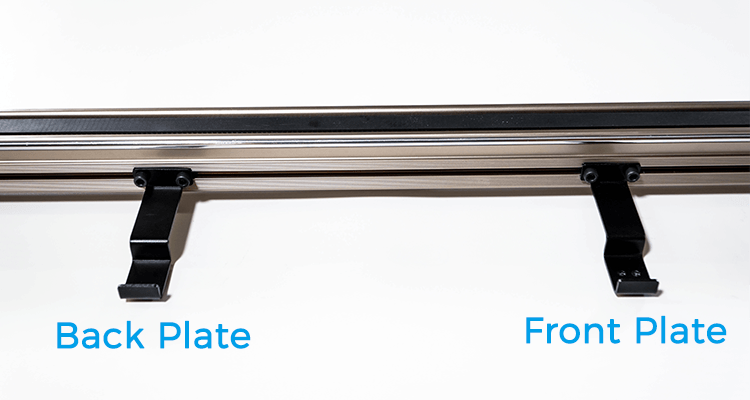
The front plate is near the motor axis.
The back plate is on another side.
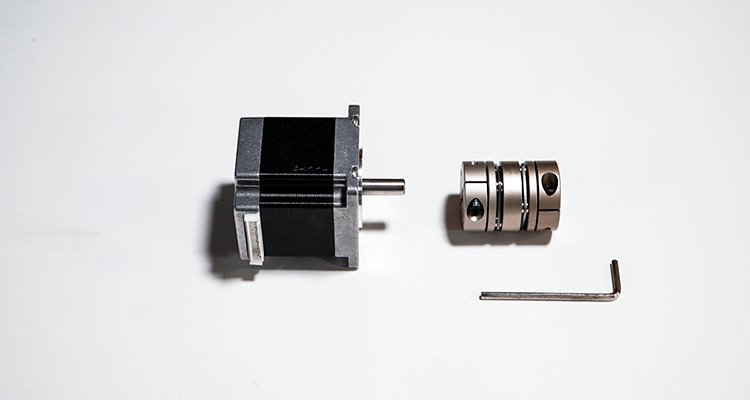
🧠 Note: leave a 4mm gap between coupling and the step motor.
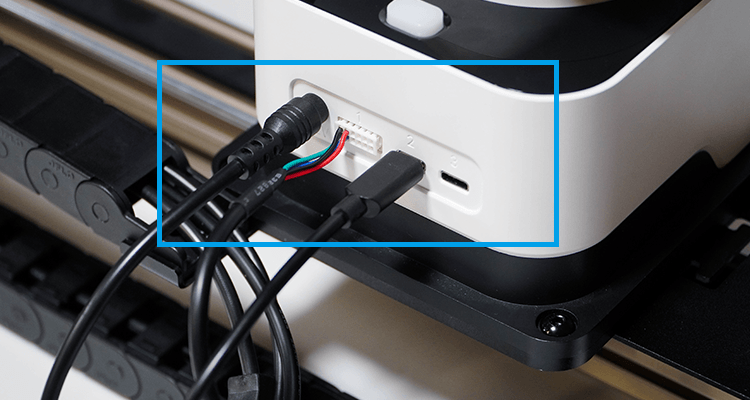
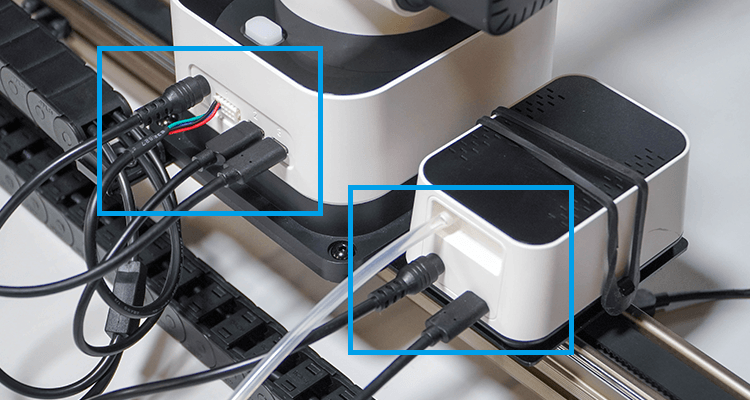
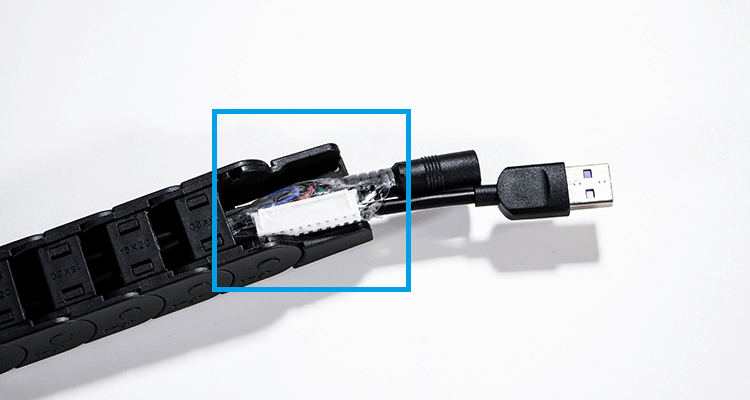
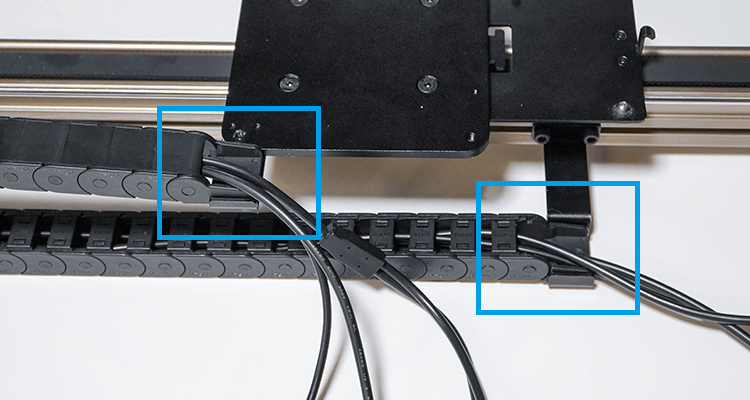
Note: make sure the cable port is facing the drag chain plates.

M3*4 Countersunk Head Hex Screw x 2.
M3*6 Hex Socket Screw x 4
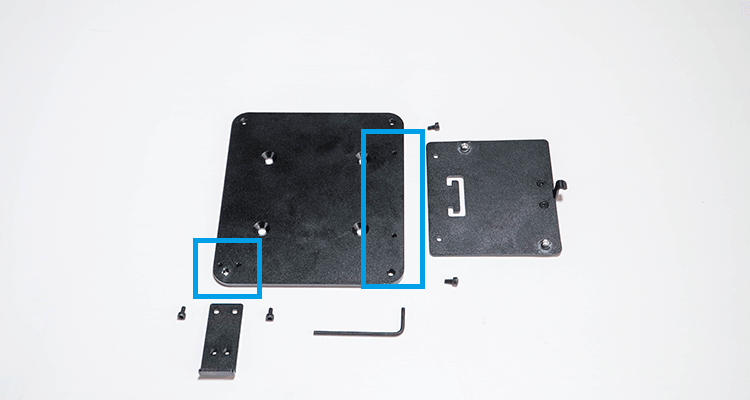
M5*10 Countersunk Head Hex Screw x 4

M3*4 Countersunk Head Hex Screw x 4.
🧙♂ Tips: for the first batch users, we need to use the spare M3*6 Hex Socket Screw below to mount the drag chain.
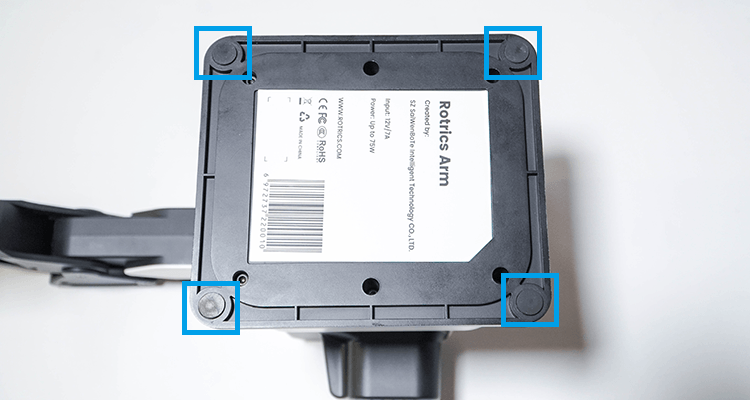
Remove four foot mats from the black base before mount DexArm.
🧙♂ Tips: be careful when you remove the foot mats, make sure it's sticky for next use.

Fix DexArm on the DexArm board with the M4 hex screws in the DexArm's cable box.

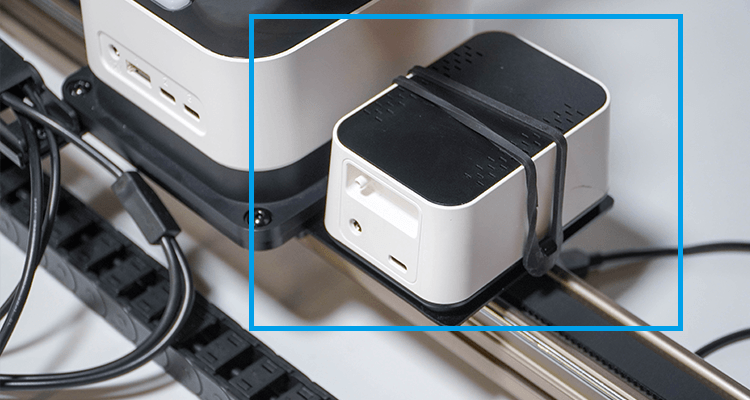
🧙♂ Tips: To start picking and placing tasks, we can mount the air pump box on the air pump box board.