Get Help
Basic Gripper Usage (miniBloq)
Introduction
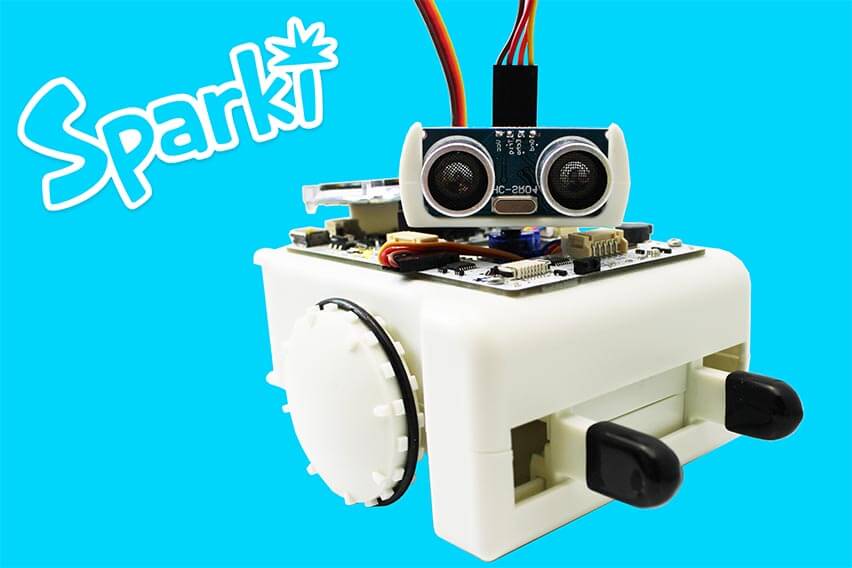
Sparki has a gripper. It will be useful to learn how to use it before we move to more complex tasks. And of course, we will use the gripper in future lessons.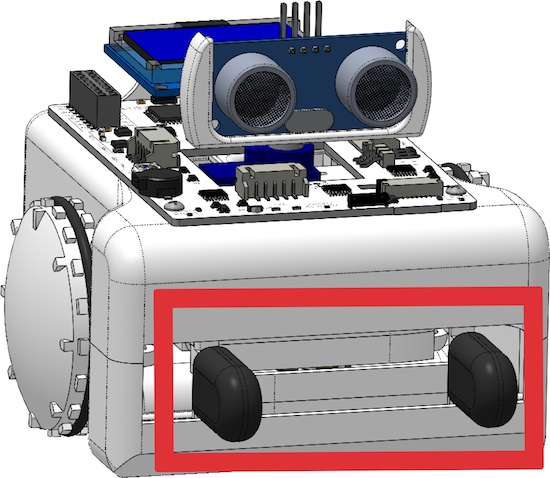
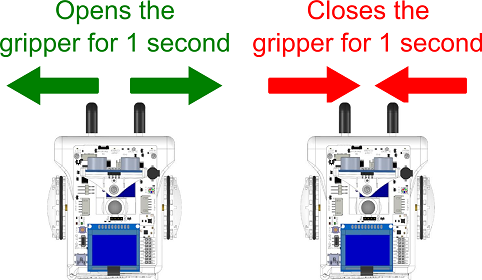
The gripper is a simple mechanism driven by a stepper motor, the same kind of motor used to move Sparki’s wheels. The stepper motor’s shaft has a pinion attached, which drives a rack:

Thus, moving the motor in one direction opens the gripper, while moving the motor in the other direction closes it.
Programming the Gripper
Having learned this, we are now going to program the gripper’s movements.

As there is no sensor to detect if the gripper is fully closed or fully opened, we will control it moving its motor during small time intervals. And to determine the intervals that we should use to open and close it, we will need to experiment a little before going further. So, before we start, make sure that the gripper is not fully opened nor fully closed:
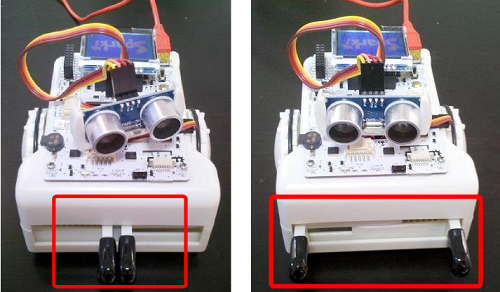
 On the other hand, if you see that the gripper is fully opened (like the right photo in the previous image), please run a program like the following:
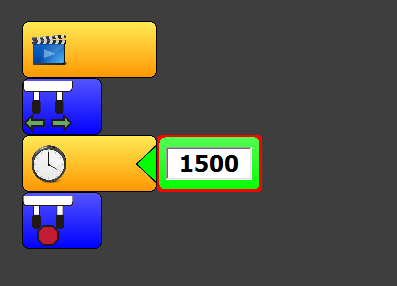
 Now, try making small modifications to the time interval. For example, you can open (or close) it for 2 seconds. Please don’t try big numbers here, since you will reach the gripper’s mechanical limit fast. By making a few little experiments with the intervals of time, you will soon be familiarized with the gripper’s limits.
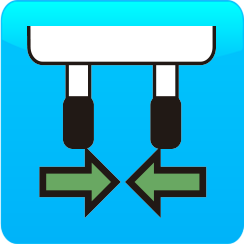
You can try any combination of these blocks to drive Sparki’s gripper:
Now, try making small modifications to the time interval. For example, you can open (or close) it for 2 seconds. Please don’t try big numbers here, since you will reach the gripper’s mechanical limit fast. By making a few little experiments with the intervals of time, you will soon be familiarized with the gripper’s limits.
You can try any combination of these blocks to drive Sparki’s gripper:
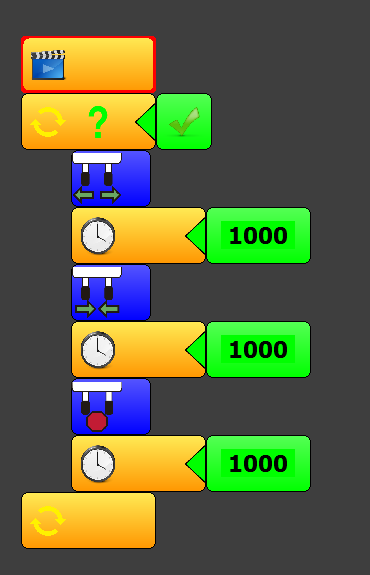 This small program will cycle your Sparki’s gripper, opening it for 1 second (1000 milliseconds) and closing it for 1 second too:
SparkiDuino Programming Environment
 This lesson is also available for the SparkiDuino Programming Environment. SparkiDuino will allow you to program your Sparki using standard Arduino syntax.