Get Help
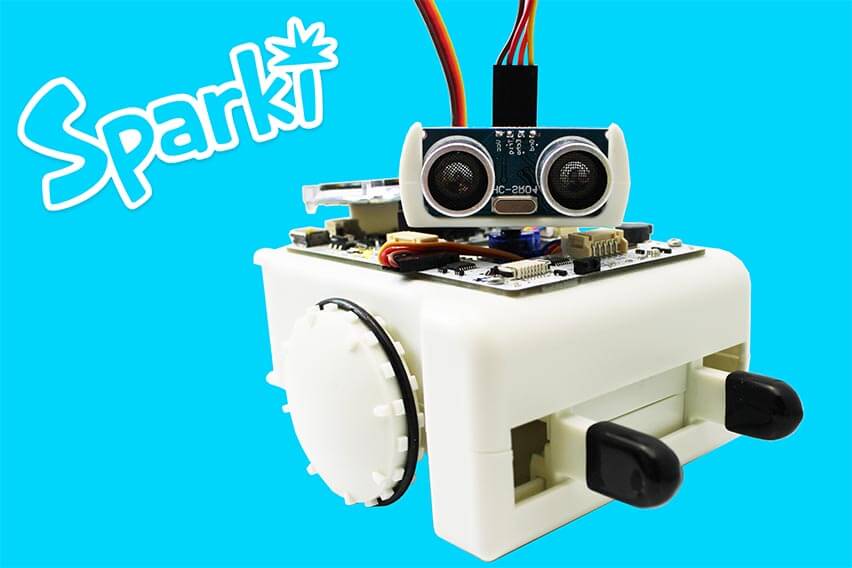
Using the Ultrasonic Distance Sensor
Introduction
In this lesson, we will start learning how to do some basic tasks with sensors, specifically with the ultrasonic ranger included within Sparki. Although we will explain here the basics of using this sensor, the inner workings are better explained here. Please take a few minutes to read that link if you are completely new to ultrasonic ranger finders.
Basic Sensor Usage
To use the ultrasonic sensor, one command is needed, which returns the distance read by the sensor:|
1 |
sparki.ping(); |
|
1 2 3 4 5 6 7 8 9 10 11 12 13 14 |
#include <Sparki.h> // include the sparki library void setup() { } void loop() { sparki.clearLCD(); // wipe the LCD clear sparki.print(sparki.ping()); // reads the ultrasonic ranger and prints the result in the LCD sparki.println(" cm"); sparki.updateLCD(); // put the drawings on the screen delay(100); } |
 See how easy it is? This program will print out the distance read from the ultrasonic ranger in the upper-left corner of the LCD. It even adds the unit (this sensor is metric, so its readings are in centimeters).
Although this is a very simple program, it will be always useful for sensor testing. Some times we can make complex programs involving different kinds of sensors at once. If things do not work as expected (which may happen more often than we would like them to!), printing the read values will always be helpful. We will use this basic sensor debugging technique with the LCD for other sensors too.
Finally, please take a few moments to see which is the maximum range of the ultrasonic distance sensor. Also, please take note of the fact that the minimum distance that this sensor can read is around 2 cm in theory. But some times, readings below 4 cm are not really able to be trusted.
See how easy it is? This program will print out the distance read from the ultrasonic ranger in the upper-left corner of the LCD. It even adds the unit (this sensor is metric, so its readings are in centimeters).
Although this is a very simple program, it will be always useful for sensor testing. Some times we can make complex programs involving different kinds of sensors at once. If things do not work as expected (which may happen more often than we would like them to!), printing the read values will always be helpful. We will use this basic sensor debugging technique with the LCD for other sensors too.
Finally, please take a few moments to see which is the maximum range of the ultrasonic distance sensor. Also, please take note of the fact that the minimum distance that this sensor can read is around 2 cm in theory. But some times, readings below 4 cm are not really able to be trusted.
Moving the Head
One nice feature of Sparki is that the ultrasonic ranger is mounted on a rotating head. It’s powered by Sparki’s servo, so we can control it with the following instructions (please read the previous link if you are not familiar with this kind of servos):|
1 |
sparki.servo(angle_degrees); |
|
1 2 3 |
SERVO_LEFT SERVO_CENTER SERVO_RIGHT |
|
1 2 3 4 5 6 7 8 9 10 11 12 13 14 15 16 17 18 19 20 21 22 23 24 25 26 |
#include <Sparki.h> // include the sparki library void setup() { } void loop() { sparki.servo(SERVO_LEFT); // rotate the servo to is -90 degree postion (left) delay(1000); sparki.servo(SERVO_CENTER); // rotate the servo to is 0 degree postion (forward) delay(1000); sparki.servo(SERVO_RIGHT); // rotate the servo to is 90 degree postion (right) delay(1000); sparki.servo(-90); // rotate the servo to is -90 degree postion (left) delay(1000); sparki.servo(0); // rotate the servo to is 0 degree postion (forward) delay(1000); sparki.servo(90); // rotate the servo to is 90 degree postion (right) delay(1000); } |
The previous program just moves the robot’s head without doing anything with the sensor itself. So what about moving and reading it at the same time? The following code does exactly that:
|
1 2 3 4 5 6 7 8 9 10 11 12 13 14 15 16 17 18 19 20 21 22 23 24 25 26 27 28 29 30 31 32 33 34 35 36 37 38 39 40 41 42 43 |
#include <Sparki.h> // include the sparki library int left = 0, center = 0, right = 0; int interval = 800; void setup() { } void updateSensorReadings() { // refresh all the display data at once: sparki.clearLCD(); sparki.print("Left = "); sparki.println(left); sparki.print("Center = "); sparki.println(center); sparki.print("Right = "); sparki.println(right); sparki.updateLCD(); } void loop() { sparki.servo(SERVO_LEFT); // rotate the servo to is -90 degree postion (left) delay(interval); left = sparki.ping(); updateSensorReadings(); sparki.servo(SERVO_CENTER); // rotate the servo to is 0 degree postion (forward) delay(interval); center = sparki.ping(); updateSensorReadings(); sparki.servo(SERVO_RIGHT); // rotate the servo to is 90 degree postion (right) delay(interval); right = sparki.ping(); updateSensorReadings(); } |
Please take a look to the function that we have added here. Without that function, the same code would be repeated 3 times in order to refresh the display each time we have a new reading.
Animating a Circle Using the Ranger
Finally, here is a very simple example on how to read the sensor and animate a small circle’s size on the LCD display to represent the readings:|
1 2 3 4 5 6 7 8 9 10 11 12 13 14 15 16 17 18 19 20 21 22 23 24 25 26 |
#include <Sparki.h> // include the sparki library int diameter = 0; void setup() { } void loop() { // refresh all the display data at once: sparki.clearLCD(); diameter = sparki.ping()*32/350; // 350 is the maximum aprox. reading (3.5 m) if (diameter > 32) // max vertical diameter, since there are just 64 pixels { sparki.beep(); diameter = 32; } sparki.drawCircleFilled(63,32, diameter); sparki.updateLCD(); delay(150); } |
Try taking the Sparki with your hand and moving it towards a wall, so you can see the circle growing and shrinking:
 As you may have guessed, the key line here is where the program calculates the diameter of the circle:
|
1 2 3 4 5 6 |
diameter = sparki.ping()*32/350; // 350 is the maximum aprox. reading (3.5 m) if (diameter > 32) // max vertical diameter, since there are just 64 pixels { sparki.beep(); diameter = 32; } |
Questions
- What do you think happens when the sensor is used against materials that can absorb the mechanical ultrasonic waves? Why not make some experiments?
- Have you seen this sensor used in real modern cars? For doing what?
- And what about animals? Which animals use this kind of sensor to navigate?
Related Lessons
So, now that we know how to read the sensor and how to move it, we are ready to go to the next lesson: Wall Avoidance. And, if you enjoy making music with sensors, we also recommend the Theremin lesson. Finally, at this time, you may have noted that some times, the readings are not that accurate. In future lessons, we will try to explain some techniques to reduce these and other problems when reading sensors.Lesson available for the miniBloq Programming Environment
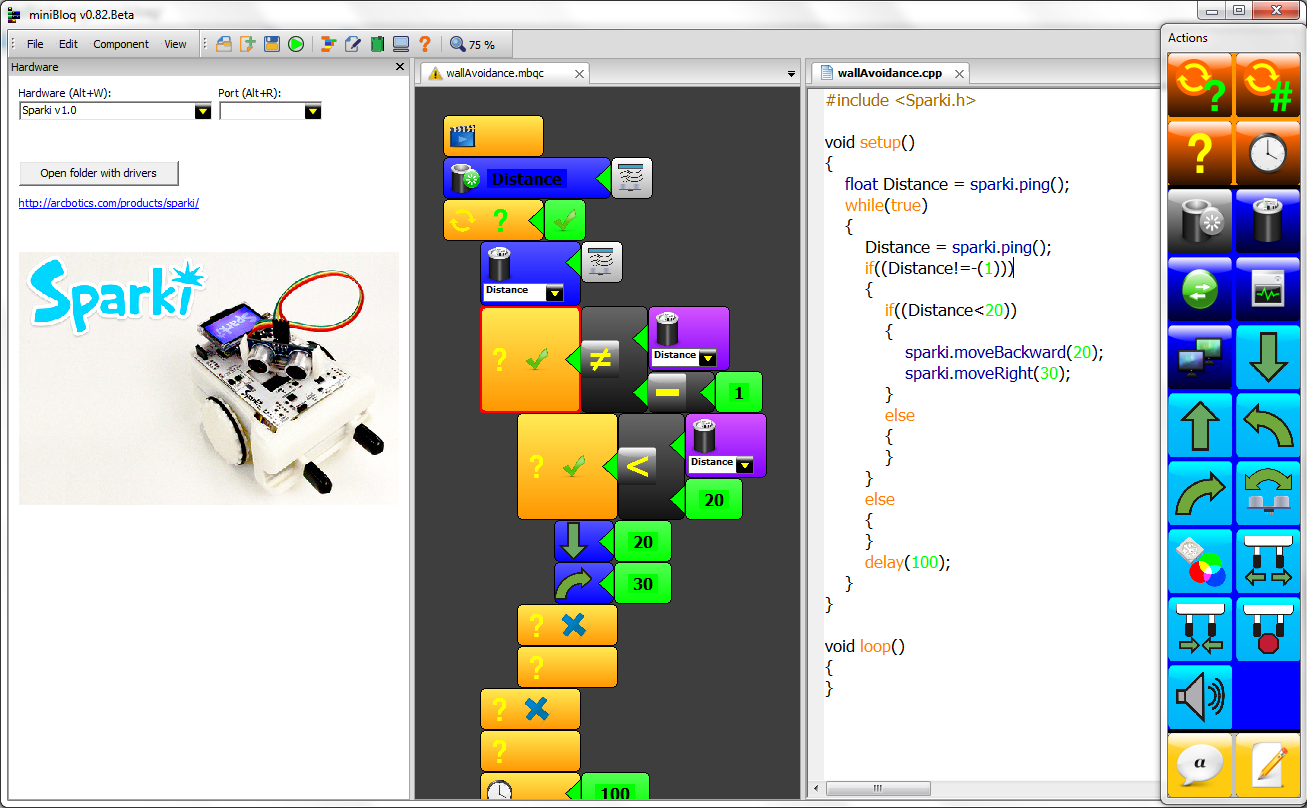 This lesson is also available for the miniBloq Programming Environment. miniBloq is a graphical programming environment that you can use to easily program your Sparki.