Get Help
Basic Gripper Usage
Introduction
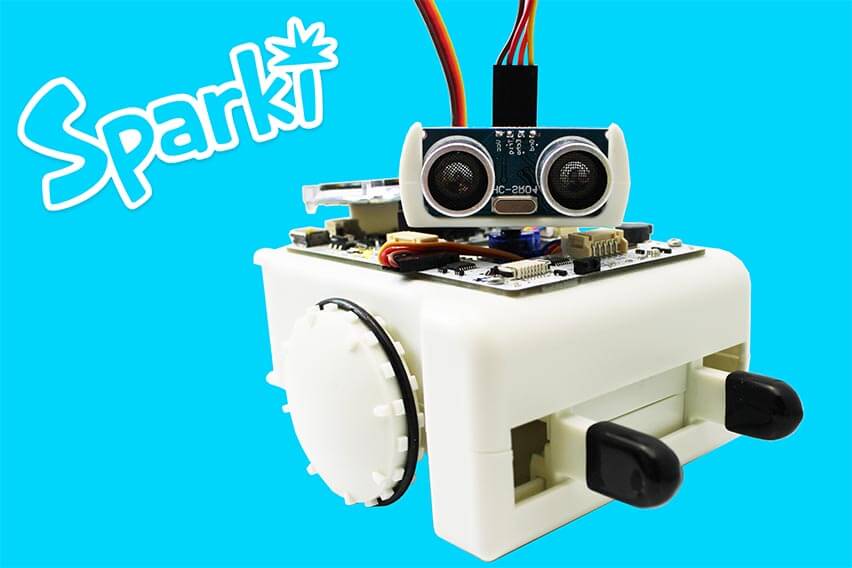
Sparki has a gripper. It will be useful to learn how to use it before we move to more complex tasks. And of course, we will use the gripper in future lessons.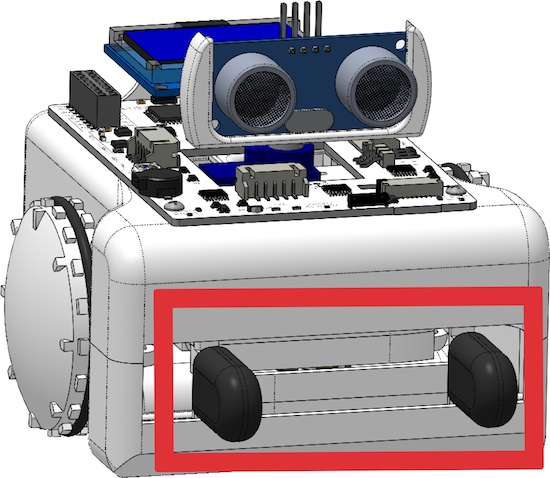
The gripper is a simple mechanism driven by a stepper motor, the same kind of motor used to move Sparki’s wheels. The stepper motor’s shaft has a pinion attached, which drives a rack:

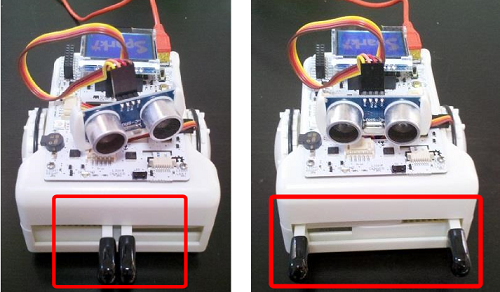
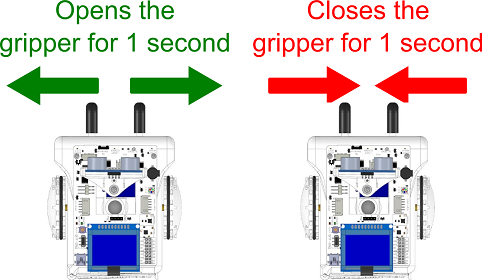
Thus, moving the motor in one direction opens the gripper, while moving the motor in the other direction closes it.
Programming the Gripper
Having learned this, we are now going to program the gripper’s movements.|
1 2 3 |
sparki.gripperOpen(); // opens the grippers sparki.gripperClose(); // closes the grippers sparki.gripperStop(); // stops the gripper from moving |
|
1 2 3 4 5 6 7 8 9 10 11 12 |
#include <Sparki.h> // include the sparki library void setup() { sparki.gripperOpen(); // open the robot's gripper delay(1500); // for 1.5 seconds (1500 milliseconds) sparki.gripperStop(); } void loop() { } |

|
1 2 3 4 5 6 7 8 9 10 11 12 |
#include <Sparki.h> // include the sparki library void setup() { sparki.gripperClose(); // close the robot's gripper delay(1500); // for 1.5 seconds (1500 milliseconds) sparki.gripperStop(); } void loop() { } |
Now, try making small modifications to the time interval. For example, you can open (or close) it for 2 seconds. Please don’t try big numbers here, since you will reach the gripper’s mechanical limit fast. By making a few little experiments with the intervals of time, you will soon be familiarized with the gripper’s limits.
Finally, you can try the example program included with the SparkiDuino software. Please go to the menu File->Examples->Gripper and download the code to your Sparki:
|
1 2 3 4 5 6 7 8 9 10 11 12 13 14 15 16 17 18 19 20 21 22 23 24 |
/******************************************* Basic Gripper test Sparki has two little grippers it can be used to grab objects and drag them around. See what you can grab with them! ********************************************/ #include <Sparki.h> // include the robot library void setup() { } void loop() { sparki.gripperOpen(); // open the robot's gripper delay(1000); // for 1 second (1000 milliseconds) sparki.gripperClose(); // close the robot's gripper delay(1000); // for 1 second (1000 milliseconds) sparki.gripperStop(); // stop the grippers from moving delay(1000); // for 1 second (1000 milliseconds) } |
This small program will open and close your Sparki’s gripper in a never-ending loop, opening it for 1 second (1000 milliseconds), closing it for 1 second, then pausing for 1 second:
Extra Activities
If you want to improve the control of the gripper, you can always use the stepper motor instructions that we have learned before:|
1 2 |
sparki.motorRotate(int motor, int direction, int speed); sparki.motorStop(int motor); |
Lesson available for the miniBloq Programming Environment
 This lesson is also available for the miniBloq Programming Environment. miniBloq is a graphical programming environment that you can use to easily program your Sparki.