Get Help
Testing Sparki with the Remote
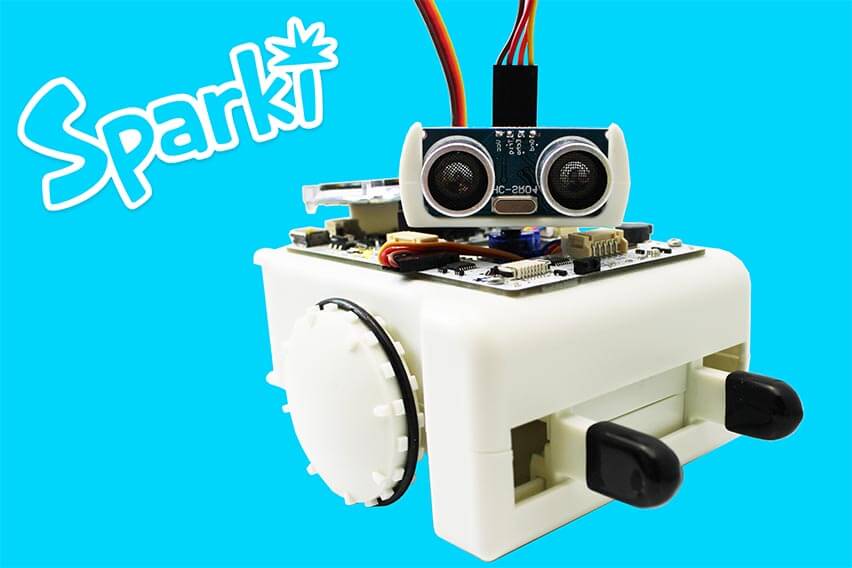
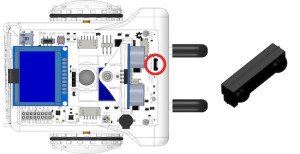
First things first, whenever you get up in the morning you probably do a little stretching or deep breathing just to make sure your body feels good. We need to do that same thing for Sparki by checking its motors, brain (the microprocessor chip that contains all Sparki’s instructions) and infrared receiver. Sparki ships with an Infrared Remote Control and an Infrared Remote Receiver. The remote control communicates with the Sparki’s receiver by rapidly blinking invisible infrared light.
In this lesson you will learn to drive Sparki around with the remote control. Since the program to do this comes inside Sparki’s memory from factory, you don’t need to program the robot to start playing. If you have already uploaded other programs to your Sparki, you can always restore the default program, in order to play with the remote control again. Once you’ve made sure all that works properly you’ll get a chance to start editing some code and change what Sparki does when you press buttons on the remote.

If you have not already, prepare the robot for first-time use:
- Remove the plastic strip from the bottom of the remote where it blocks the coin cell battery in the remote from contact with the electronics.
- Open the door at the back of the Sparki (there is a small door on the back which opens with a latch.) Put in 4 rechargeable or alkaline AA batteries.
Power the robot up by flipping the On/Off switch to On:

![]() Please remember to check that the batteries are properly connected (and charged!). Since we are going to use the motors here, please check that the On/Off Switch is on.
Please remember to check that the batteries are properly connected (and charged!). Since we are going to use the motors here, please check that the On/Off Switch is on.
![]() Another important thing to take care of when playing with the robot’s motors is to be careful not to be working on a table. A fall could permanently damage your Sparki.
Another important thing to take care of when playing with the robot’s motors is to be careful not to be working on a table. A fall could permanently damage your Sparki.
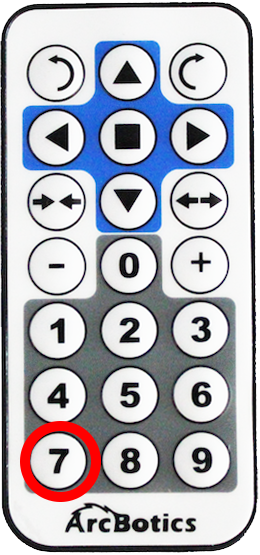
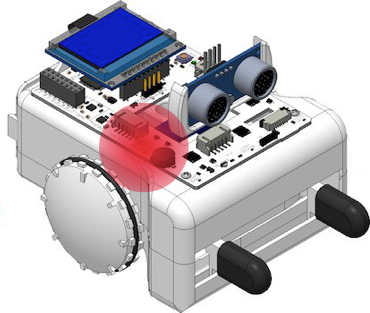
Once you’ve turned Sparki on it should start moving by itself. To stop Sparki, please press the ‘7’ button on your remote control. This stops the autonomous program:
In order for the remote to be able to talk to the robot, the remote needs to have an unobstructed line of sight to the infrared receiver. This is because anything in between the remote and Sparki will block the infrared light that the remote is emitting. We can’t see them, but there are a bunch of infrared photons that come out of the remote whenever you press one of the buttons. While it isn’t important that the robot is facing towards you, the infrared signal probably won’t talk to the robot through a table, for example.
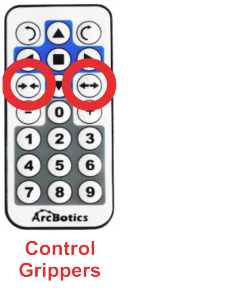
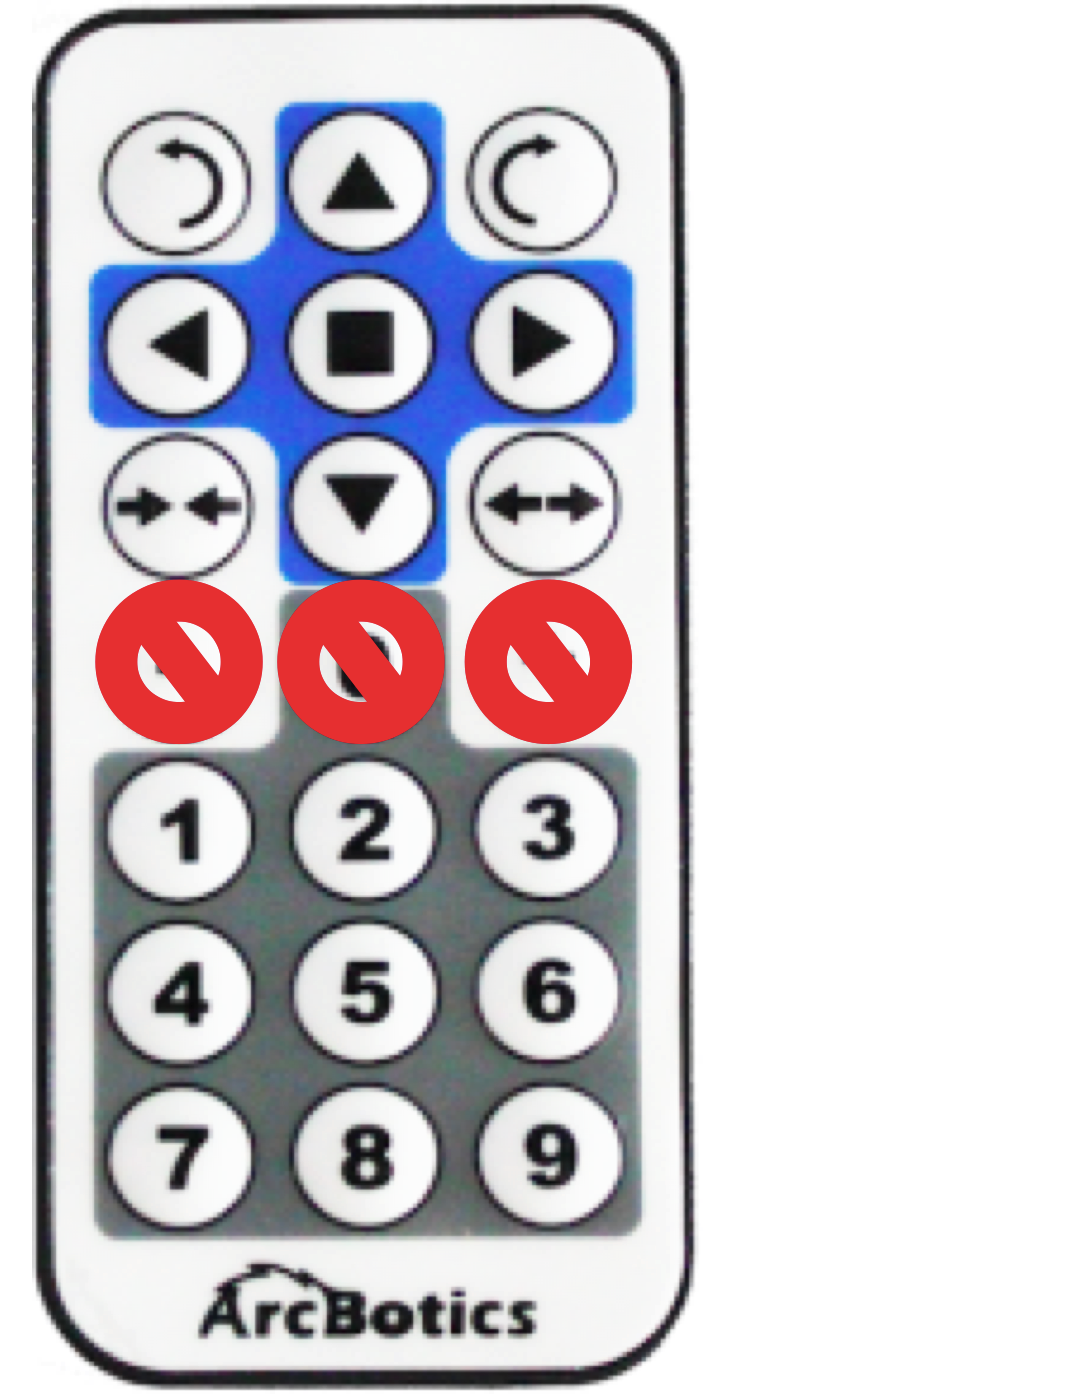
The top buttons of the remote are laid out to control the Sparki’s direction of movement and grippers. Try using the different arrow buttons to see what happens with your robot. Remember, the stop button stops the movement of both the robot and the grippers in case Sparki starts to get away from you.

Now you can use the remote to control the robot! Here is how the number commands work.

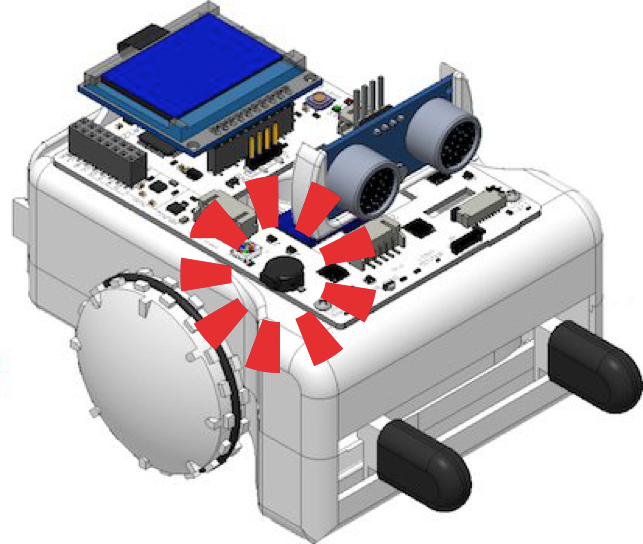
- 1: RGB LED turns red.
- 2: RGB LED turns green.
- 3: RGB LED turns blue.

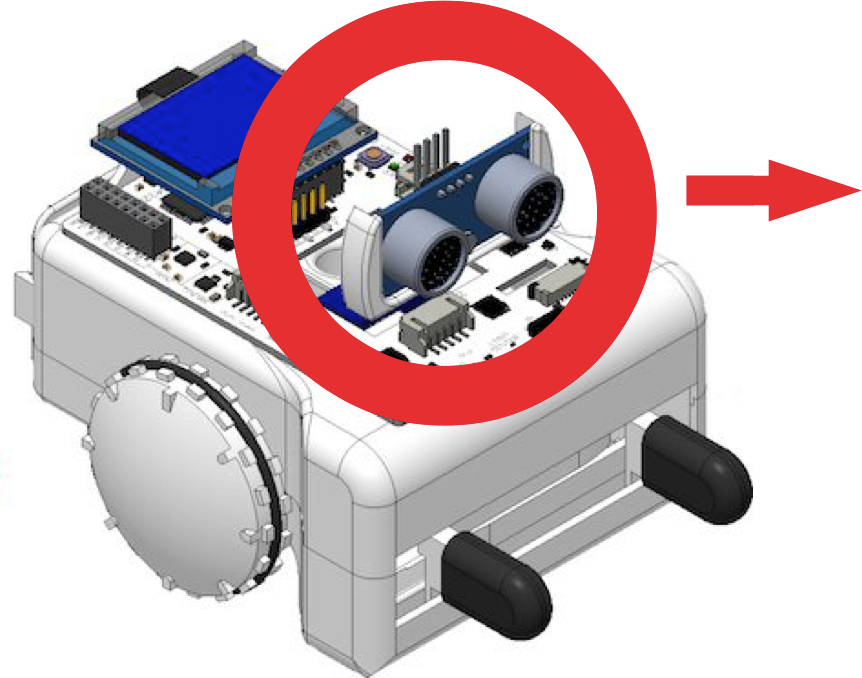
- 4: Sparki turns the rangefinder to the left (using Sparki’s servo).
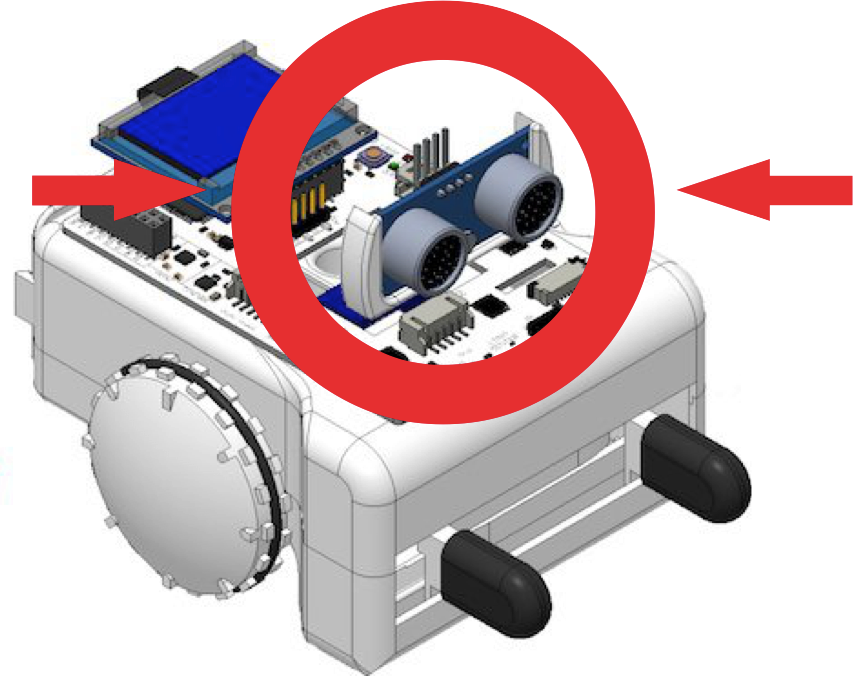
- 5: Sparki turns the rangefinder back to center (using Sparki’s servo).
- 6: Sparki turns the rangefinder to the right (using Sparki’s servo).

- 7: Stop the included program (autonomous room navigation).
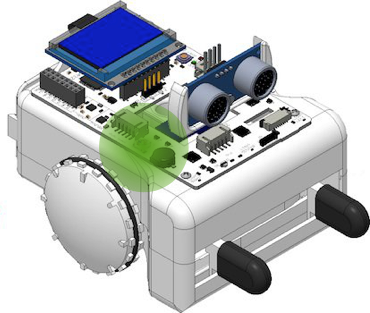
- 8: Run the included program (autonomous room navigation).
- 9: Buzzer ring.
The +, 0 and – buttons do not do anything:
Yay! Now you can drive Sparki around with the remote! Take a moment to cruise around with the remote. If Sparki bumps into anything it’s not a big deal, just make sure not to take any long falls.
Learn to program the other parts of your Sparki here!
Going further with the infrared remote-
Here’ s a lesson for remapping your remote keys. Learn about switch statements, more about the remote and doing a little code writing.