The wonder of a sharp blade and the right tool for the job

When I use my array of scalpels and box cutters, they get blunt.  I don’t notice so much, but slowly, I’m applying more pressure to get the same cut done, I’m tolerating sub optimal performance.

It’s such a good feeling when I put a new blade in, cutting like butter, and every time I do (every time) I reflect that I mustn’t leave it so long next time – the benefits of having the right tool for the job outweighs any notional benefit of being a cheapskate.

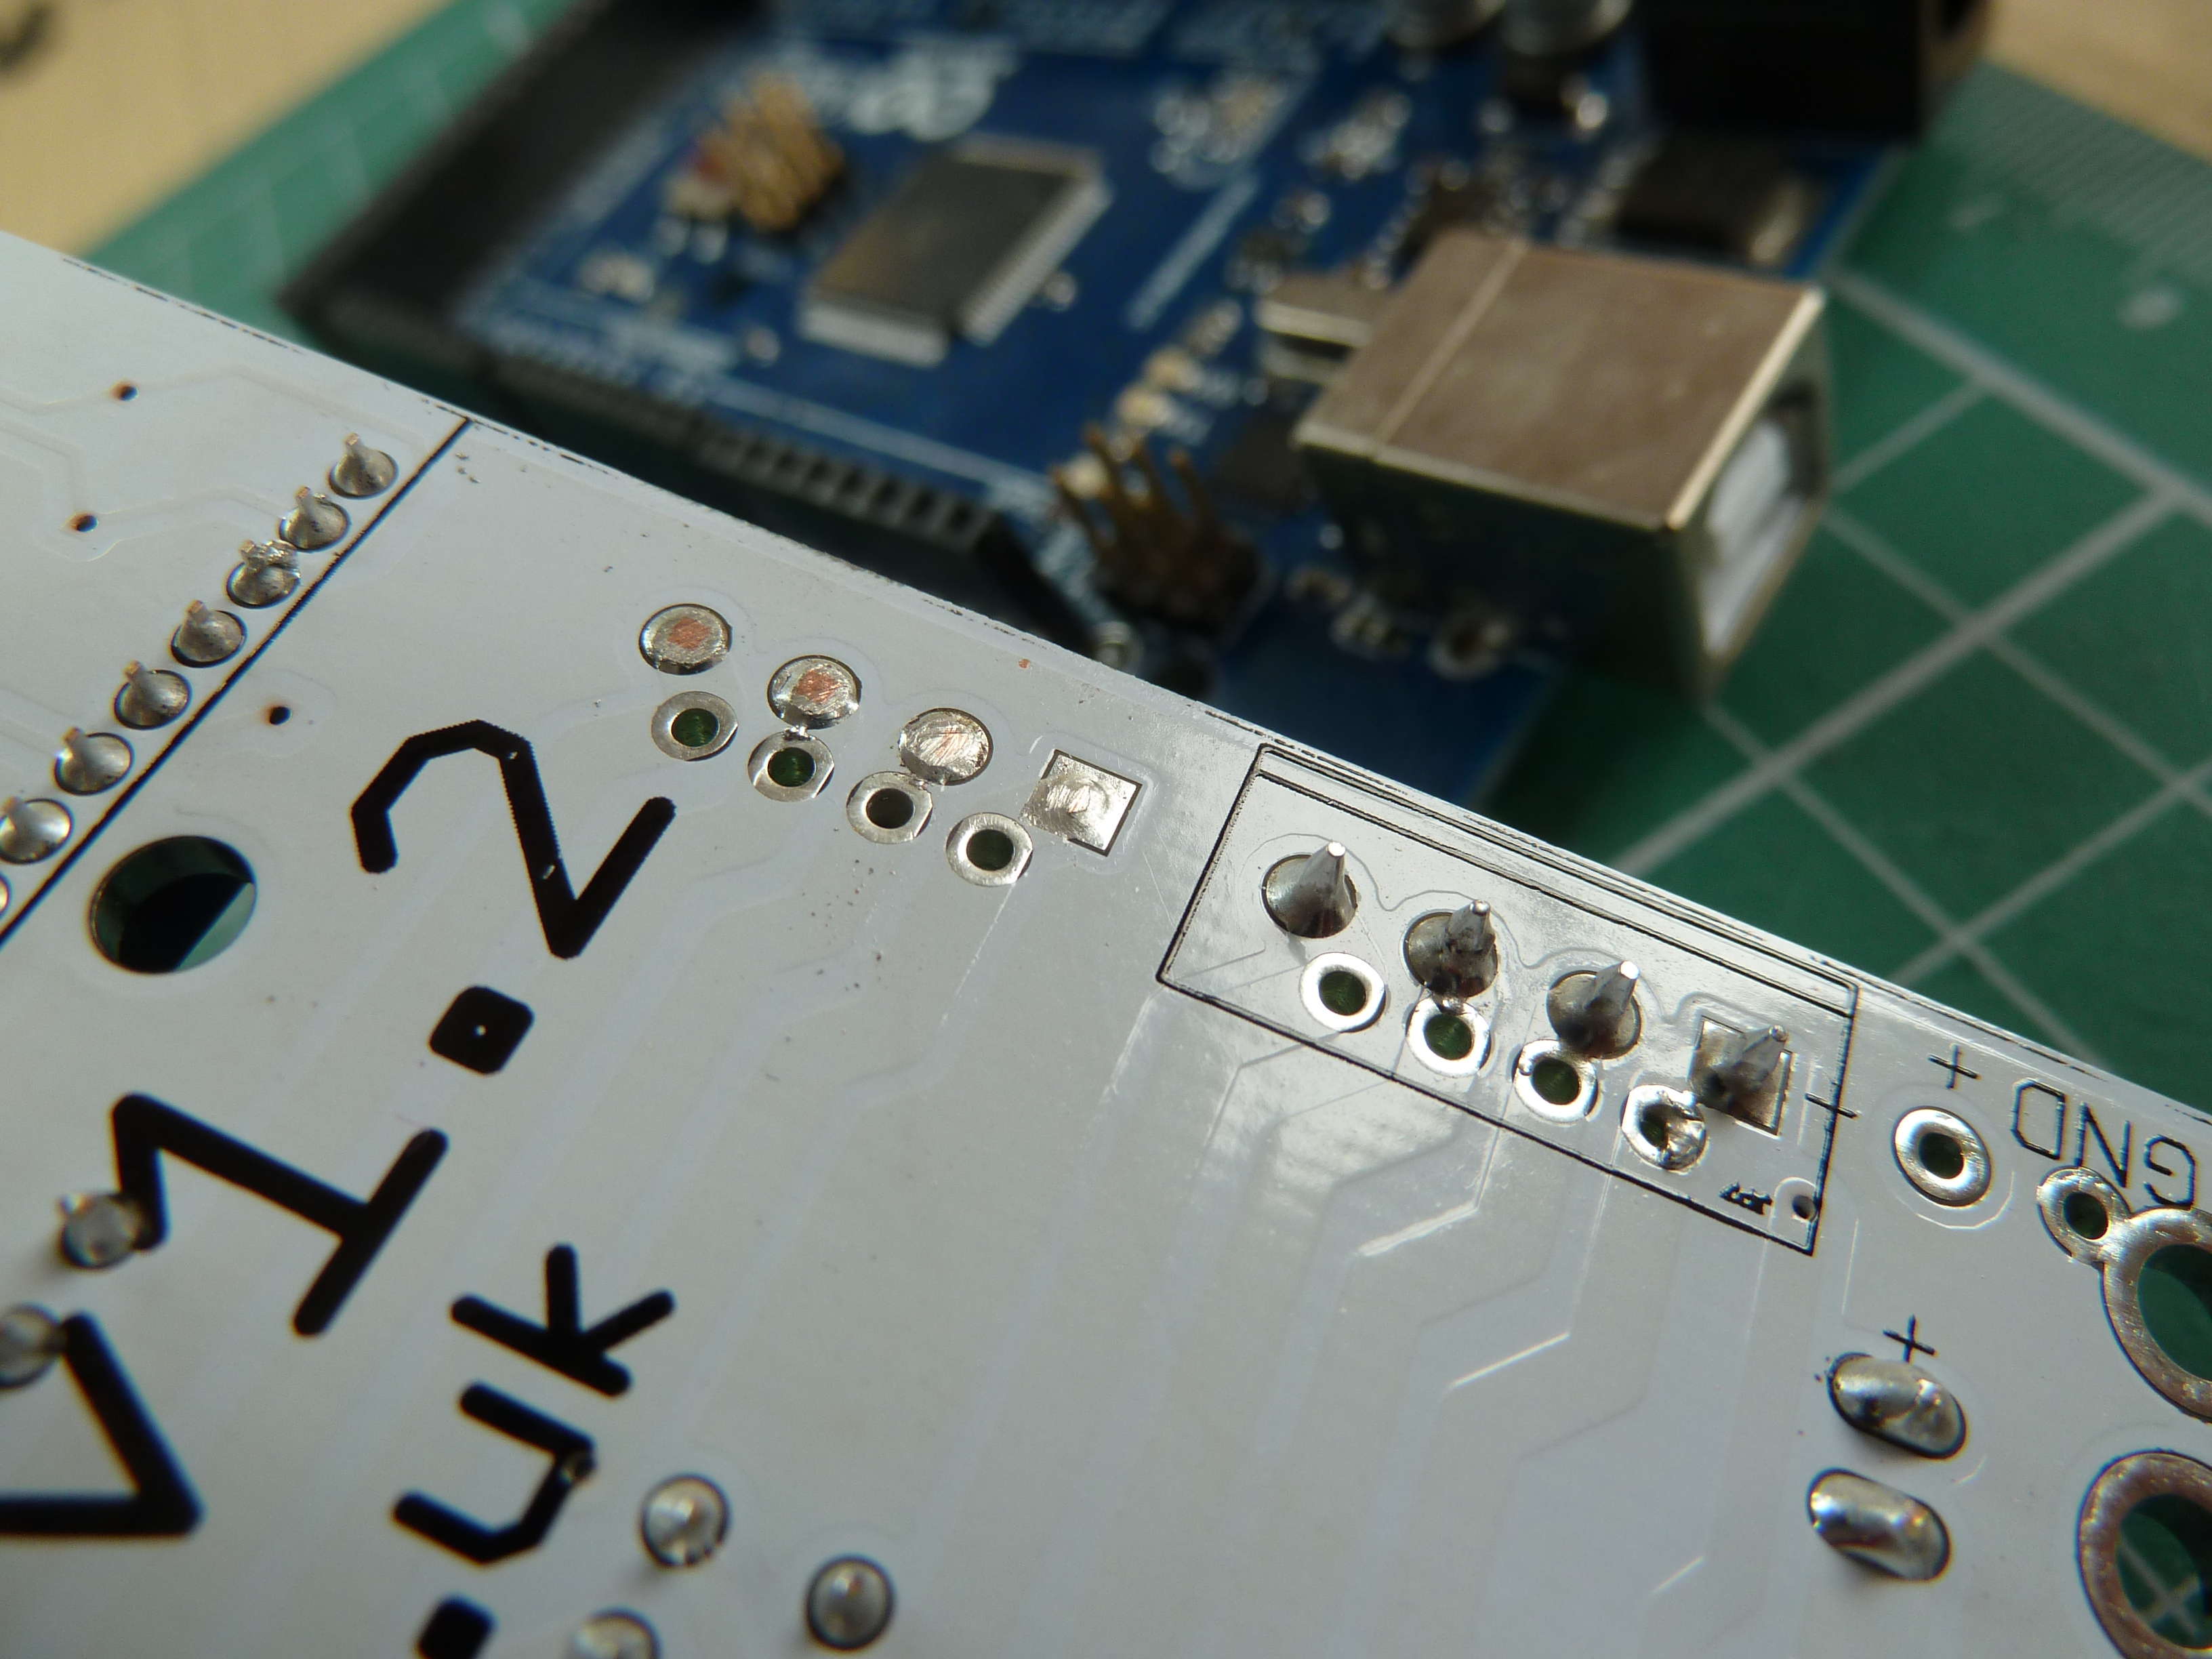
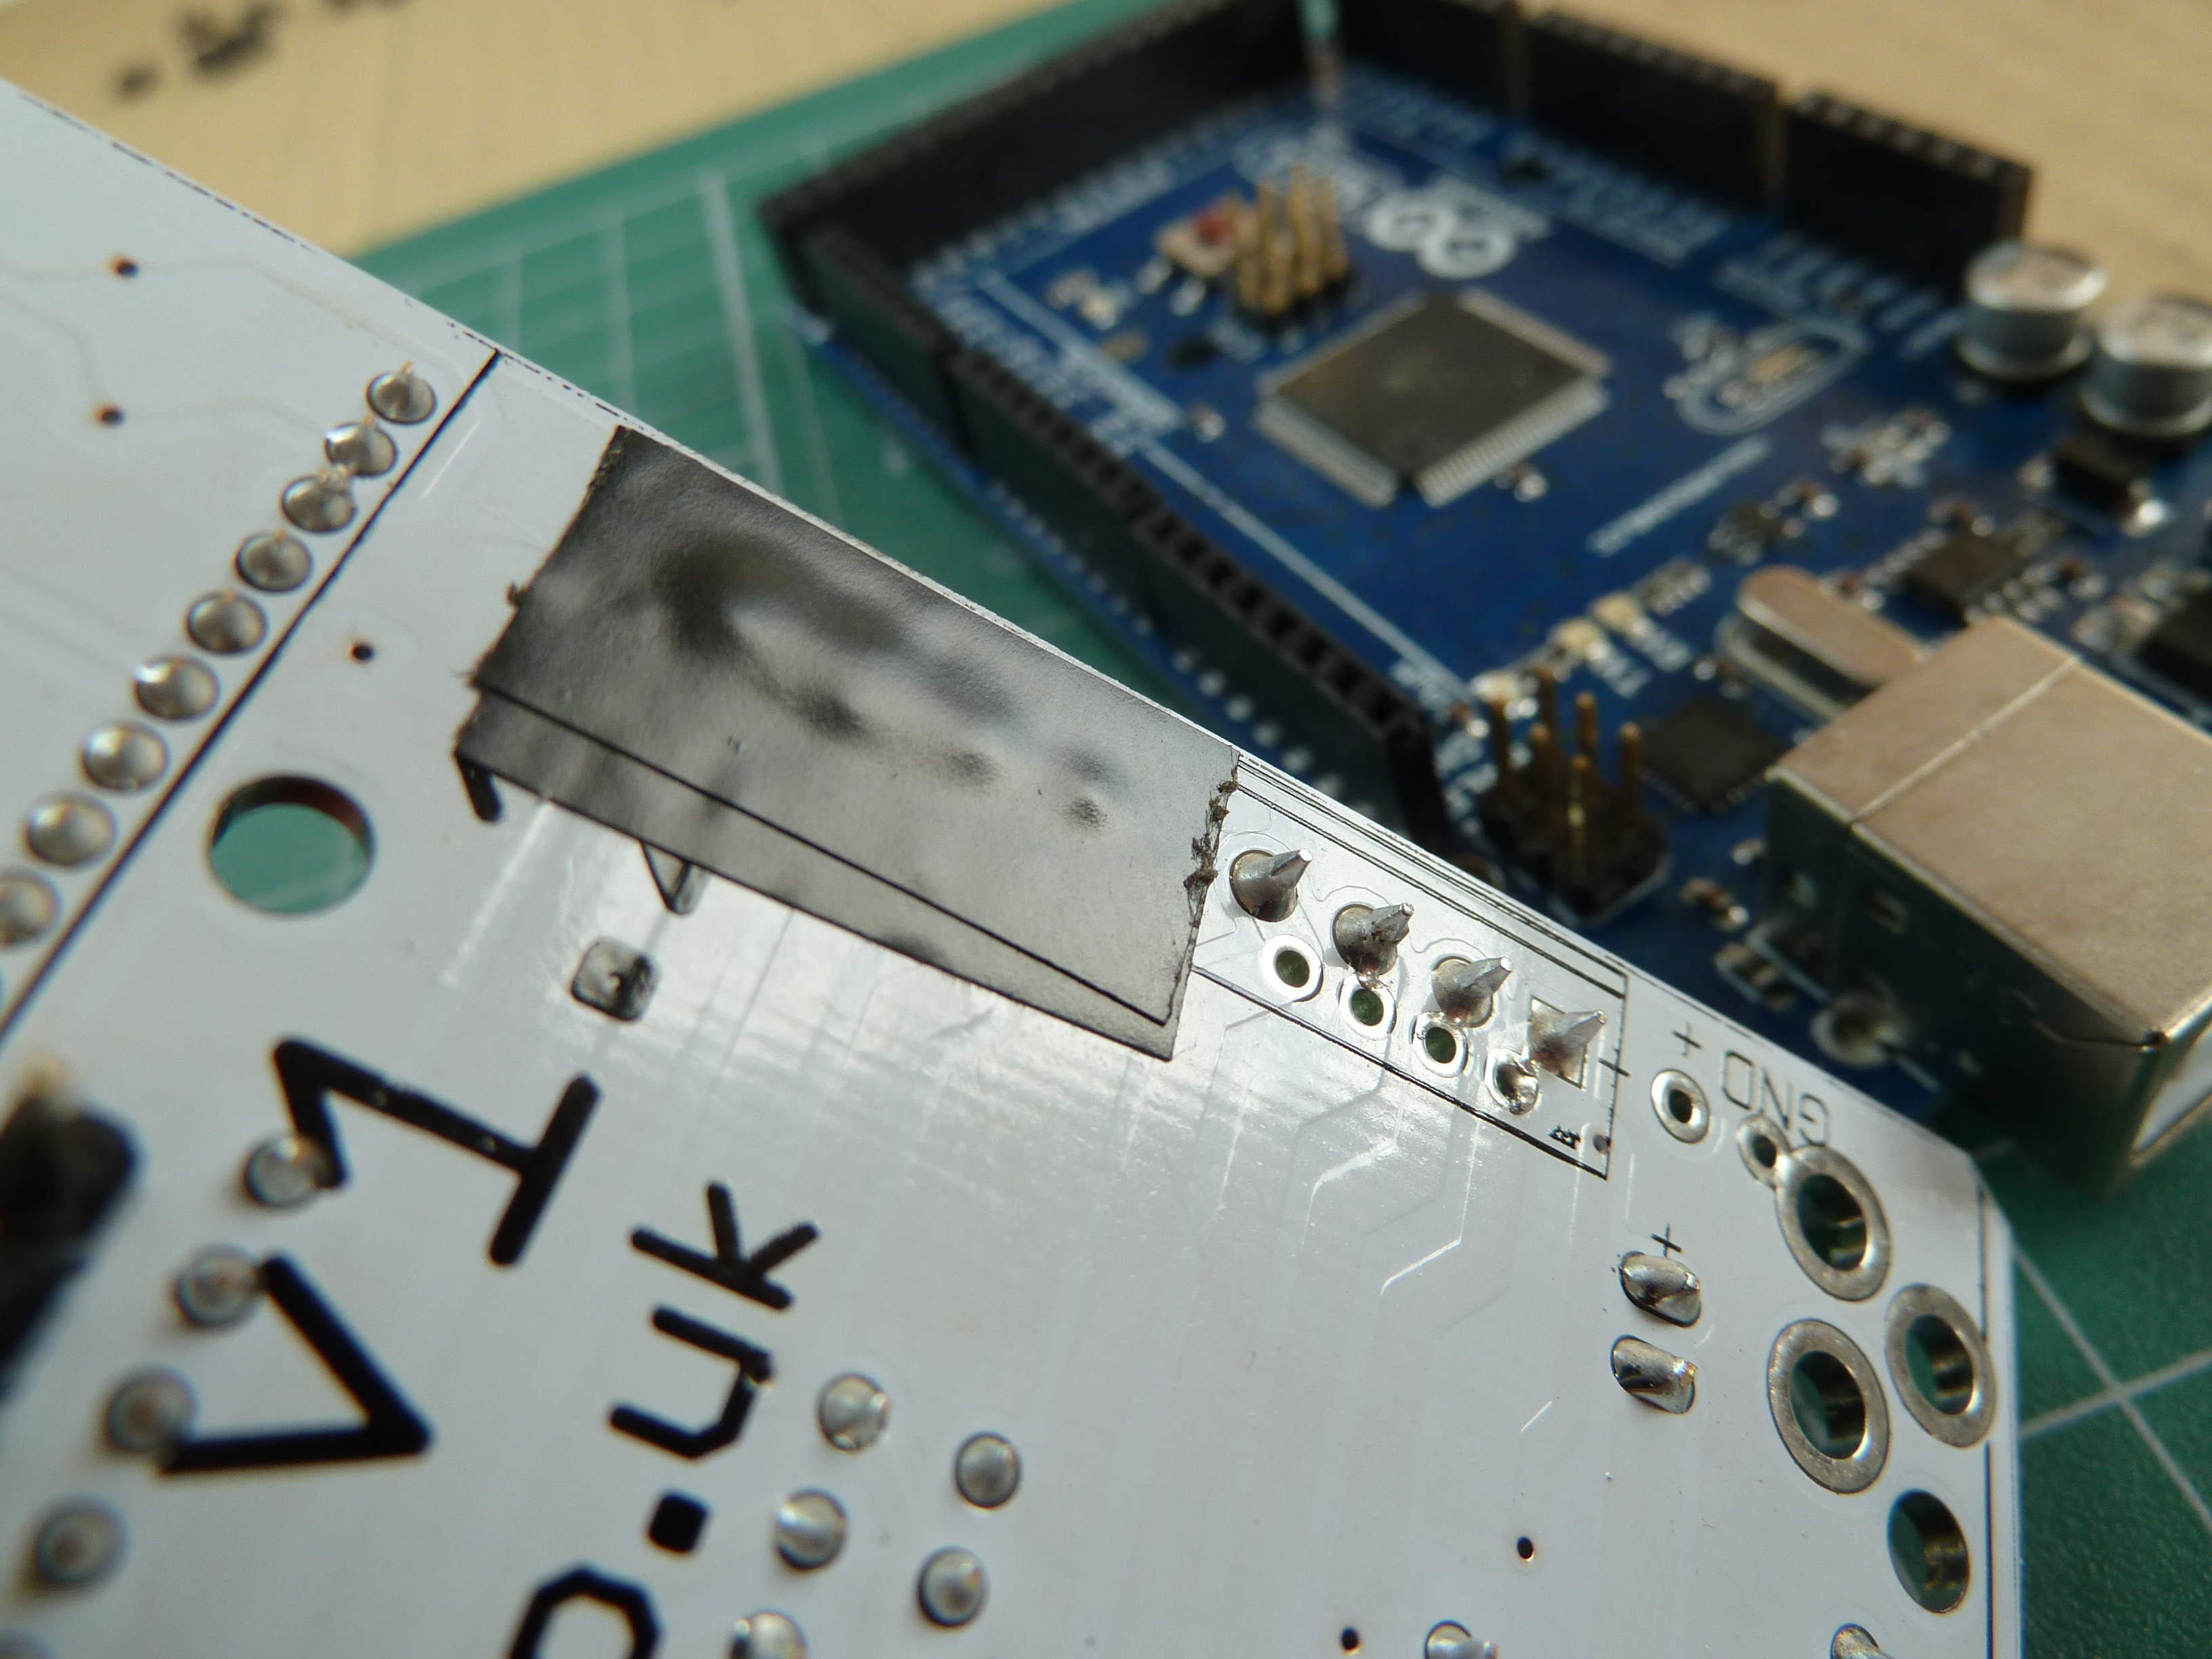
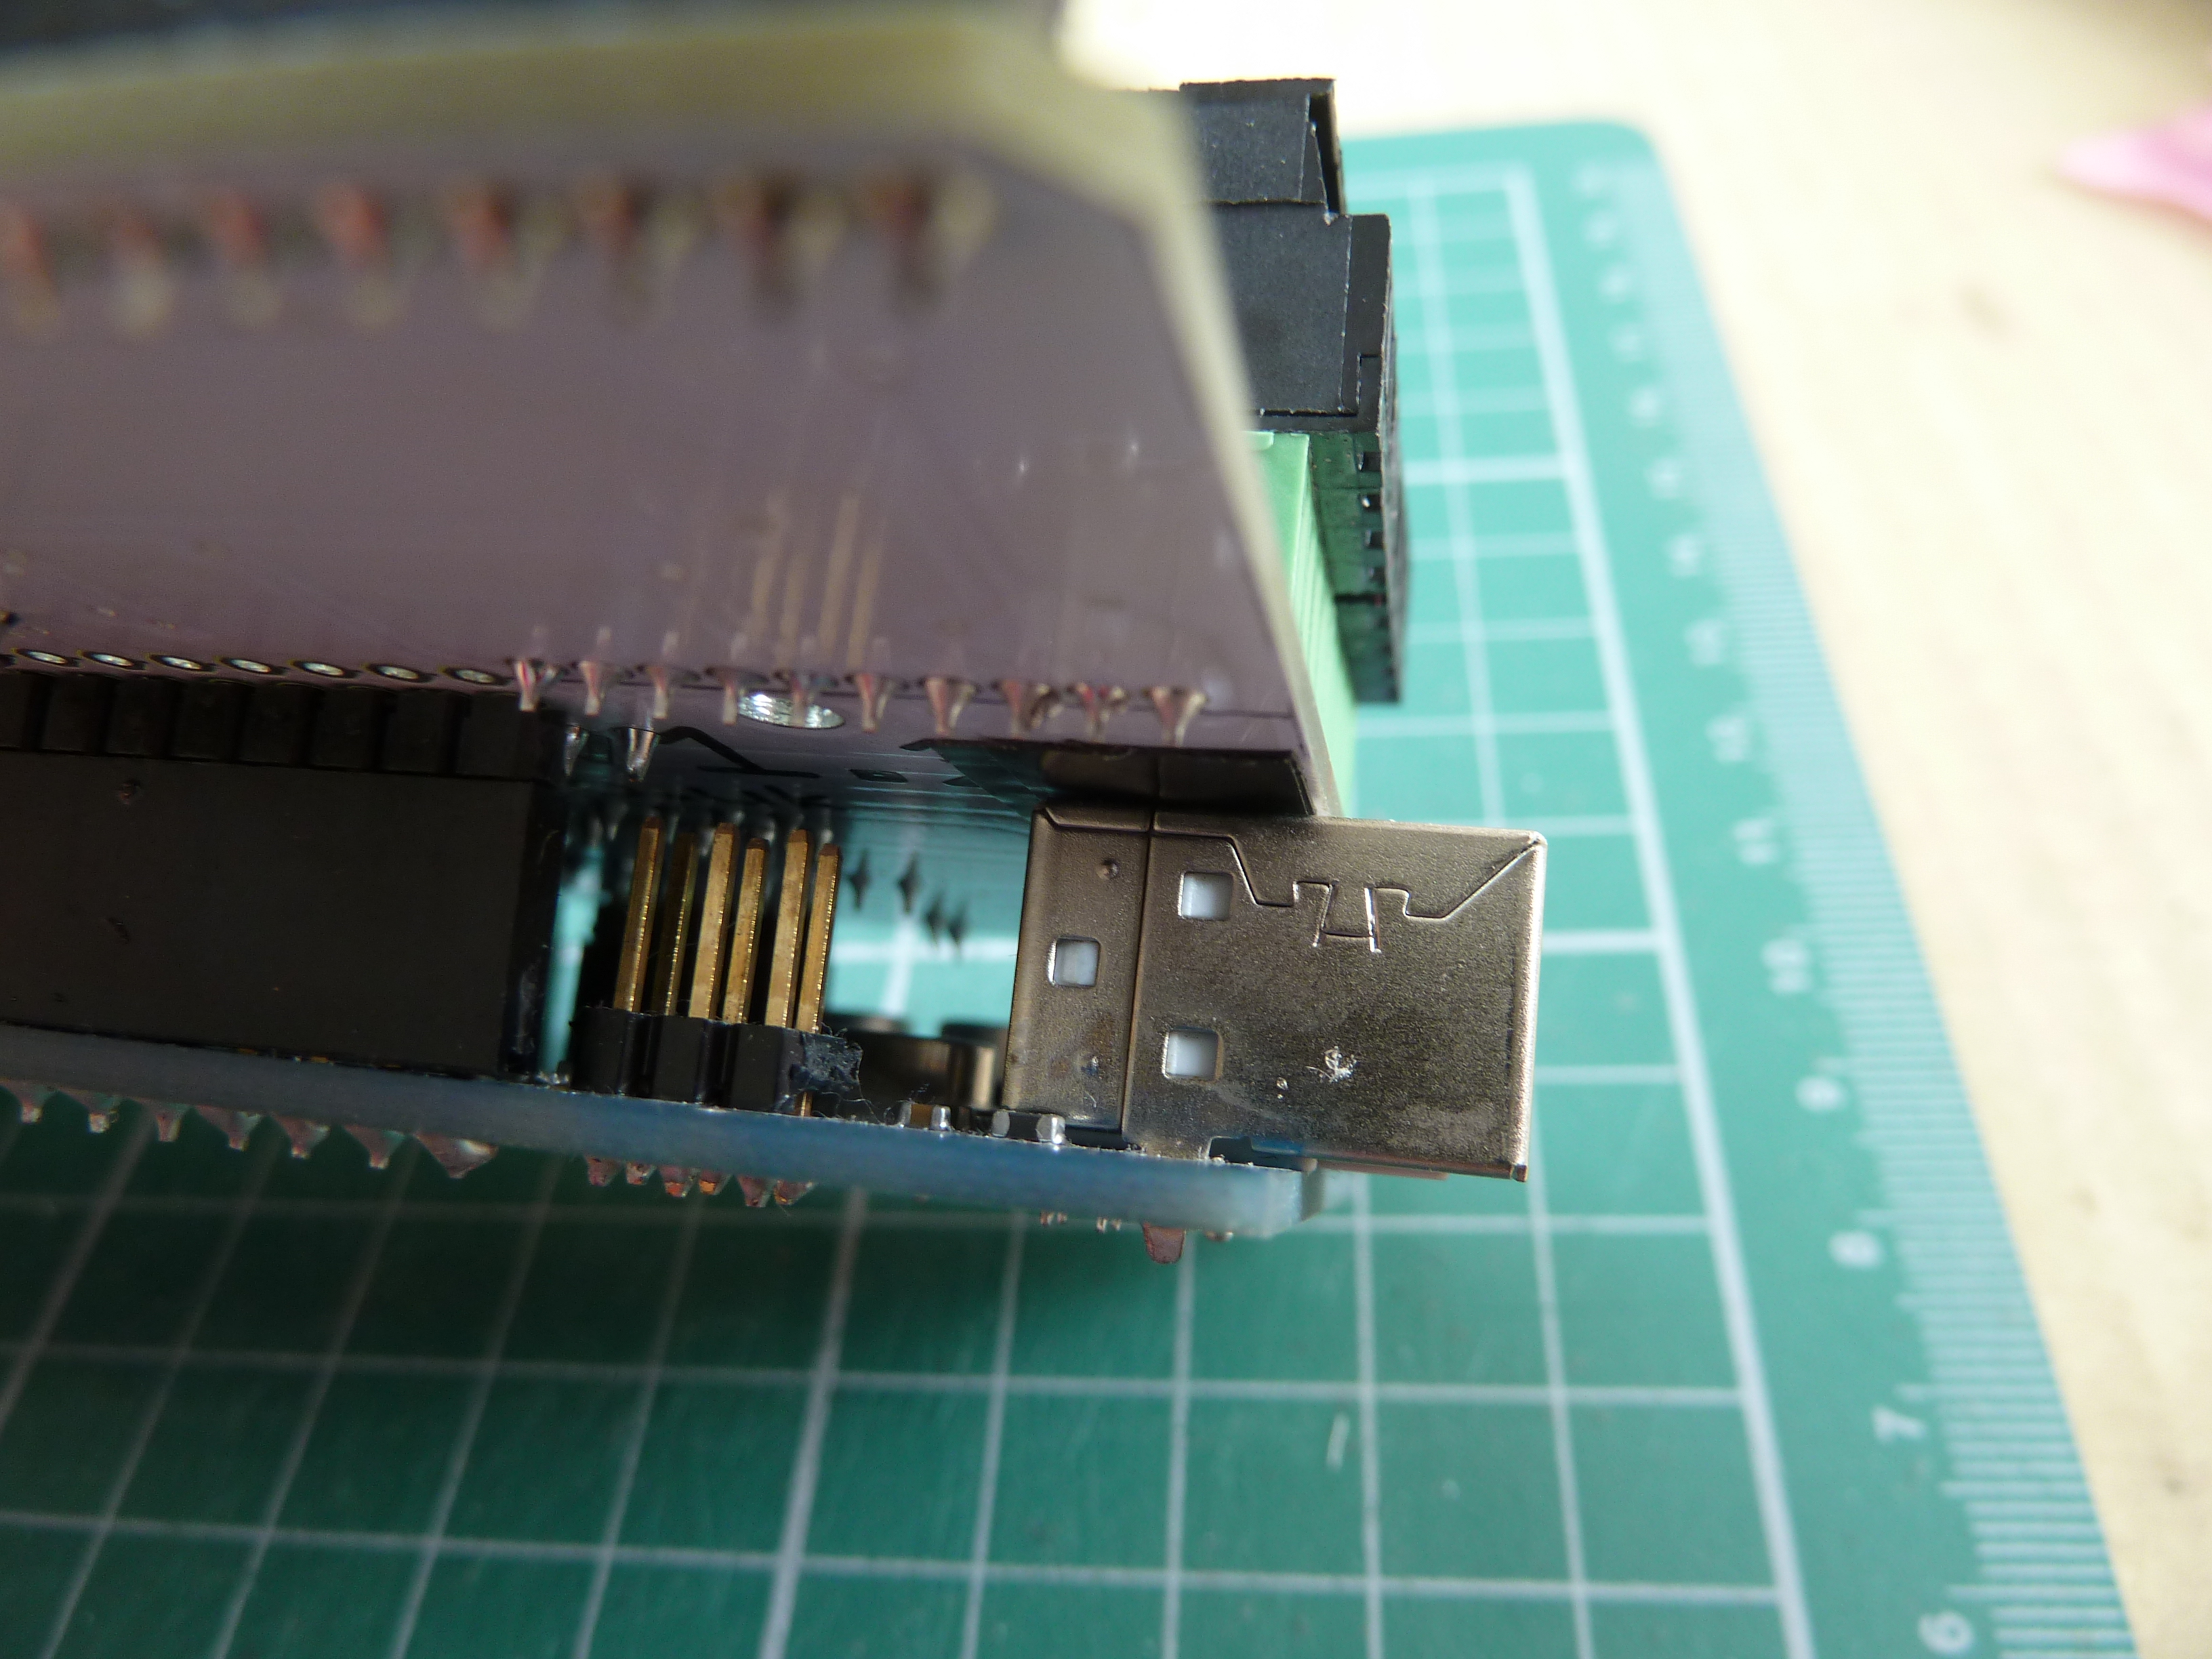
As with soldering.  I can do the surface mount stuff easily and quickly en masse, but I dread the through-hole stuff, the pin headers and sockets.  It just seems to take forever, and is a battle.

I looked at the iron tip, which has slowly been getting narrower and narrower.  It was initially thin to do 0804-scale surface mount soldering, but I now use hot air for that.  It’s no longer the right tool for the job, and it’s terrible corrosion makes it even worse.  I looked for a replacement, but remembered I had got a multipack of tips last time, containing a mixture of sizes.  Grumbling, I put the next smallest one I had on, and after the first joint, wished I’d done it months ago.

soldering iron tips

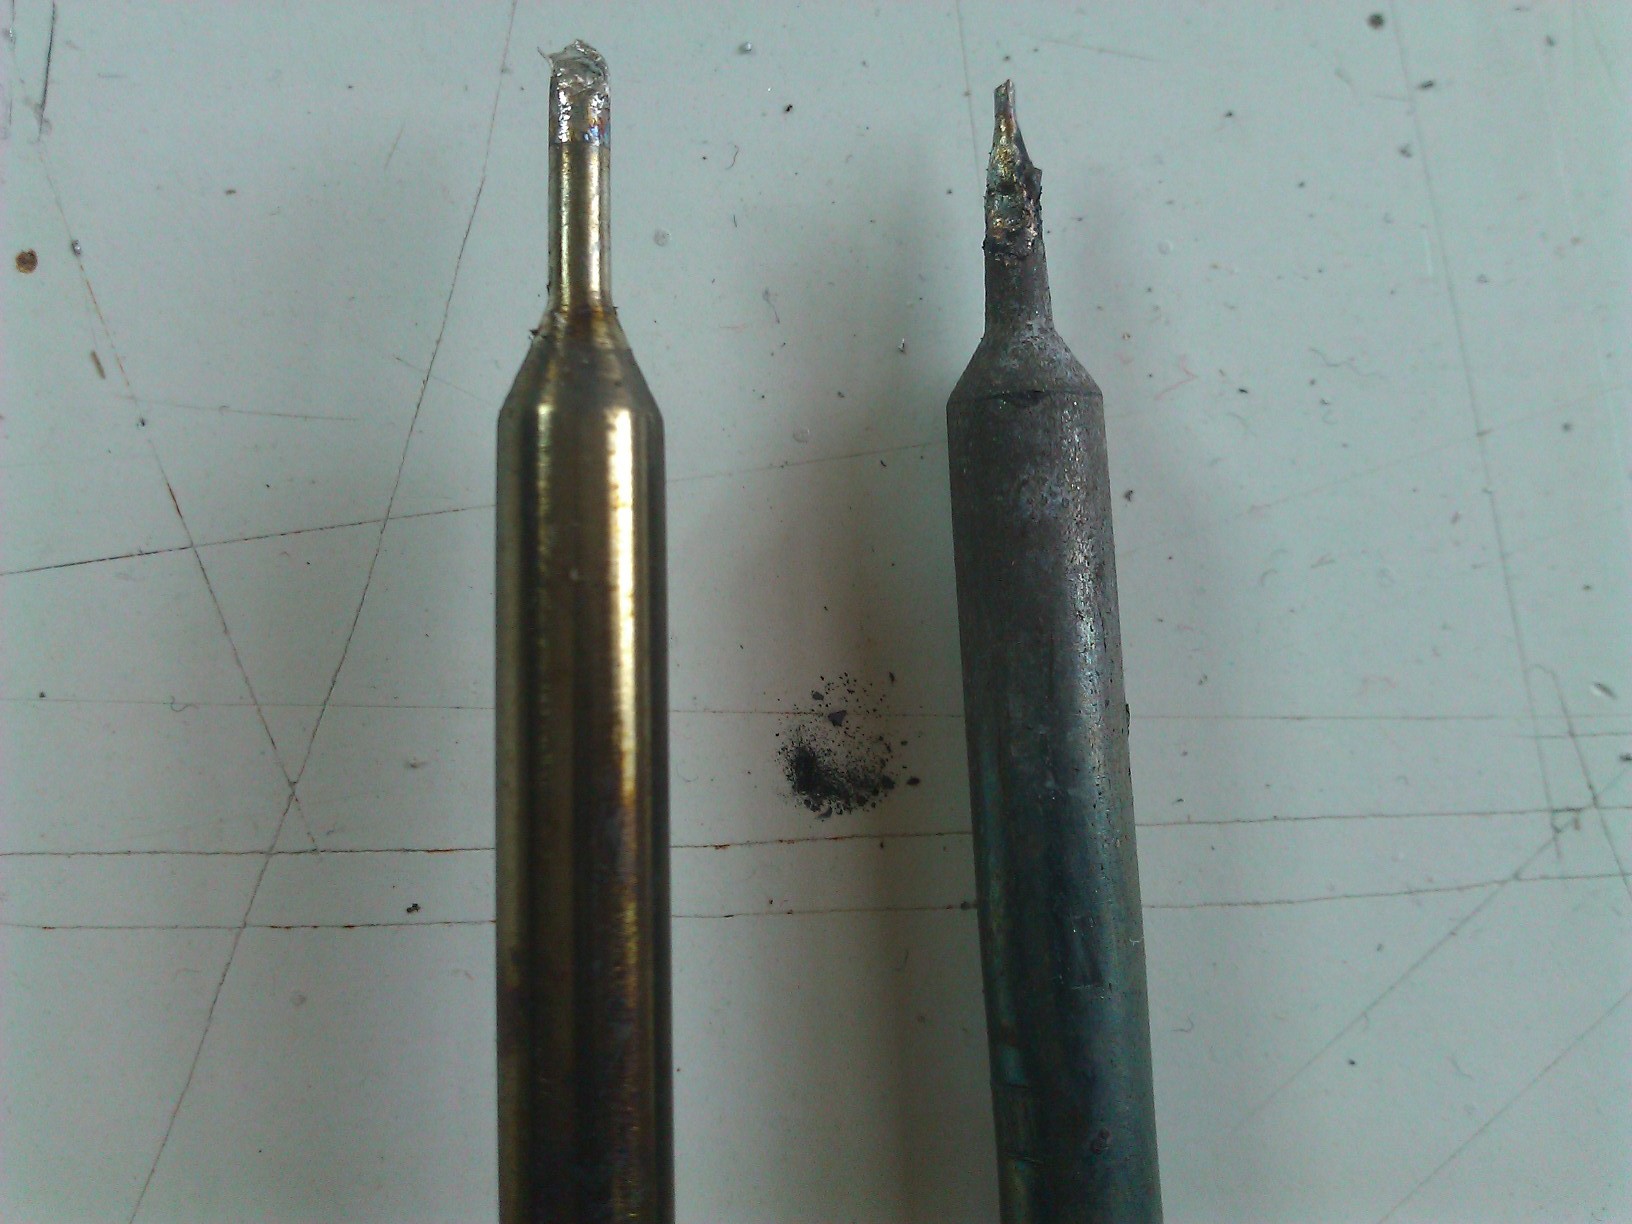
Bigger tip = more heat = quicker joints.  Obvious.

As an amateur, economy plays a large part in my reluctance to snap off a blade segment, or unwrap a new blade, and also storage and access (trying to remember where I put the spares months ago).

As a professional (which I suppose I am) I have to balance cost with speed and quality.  And as an employer (employing myself albeit) I have to balance cost with quality of life.

Right tool for the job.

Assembly notes for Polarshield

The location of the motor terminals on the polarshield is a bit awkward.  One of them is fine, but the other is directly above the USB socket on the arduino board underneath.  So that’s fine for the PolargraphSDs I make because they use arduino boards with micro-USB connectors.

But for anything else, the pins from the connector will come into the contact with the big USB-B shell on the arduino below, and that’ll short, and that’s not cool.  I always almost always do the following to a Polarshield to get around it:

P1040642

First snip off the protruding pins and file then down almost flat.  I make extra sure there plenty of solder lining the holes for these ones.

P1040646

Stick a couple of pieces of electrical tape over the little nubs that are left.

P1040647So now it fits flush, that’s good.

I saw this mentioned on Julio Terra’s blog where he mentioned putting a bit of tape over the USB shell to insulate it.  I scratched my head because I always do the above operation for the polarshields I sell as part of vitamin kits.  Except obviously I missed this one!  Tsk! I know, shameful.

Set up guides a-go-go

Today I am very pleased to report on a great looking and useful setup guide by forum member Gontiki.  He’s had lots of challenging questions and useful suggestions on the forum, and has written up and illustrated his experiences with a PolargraphSD vitamin kit.


Great, clear photographs (they make the kit look rather pro!), and good descriptions.  I know it’s shameful to be pointing people to other sites instead of updating my own documentation and things, but there it is.

But wait!

What’s that? Another setup blog?! Yes, Julio Terra has a couple of great posts on his blog too:

He’s setting up a drawing machine at The Lab (an interaction design team, part of a big architecture firm) in New York.  Great to see his thoughts, and I am dead keen to see what kind of stuff they get up to with it.

I’m actually really pleased (and relieved) that Gontiki and Julio are having good experiences with their kits.  It’s easy for me to send machines off into the wild in their boxes and fear the worst – that they sit half-assembled in a drawer, amongst the dust of other disappointments and failed projects.  So this kind of positive feedback does me so much good, as well as being great for the project – the more people there are showing exactly how simple (and exactly how complicated) it is to set up a machine, the better.

So thank you for the therapy.


Polargraph, Pepakura and Corrugated cardboard = giant office bear

Of course it does.  Long time Polargraph supporter Wes Nijssen let me know about a project where he used his Polargraph machine as a large format plotter for drawing out the parts for a giant piece of papercraft (cardboardcraft) for his agency’s office.

Here’s the link to the blog post about it.

I often thought large format papercraft would be a great use of the machine, and I’m impressed that it was precise enough to do the job. Great stuff, thanks Wes!