To assemble a Polarshield, I need to cut these strips of pin headers into strips of 8 pins. I would usually count out 8 pins, then cut with a knife, then use that resulting piece as a gauge to cut the rest of the strip. It took attention.
Just this afternoon, I took (probably less than) five minutes to make a little cutting guide out of cardboard. Bingo: An onerous job that required me to concentrate AND count (!) became something that creates a much lower cognitive load.
![DSC_0362[1]](../../wp-content/uploads/2016/05/DSC_03621-300x225.jpg)
14.5 seconds to cut a full strip before, and 8 seconds to cut the strip with the guide, so it’s much faster too.
This building process is full of lessons very like this:
- Use the right tool for the job. Example – put a fresh scalpel blade in, remember how good life can feel.
- Make helpers for fiddly tasks. Example – this cutting jig, which is nothing more than a slot cut in some card, and some arrows drawn on.
In summary: When you’re positive that you’re cutting the right tree down, then stop to sharpen the axe.
Why did I not do this earlier?
I have never formalised my workflow. It has always been more important to me that I retained my agility to be able to make changes to the design, so building jigs and bulk-buying pre-cut parts has seemed dangerous.
Recently, I’ve made a decision to be a bit more efficient with my time, to optimise for throughput rather than flexibility, so this has led to me working on a big batch of twenty Polarshields at once, rather than just making them up in response to orders as I used to.
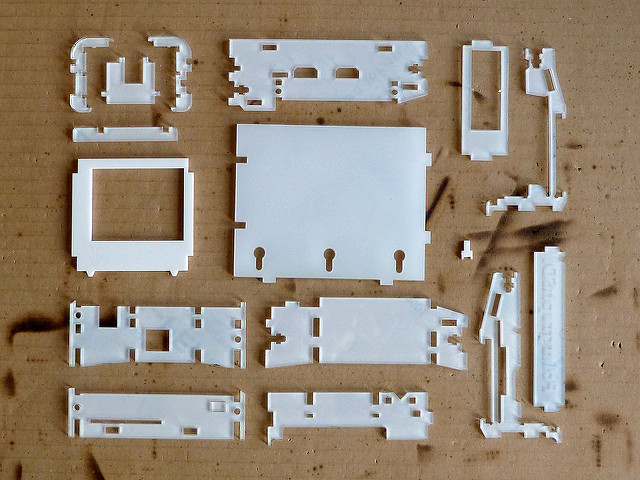
![DSC_0364[1]](../../wp-content/uploads/2016/05/DSC_03641-300x225.jpg) There are particular bits of the build process that are fiddly and error-prone, but tolerable when I’m building only one or two of these devices. Or rather, the cost and risk of developing a jig to help is disproportionate if it is only going to be used on one circuit-board.
There are particular bits of the build process that are fiddly and error-prone, but tolerable when I’m building only one or two of these devices. Or rather, the cost and risk of developing a jig to help is disproportionate if it is only going to be used on one circuit-board.
When it comes to adding the same part twenty times, then suddenly the cost of the jig doesn’t seem too outrageous given the benefits. In fact it seems stupid not to build a jig.
The risk is something else, and by risk I mean that I could spend an afternoon modelling a 3d printable (or laser cuttable) set of templates in order to hold the part just so, and allow me to clamp the PCB on, and then get super-accurate, repeatable solder-joints. And it’s all wasted if I mis-measure one tiny thing, or get my part thickness slightly wrong.
I have made the assumption in the past that jigs would naturally have to be super functional and professional to be worth having, they’d have to tick multiple boxes of precision, speed of use and robustness.
![DSC_0363[1]](../../wp-content/uploads/2016/05/DSC_03631-300x225.jpg)
But in this case, I just used cardboard. It won’t last forever, and it’ll degrade with use, but the cost is essentially zero, and it was designed using a pencil and a ruler, not hours in front of a 3D modelling tool. It’s the 80%, and past here, there’s diminishing returns.
More obvious lessons from Polargraph.
 Isn’t that lovely?
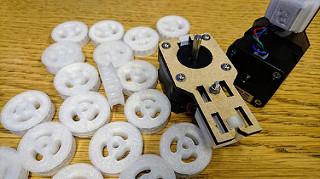
![DSC_0362[1]](../../wp-content/uploads/2016/05/DSC_03621.jpg)
![DSC_0364[1]](../../wp-content/uploads/2016/05/DSC_03641.jpg)
![DSC_0363[1]](../../wp-content/uploads/2016/05/DSC_03631.jpg)
 Have just uploaded a new code bundle, featuring: