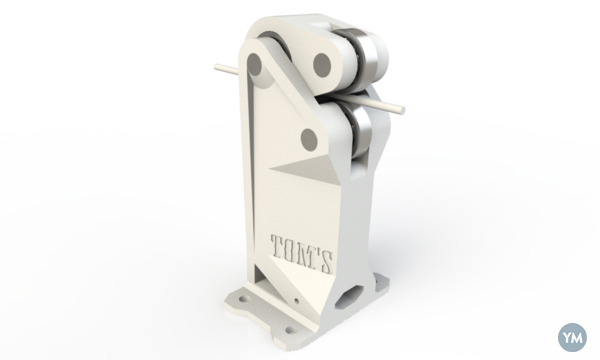
 Pricerange: $ 00.00 https://www.youmagine.com/designs/filament-diameter-sensor https://plus.google.com/+ThomasSanladerer/posts This is a proof-of-concept filament diameter sensor, currently intended for an extruder making filament. The filament centerline is 90mm above the mounting surface. It picks up the filament's diameter between two bearings, amplifies it via the lever by a factor of 3.6, which moves a magnet in front of the hall sensor. The hall sensor's depth is adjustable and is locked into place via the M3 bolt. Bend the hall sensor's leads 90° to the back and place the sensor in recessed spot. Lead the wires out to the front. The 6x2mm magnet goes into the matching hole in the lever. The second hole intended for a ballpen spring, which is not needed in most use cases. For testing, upload the included sketch to an Arduino, connect the hall sensor to 5V, ground and hook the signal pin up to A1 on the Arduino. Connect via serial at 115200 baud, it will start spitting out two values each line, the first one is the smoothed ADC value, the second one the calculated diameter. To calibrate, insert a test object with the maximum diameter you want to measure between the bearings and move the hall sensor carriage until the ADC value just reaches a maximum. Lock the carriage in place and use that value along with the diameter of the object as the last entry in the Arduino's lookup table. Insert two (or more, if you increased NUMTEMPS) more objects of varying sizes (for example the shafts of drill bits) and fill out the lookup table. Use the idle position without anything inserted for the zero-diameter position. Support might be required for the files as they contain 30° overhangs. If you use Slic3r, you're better off with no support material. 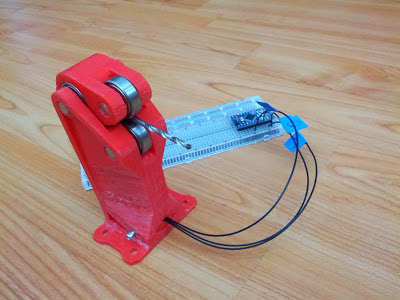 |
Other machines > Printing tools >

